
How to create a product launch page with Elementor free
Do you want to create a product launch page with Elementor free?
With Elemeentor, creating a product launch page for your business is very easy. Here in this article, we will provide a step-by-step guide to creating a product launch page from scratch.
Elementor offers you so many features and functionalities to create a page. There are two ways you can create a product launch page. You can use a pre-built template and edit the content or you can create the product launch page from scratch by adding every element individually.
Create a product launch page with Elementor free
First login to your WordPress dashboard and then go to Pages > Add new. Open the page with Elementor editor and then from the settings option set the page layout as Elementor Canvas.
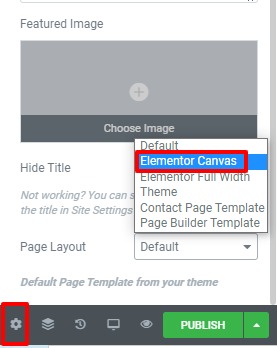
If you want to use a pre-built template click on the folder icon to open up the Elementor template library.

There are a lot of pre-built templates available. Some of them are available for only the Elementor pro version, you can use the free one.
These templates provide you with a professional design with active functionalities. It will also save you valuable time.
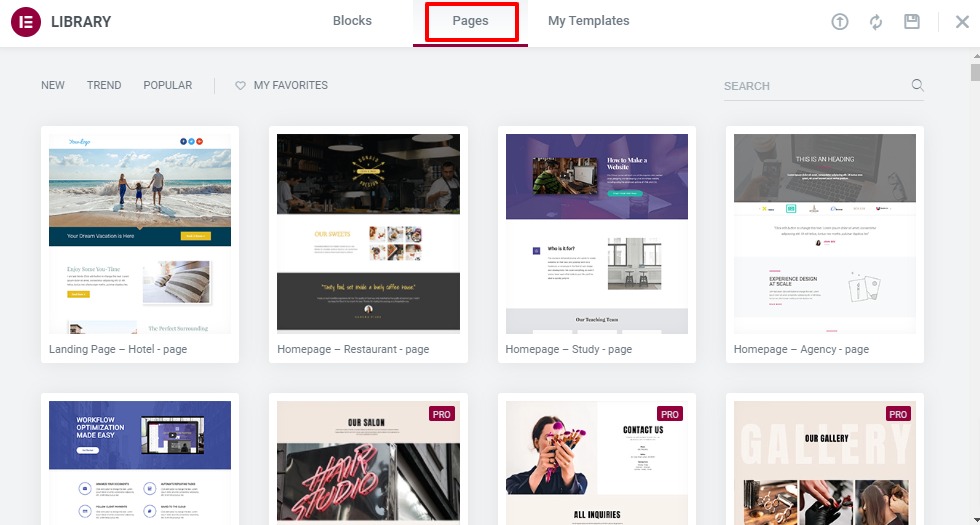
Insert any of the templates and you can edit the content and replace the images based on your business purposes. See our previous tutorial to learn How to create a page using pre-built templates.
If you don’t like the pre-built template and want to create your own design then you can create the page from scratch. For this, first, you need to make the design of how your page will look and which element you want to add.
Here in this tutorial, we will create 4 sections for the page such as-
- Heading section
- About
- Features
- Form
Heading
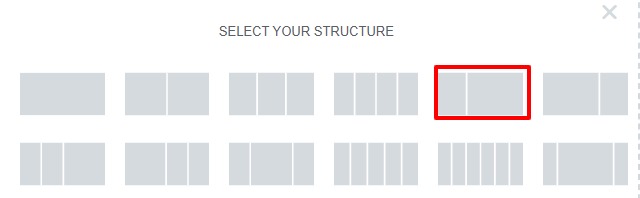
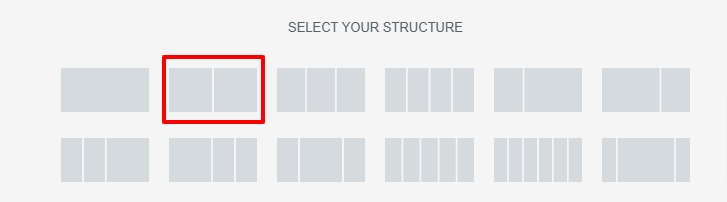
Our first section is the main heading section. In our main heading section, you can use a title and text on the left side and use an image on the right side. For this, we need to choose a two-column layout. To create a section click on the plus icon.

Choose the two-column section. You can choose the column based on your design.
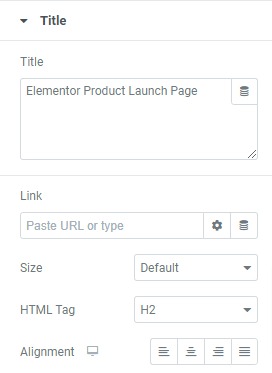
Now click on the left column to add the widget. You will add a title here so we will add the Heading widget. Drag the Heading widget from the left dashboard and then drop it into the column.
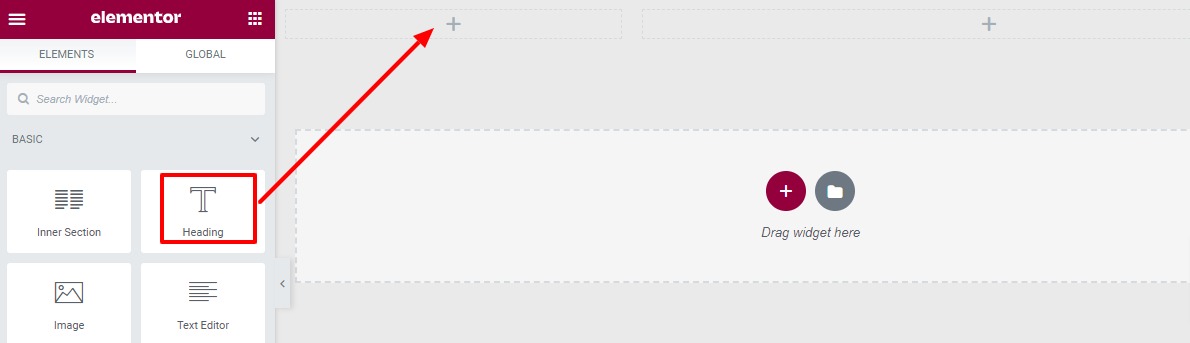
After adding the widget from the content tab you can add the text, link, and set alignment, and size.
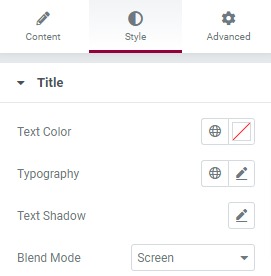
You can add the text color and set typography, text-shadow, and blend mode from the Style tab.
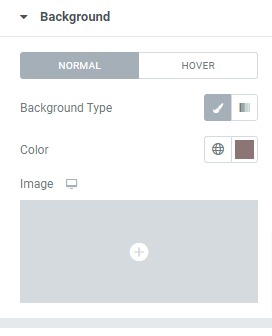
From the advanced tab, you can add padding and margin to realign the text block. From the background option, you can also set the background as classic or gradient. You can add background color for normal and hover conditions.
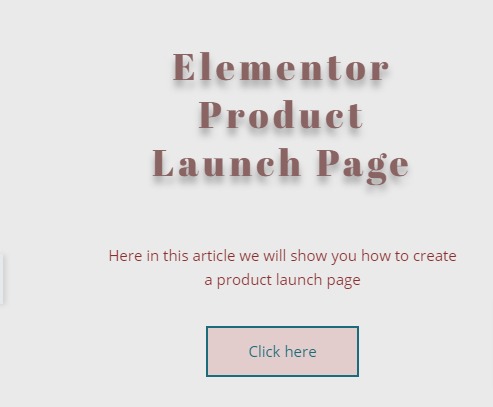
Under the title, you can add a text block and a button to make the section more professional. Drag the text box widget and drop it into the column under the heading block.
You can style your text block and button the same way you style the heading.
Our left column is ready, now you need to add an image to the right column. To add images search for the image widget, drag it drop it into the right column.
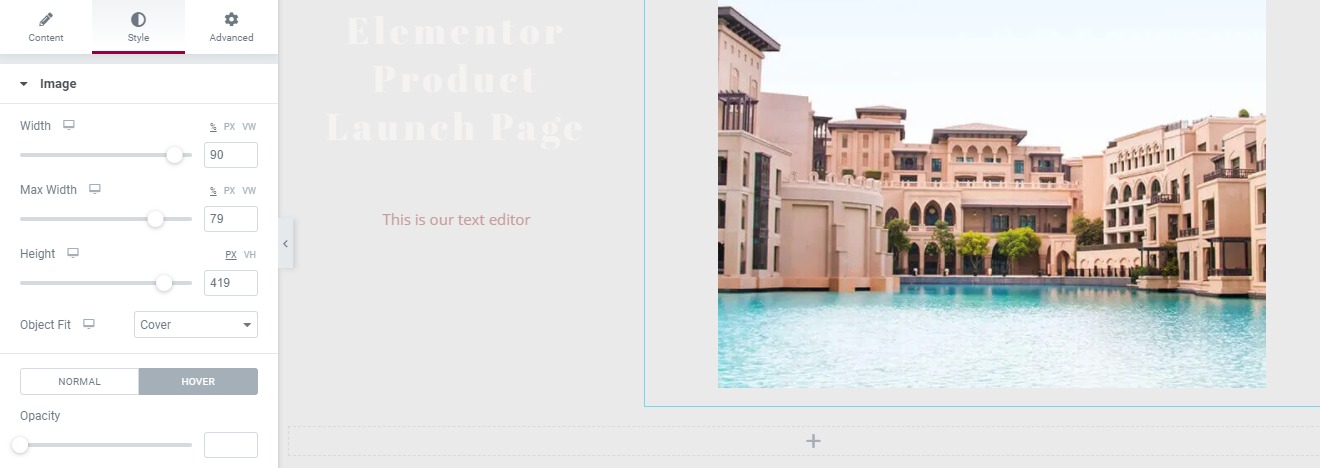
After adding the image you can set the image alignment, size, and caption. From the style tab, you can also add image height, width, border, and hover effect. You can see our article to learn how to work with the image widget in Elementor.
Our heading section is done, now you need to create the About section.
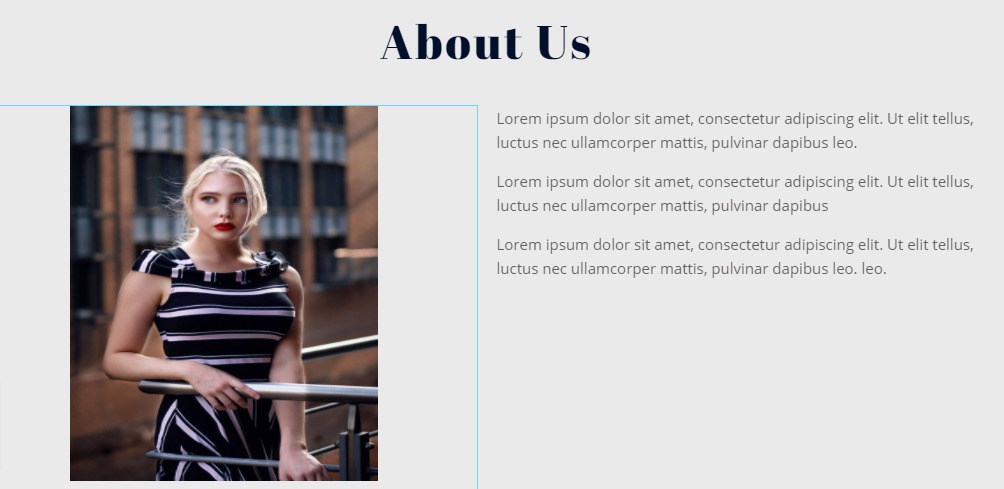
About
Now you need to create the About section. In your About section, you can add your image on one side, and on the other side, you can add the description. First, create the section by clicking the plus icon and then choose the column layout.
Similarly, add the image widget and style your images in the same way in the left column. In the right column add heading widgets and a text widget.
Use the style tab to style your content and from the advanced tab, you can style the section. See our tutorial to learn How to use Elementor’s advanced settings option.
Features
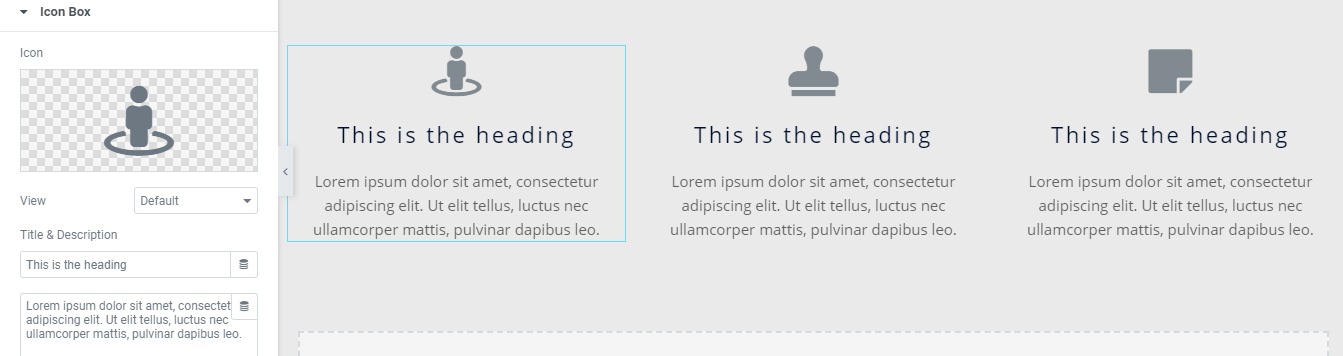
Now you need to create the features section. You can use the icon box widget to create the feature list. Here you can add three columns to display your features.
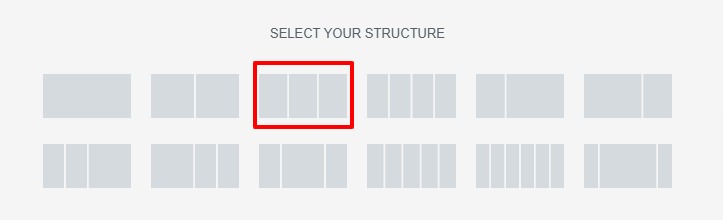
Choose the three-column layouts and then add the icon box widget in the column. You can add the title and text based on your services. You can change the icon from the icon library.
Form
At the end of the page, you can add a signup form. Elementor Free doesn’t allow you to add a form widget. You need to use the pro version to add the form widget. But there are many plugins available that can enable you to add a form to your Eleanor page without spending money.
How to add form in Elementor using Contact Form 7
Add form in Elementor using NinjaForm
How to add form in Elementor using WPForms
Wrapping up
Following this process, you will be able to create a product launch page with the free version of Elementor. If you like this article please like our Facebook page to stay connected.


Comments