
Add Gradient Border to Image Gallery in Elementor
Are you looking for a way to add a gradient border to images in your gallery using the Elementor page builder?
Images play a very important role in every website. The image can easily represent visual information about your services to your customers. If you want to give your image gallery section a unique look then this article will help you. Elementor offers your the Images Gallery widget which you can use to showcase images. You can showcase your products, services, offers and so many things for your customers in the gallery section. Adding a gradient border in your image gallery section can give your gallery a stunning and different look that can easily attract users.
Here in this article, we will guide you to the easiest way to add a gradient border to images in your gallery using the Elementor page builder.
Add Gradient Border to Images in Elementor Gallery
Before starting make sure that you have upgraded to Elementor Pro as the Gallery widget is only available on Elementor Pro. After upgrading to Elementor Pro create a page or edit any existing page with Elementor editor and click on the “+” icon to add a section. Then select the single column for the image gallery section.

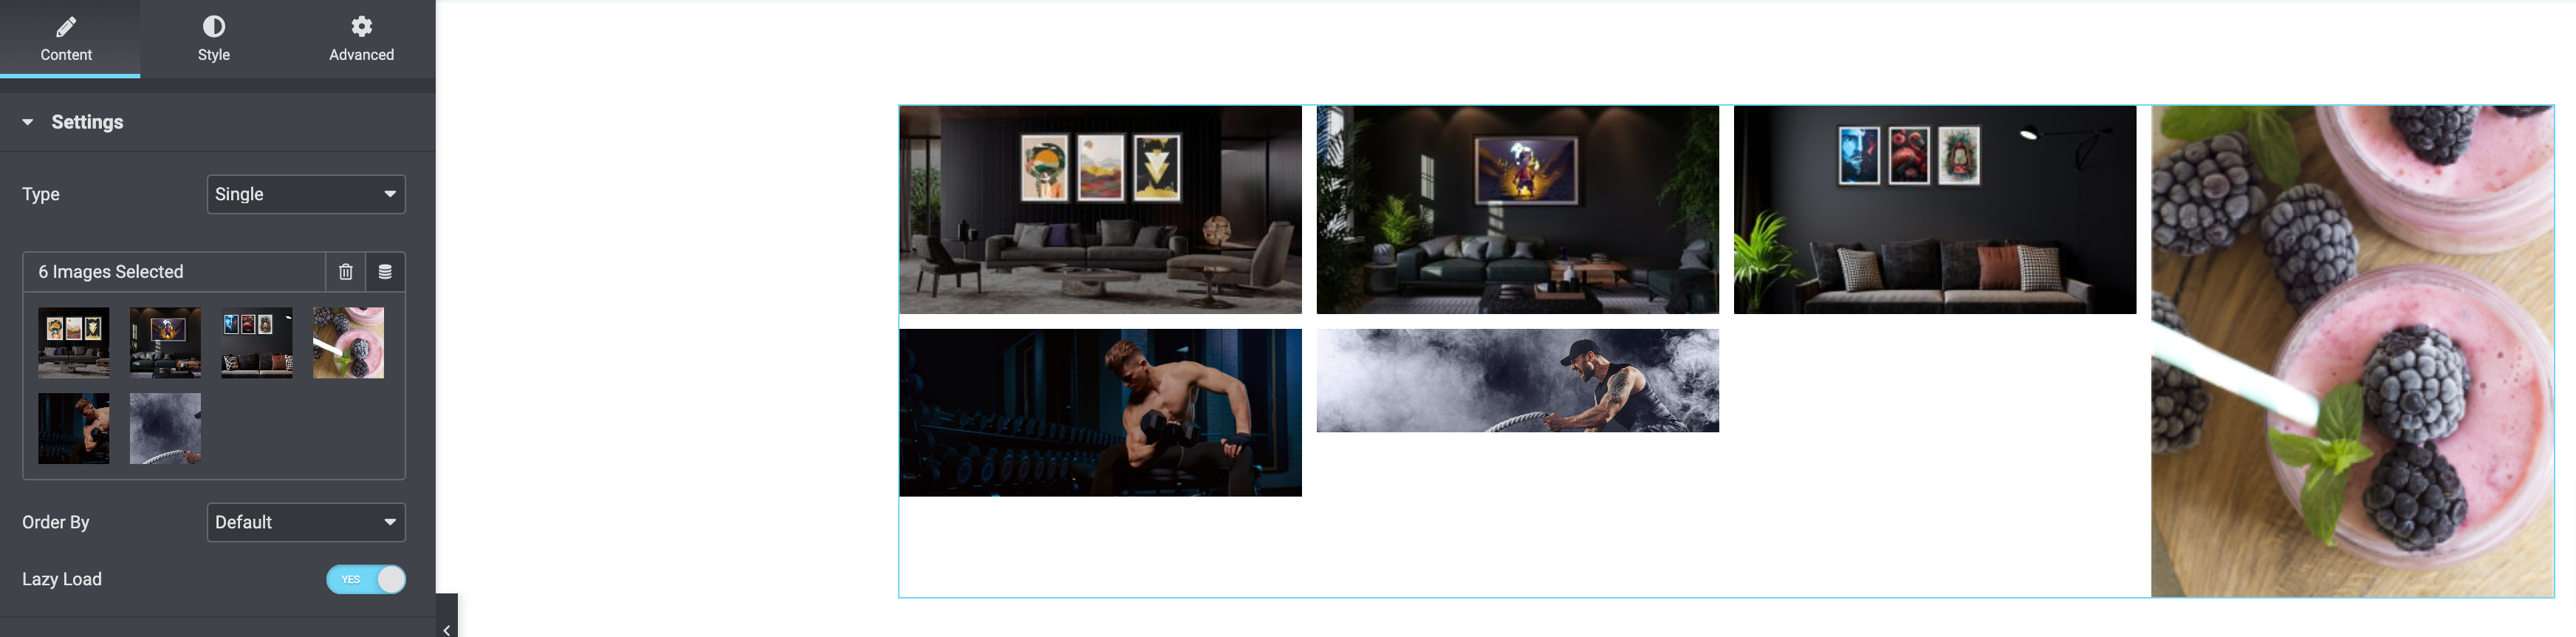
Now from the widget dashboard search for the Gallery widget, drag the widget and drop it into your created section.

After adding the Gallery widget you can customize and style it up. First, from the settings option you can select the Gallery type like single or multiplex. Then you need to add the images, then you can set the image order. You can also enable or disable the Lazy Load feature.
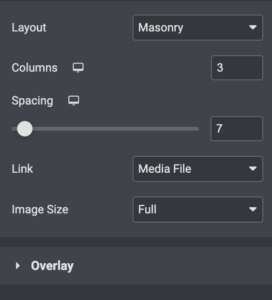
You can also change the layout to grid, masonry or justified. After that, you can set the number of columns, spacing and image sizes too. From the overlay option, you can add an overlay title and description too.
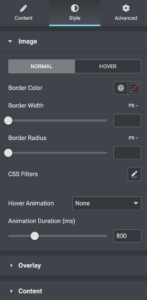
Now move on to the Style tab where you will find different options to style up the gallery section you created.
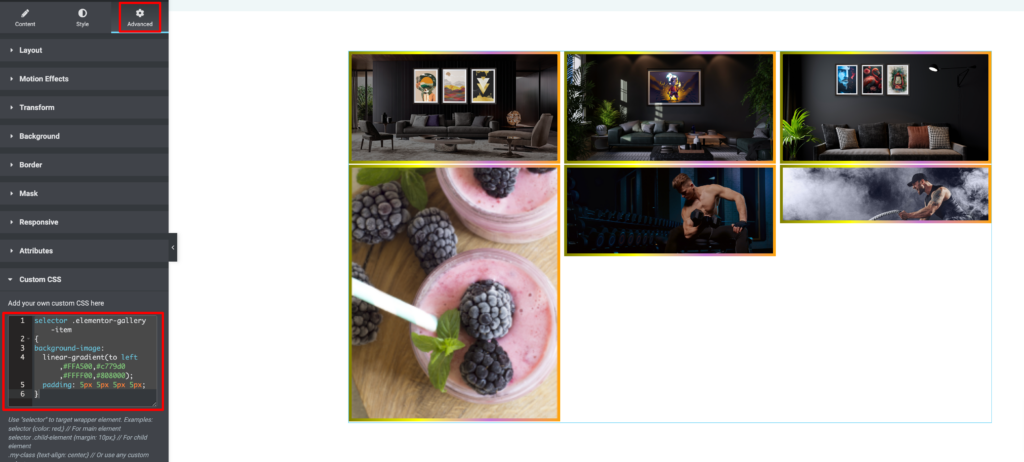
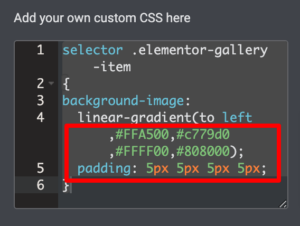
To add a gradient border you need to add some CSS snippets on the widget. When you are done editing and styling the widget move on to the Advanced tab and then navigate to the Custom CSS field. Add the following CSS snippets there.
selector .elementor-gallery-item

{

background-image:

linear-gradient(to left,#FFA500,#c779d0,#FFFF00,#808000);

padding: 5px 5px 5px 5px;

}
You can keep the code as it is or you can customize it. To add color you can just change the color code as per your requirements. It will apply your desired color on the gradient border. You can also change the padding value to see how it looks.
That’s it! Your gradient border is ready for the image gallery section. When you are done click on Publish or Update button to save the changes.
Wrapping Up
Following the process, you will be able to add a gradient border in the image gallery section on Elementor. You can see our other articles to learn How To Install New Fonts in Elementor
How to add text to an image on Elementor
How to create an image scroll effect in Elementor
We hope this article will help you. If you like this article please like our Facebook page to stay connected.


