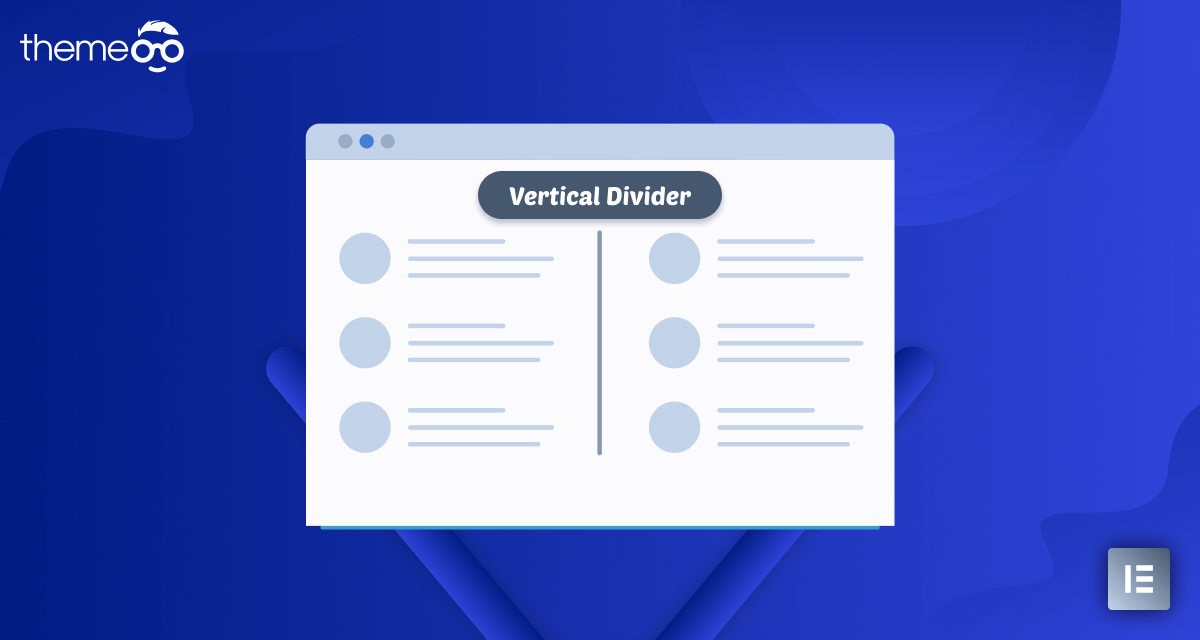
How to Add a Vertical Divider in Elementor
Looking for a way to add a vertical divider to your WordPress website using the Elementor page builder? Most users apply the divider to mark between multiple objects. But if you can use the divider properly then it can easily increase your website design and outlook. A beautiful design can make your website engaging to your users.
Elementor has its own divider widget which you can use to add horizontal and vertical dividers. Adding a horizontal divider is not a very hard task. You can easily do it by default, but you need to give more effort into a vertical divider.
Here in this article, we will guide you to add a vertical divider using the Elementor page builder.
Add a Vertical Divider in Elementor
There are two different ways you can add a vertical divider in Elementotr. The first way is to use the Divider widget and the other one is to use the Spacer widget. Here in this tutorial, you will show both ways.
Using the Divider widget
Using the divider we can easily make a horizontal divider but for the vertical divider, we need to add some custom CSS. The custom CSS features are only available on Elementor Pro. So make sure that you have upgraded to Elementor Pro.
Open up the page with the Elementor editor where you want to add the divider. Now click on the “+” icon to create a section and choose three columns.

Now add the divider widget in the middle column and for the first column add the widget you want. Here we are adding the text widget in the first and last columns.

Here are divider is in the horizontal position. Now we need to add some custom CSS to make the divider vertical. Go to the Advanced tab and in the custom CSS, field add the following code –
selector{<br>transform: rotate(90deg);
This will rotate the divider and make it vertical. Now you can move on to the Style tab and style the divider to make it more beautiful and unique.
Using the Spacer widget
Here in this method, you don’t need the Elementor Pro, you can create a vertical divider with the Elementor free. Here in this method, we are going to use the spacer widget. Open up the page with the Elementor editor and create a section with three columns. Add the Spacer widget in the middle column and for the rest of the column add the text widget.
Now you need to set the width of both text widgets to 50% and set the width of the spacer widget to 5%

Now move on to the spacer widget setting panel and adjust the spacer under the content menu.
![]()
Go to the Advanced tab and from the background, menu select the classic background and set a background color.
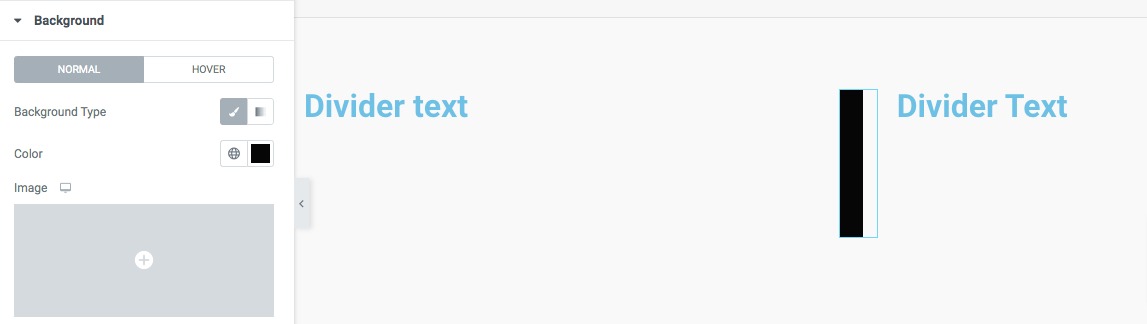
Now go to the margin option under the layout menu and set the right and left margins to make it look perfect for your design.

That’s it! your vertical divider is ready.
Wrapping Up
Following the process, you will be able to create a vertical divider on your website using the Elementor page builder. You can see our other article to learn How to Create Elementor Image Hotspot
How To Install New Fonts in Elementor
How to use the advanced settings option of Elementor
We hope this article will help you. If you like this article please like our Facebook page to stay connected


