
How to Create Elementor Image Hotspot
Looking for a way to create an image hotspot using the Elementor page builder on your website? Your website appearance creates a very good impression for your audience. A great visual website can easily attract more audiences and generate more sales. The users are interested to see a unique visual presence on a website. Image hotspot is a great feature to attract your visitors.
Using the image hotspot feature you can add different image areas to a single image. The hotspot text will show the location of the actual image. Using this feature you can do a lot more things and make your website different from others.
Creating an image hotspot feature on a WordPress website is very easy if you have the Elementor Pro page builder. Elementor Pro comes with the default Image Hotspot widget which you can use without a single line of code.
Here in this article, we will guide you to the easiest way to create an image hotspot using the Elementor page builder.
Create Elementor Image Hotspot
First login to your WordPress admin dashboard and go to Pages > Add New and open the page with Elementor Editor. Now click on the “+” icon to create a section and choose the one-column section.

After creating your section search for the Hotspot widget and drag and drop the widget on your created section.

Now you need to insert the image from the Choose Image option, you can add any image you want.
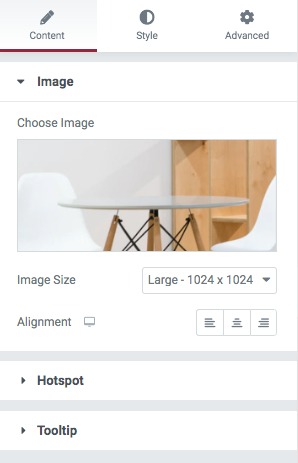
Move on to the hotspot menu where you can set the animation as –
- Soft Beat
- Expand
- Overlay
- None
You can also enable the Sequence Animation feature and set the sequence duration time.
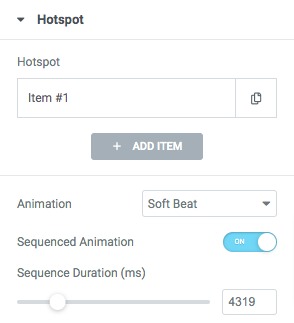
If you do not change the sequence duration then it will load on the page load by default. Now you need to edit the hotspot item. By default, there is one item available, click on it to edit. Here you will see two tabs, the first one is Content and the second one is Position.
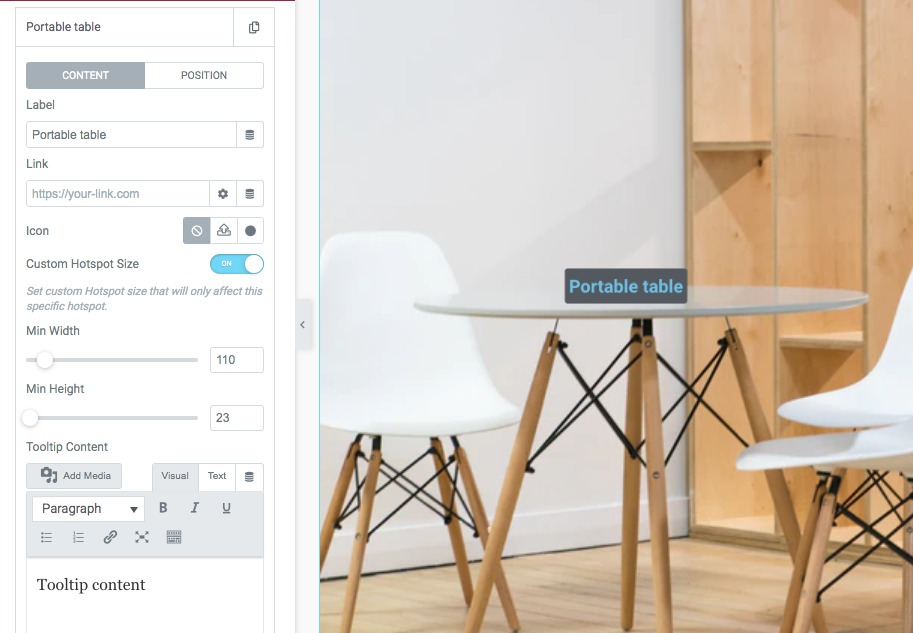
Content
From the content tab, you can add the item label, link, and set the icon. You can also set your custom size for the hotspot by adding min-width and min-height. Then you need to add the tooltip content.
Position
Move on to the position tab to set the position of the hotspot. You can set the
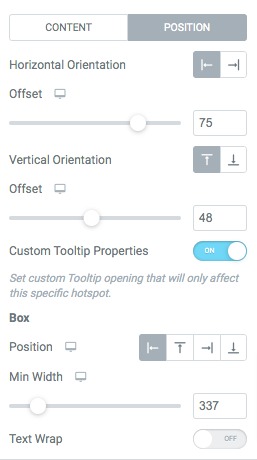
Similarly, you can add more items and set their position on your image.
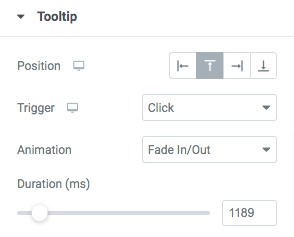
Now move on to the tooltip menu where you can set the tooltip position and trigger as –
- Hover
- Click
- None
You can set the animation as –
- Fade in/out
- Fade grow
- Fade by direction
- Slide by direction
Move on to the Style to style up the section

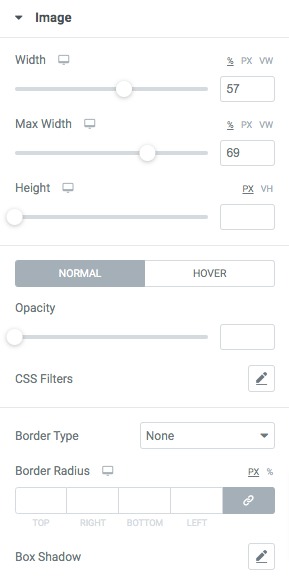
Image
Set the width, max width, and height of the image. You can also set the opacity, CSS filters, border types, border radius, and box shadow for both normal and hover conditions.
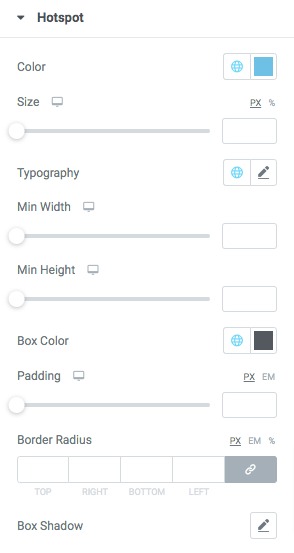
Hotspot
From here you can set hotspot color, size, typography, box shadow, and other things very easily. Similarly, you can style up the tooltip section.
Wrapping Up
Following the process, we will be able to create an image hotspot using the Elementor page builder. You can see our other articles to learn How To Install New Fonts in Elementor
How to use the advance settings option of Elementor
How to enable the Coming Soon mode on Elementor
We hope this article will help you. If you like this article please like our Facebook page to stay connected.


