
How to create a logo grid with Elementor
Do you want to create a logo grid with Elementor on your website? Here in this article, we will guide you to create a beautiful logo section on your website using the Elementor page builder plugin.
When you are providing services for different companies or organizations then you can show their logo on your website as your clients. It will create a good impression about your company to your users. You need to design this client logo section in a way that can easily attract your users.
Using the Elementor page builders you can easily create your pages without a single line of code. But Elementor doesn’t have many features to add a logo grid section to your website. But don’t worry you can easily do it using the Absolute Addons plugins. It’s one of the best addons for Elementor. So let’s see how you can create a logo grid using the Absolute Addons plugins.
Create a logo grid with Elementor
Absolute add-ons offer you so many widgets for your website. Some of the widgets are free and some of them are pro. But the logo grid widget is in the free version. So you can easily use it without spending your money. You can see the pro features and functionalities here.
Install and activate the Absolute Addons and open up any page to create your logo grid section. Now create a section by clicking on the “+” icon on Elementor. For the Logo Grid section, you can choose the column section to display the icon in a better way. After that from the block section of the left bar search for the Logo grid. Drag the Logo grid block and drop it into your created section.

Under the content tab from the Template option, you can choose different styles of logo grids. There are ten different styles available for the logo grid section.
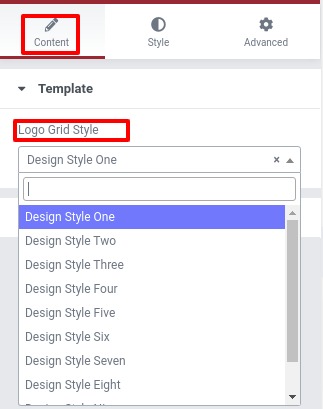
You can see all the Logo Grid styles from here.
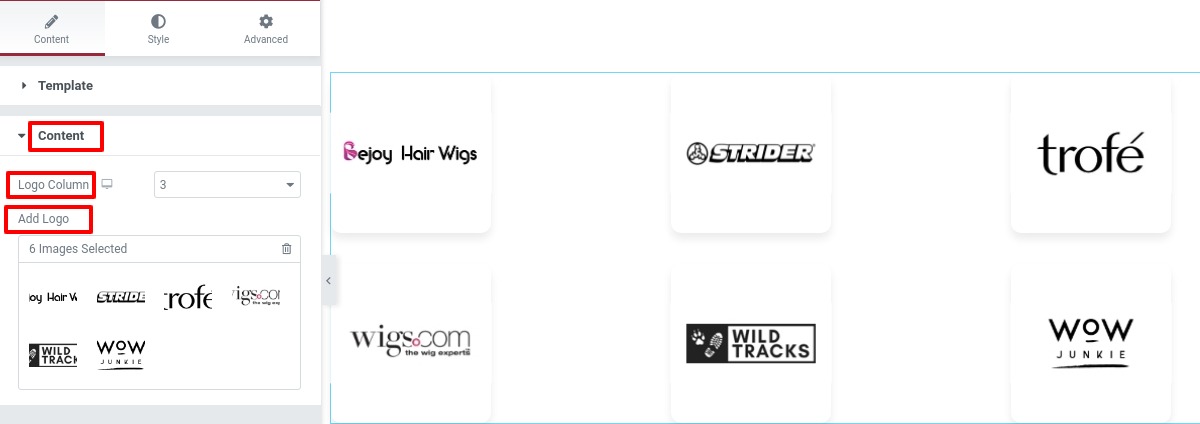
After selecting the style go to the content option where you can set the number number of columns to display. From the additional logo option, you can easily add your logos.
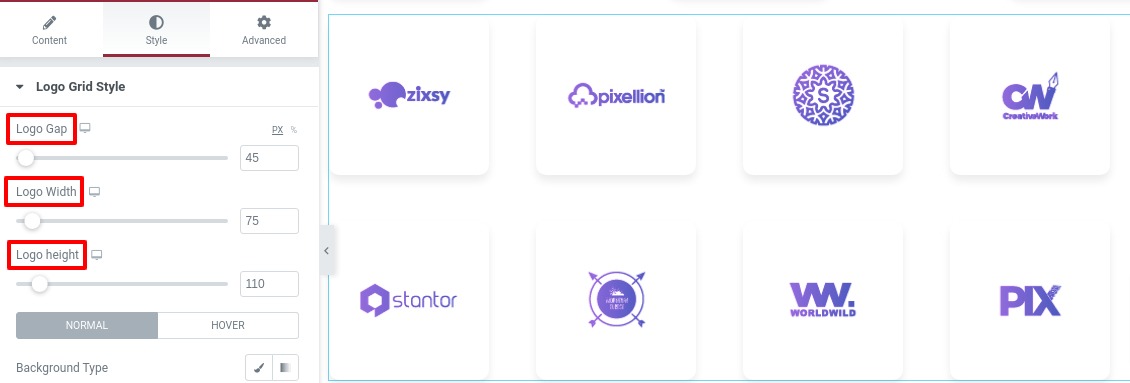
Move on to the style tab to style the logo grid section. You can increase or decrease the distance between logos using the logo gap option. Use the option logo width and logo height to set the size of your logos.
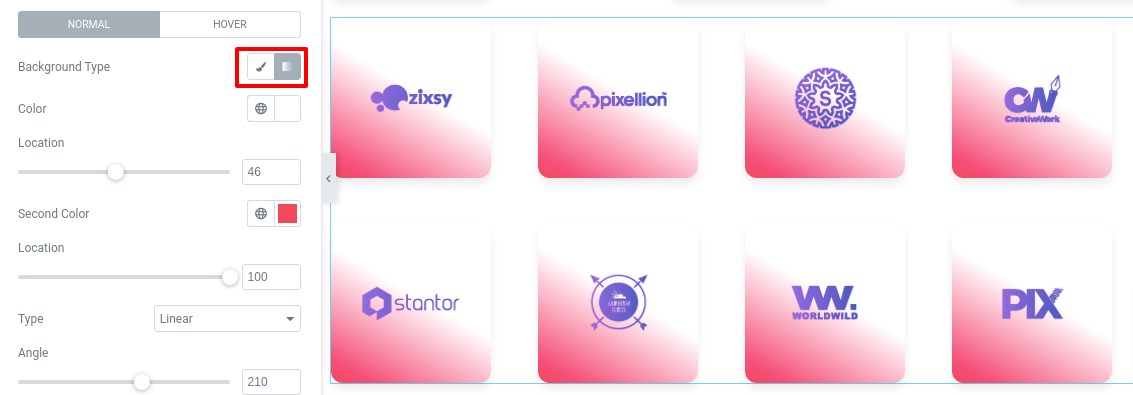
Now you can add style in the logo section for normal and hover conditions. For normal conditions, you can add a background as classic or gradient color. You can also add a border to the logo section and set the border width, color, and border radius.
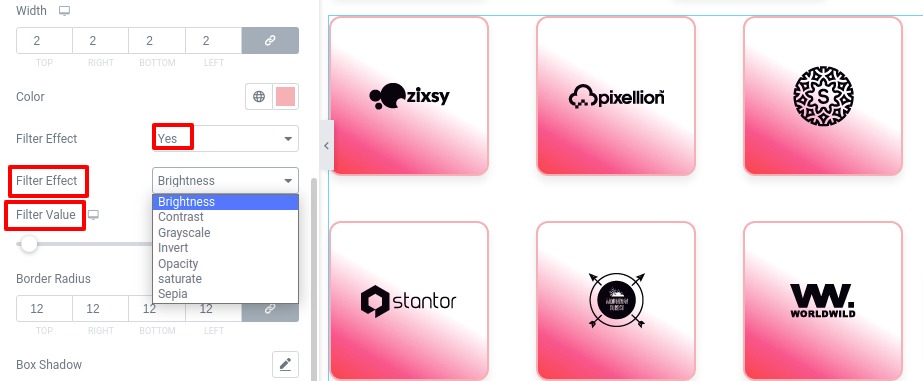
You can also add a filer effect to the logos using the filter effect. Select the filter effect “yes” then the filter option will show up and choose the effect and set the filter value.
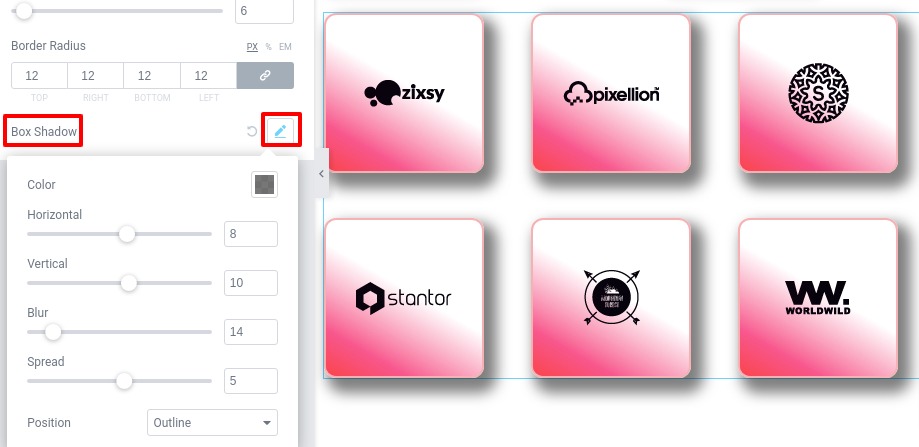
Add a box shadow to your logo using the box-shadow edit option.
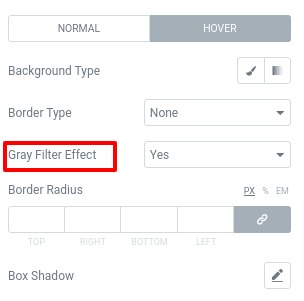
For the hover option, you can enable the gray filter effect from the gray filter effect option. And you can style the logo section using the same process you style the section for normal conditions.
That’s it! Your logo grid section is ready.
Wrapping Up
Following the process, you will be able to create a logo grid section on your website. You can see our other articles to learn How to add an image slider using Elementor free
How to Create a Gradient Button in Elementor
We hope this article will help you. If you like this article please like our Facebook page to stay connected.


Comments