
How to work with image carousel with Elementor
Do you want to work with an image carousel with Elementor?
People love carousels and sliders and the website owners want to have them on their website. With a beautiful image carousel, you can easily make your website look gorgeous. Elementor offers you the features to add image carousels to your website. As an Elementor user, you won’t miss this feature.
You can use the image carousel with Elementor free so there is no need to upgrade for the pro version. Without investing money you can make a beautiful image carousel section on your website using Elementor. Here in this article, we are going to show you how easily you can work with an image carousel with Elementor.
Work with image carousel with Elementor
In Elementor free image carousel widgets are available and using the widget you can easily create your image sliders. It will allow you to add basic image galleries with some features and options. But if you want more features with a unique and professional design then you can use the image carousel widgets of Absolute Addons
All the widgets of this Elementor Addons are fully mobile responsive and provide advanced features and functionalities. It offers you the Image Carousel widgets with different styles.
Using this widget you can import the image directly from your media files. You can also add an image title, caption, and description to describe the images. So, let’s see how to implement the image carousel widget on your website.
Adding image carousel widget
First, install and activate the Absolute Addons plugin, and then go to Absolute Addons > Widgets where you can see all the available widgets.
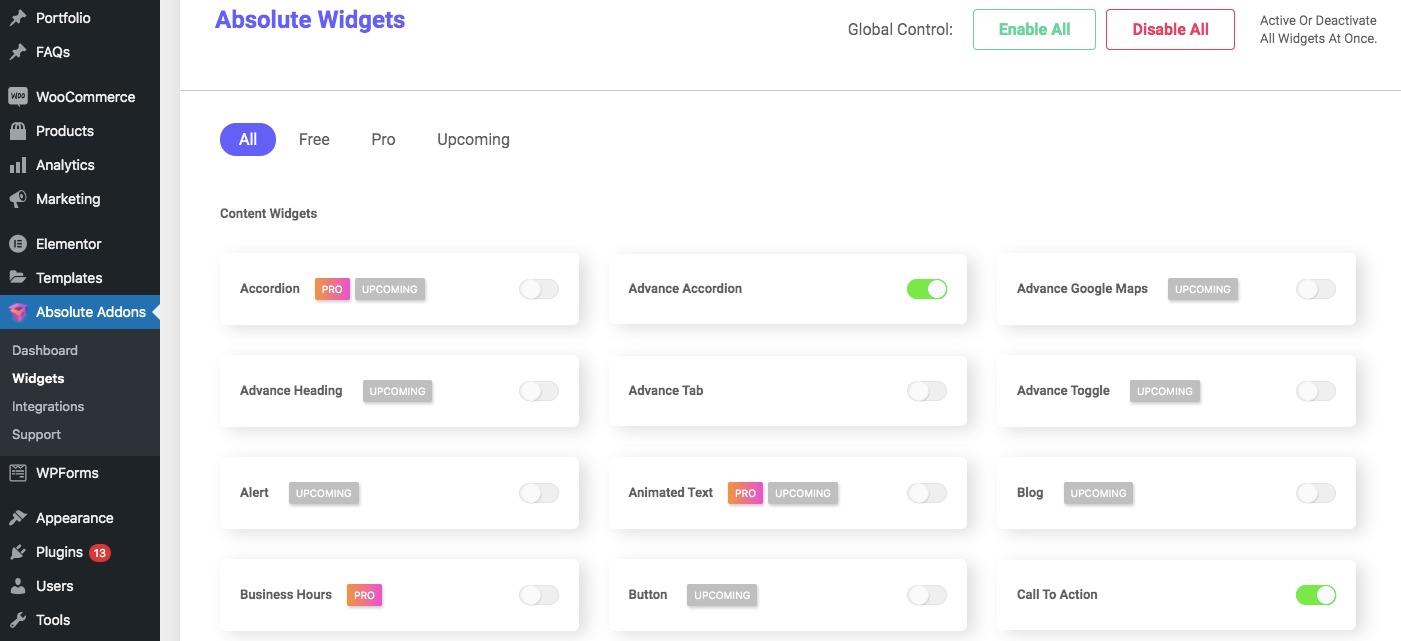
create a new page or open an existing page where you want to add the image carousel. Select the section and click on the “+” icon of Elementor.

After that choose the column and then from the left dashboard search for the image carousel widget. Drag the image carousel widget and drop it into your selected section.

Now under the Content tab from the Template Style menu, you can select the image carousel style. There are six different styles available. You can see all the styles from here.
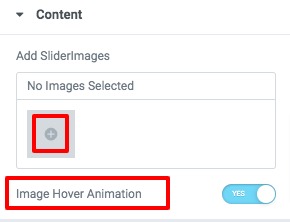
From the Content menu, you can choose the images for your carousel. You can select images from your media library or upload images from your device. Click on the add image icon to add your images. You can also disable or enable the image hover animation option.
Now from the Slider Option menu, you can set up your slider features. Choose the number to display in the slider as well as scroll in the slider. You can enable or disable the autoplay & loop option and set the autoplay speed. You can also set the distance between siders and slider direction as left or right. There is also an option to choose slide effect as slider or fade.

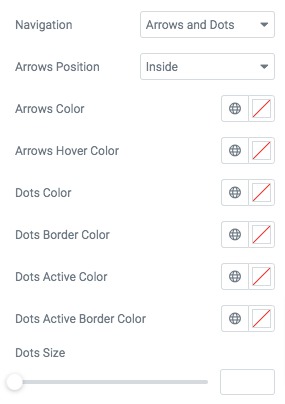
You can choose the navigation as –
- Arrows & Dots
- Arrows
- Dots
- None
Set the arrow color, arrow hover color, dot color, dot border color, dot size, and others.
Move on to the Style tab to style up the image carousel section.
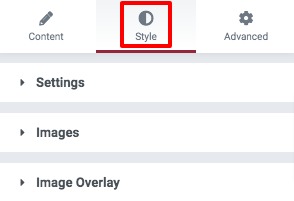
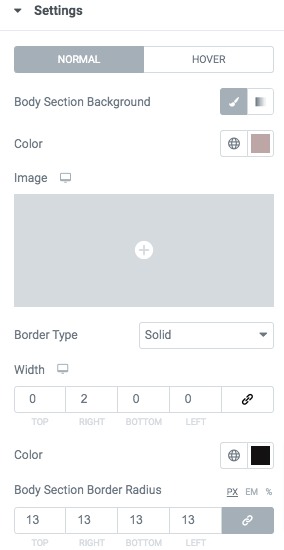
Settings
Set body section background as classic or gradient, add border type, color, box-shadow, padding, and margin for normal & hover condition.
Image
Set image background as classic or gradient, add border type, color, box-shadow, padding, and margin.
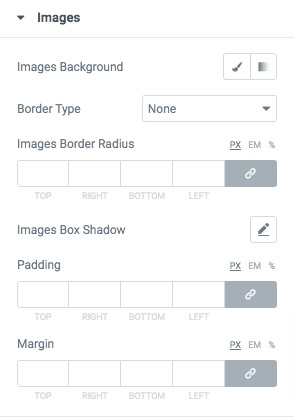
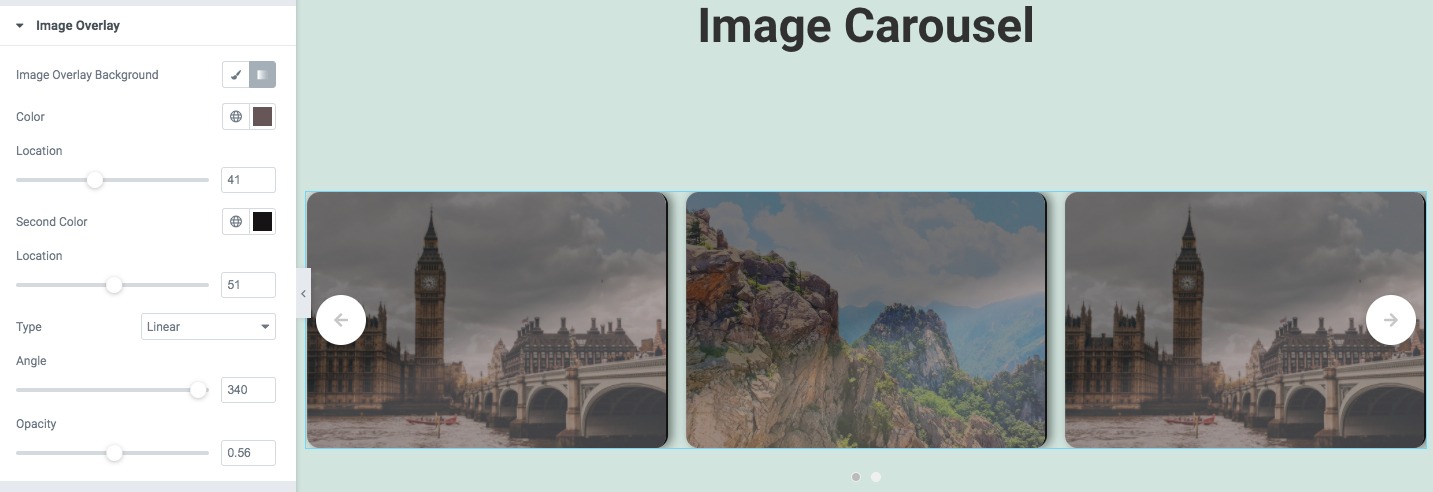
Image Overlay
Add image overlay background color and set the opacity level.
Wrapping Up
Following this process, you can easily create a beautiful image carousel on your website. You can see our other articles to learn How to create an image accordion with Elementor.
How to create custom shapes in Elementor with the Spacer widget
How to fix autoplay video not working in Elementor
We hope this article will help you to add beautiful carousels to your website. If you like this article please like our Facebook page to stay connected.


Comments