
How to create custom shapes in Elementor with the Spacer widget
Do you want to create custom shapes in Elementor but are confused about how you can do it? Don’t worry, we are here to help you.
In web pages, it is very common to use geographical shapes. It is one of the basic elements every website has. There are many geographical elements and each geographic element presents a different meaning. Using the custom shape option you can make these geographical elements more beautiful as well as meaningful.
Elementor does not have any particular widgets for custom shapes but offers you the Spacer widgets. With the help of the spacer widget, you can add a custom shape.
The spacer is mainly used to add blank space between different elements. But with some tricks, you can make this spacer element as our custom shape elements and add it to our web pages.
Spacer Widgets are available for both free and pro versions of Elementor. So you don’t need to pay for your custom shape. But with this process, you won’t be able to create all shapes. There are some limitations here. Let’s see how to do it.
Create Custom Shapes in Elementor
First, open the page or post where you want to add the custom shape. Open the page with Elementor editor and then create a section where you want to add the spacer widget. You can add the widget anywhere you want on your page.

Now under the content tab from the space option, you can add the height of the spacer.

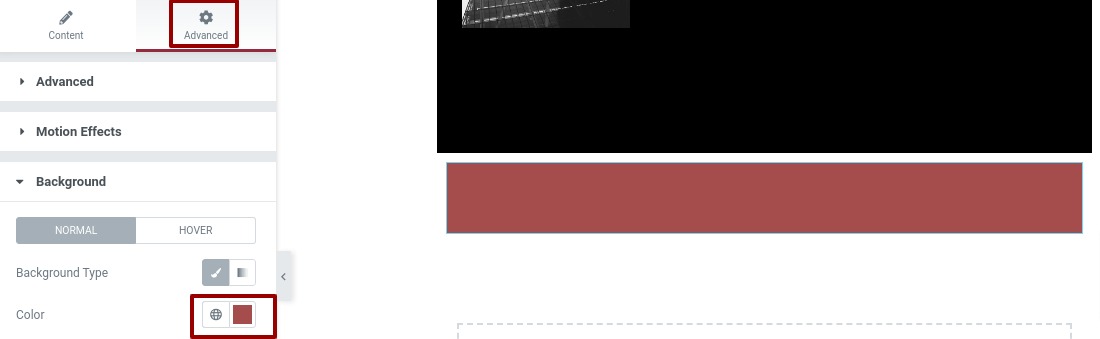
After setting the height you need to add a background of the spacer to make it visible. To add the background go to the Advanced tab and then from the background option choose a background color.
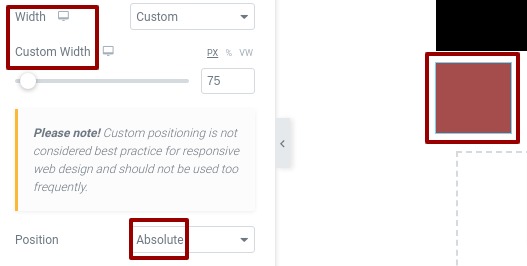
Now from the positioning option, you need to set the width of the spacer. From the width drop-down menu choose the custom option and then add the width you want. Your spacer height and width should be the same for a circle shape and need to set the position as absolute. So if you want a circle shape set the width level the same as the height.
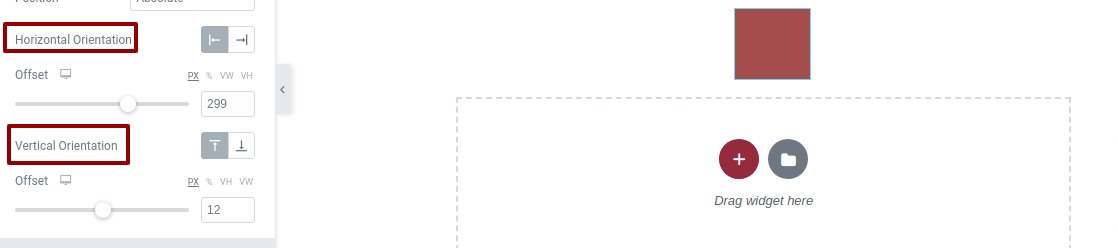
You can also change the horizontal and vertical positions of the spacer. Use the offset level to place the spacer in the right place.
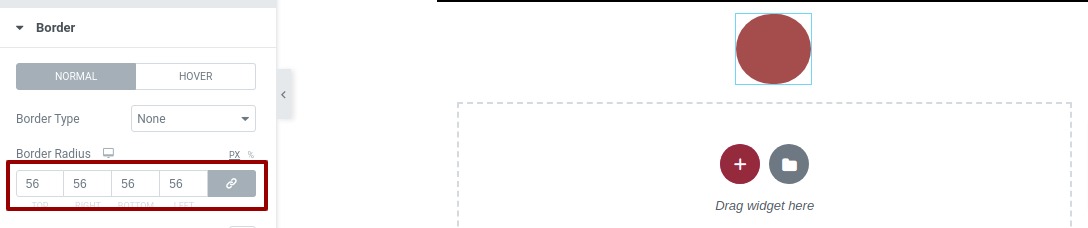
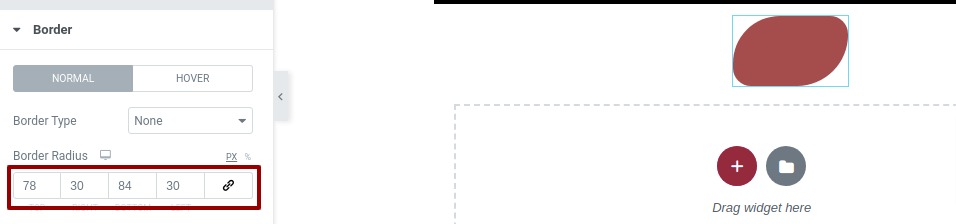
Now we need to change the border radius of the spacer. For that go to the border section and then add border-radius from the border-radius field. Your spacer is now square, so you don’t need to change the border for that. But if you want to make it a circle add the border-radius. Make the border-radius values the same for all the fields to get the circle value.
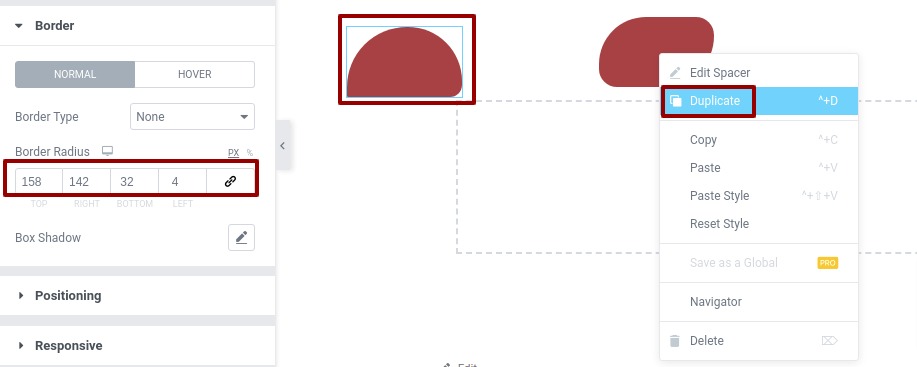
For another custom shape, you can change the border-radius values differently to get the shape you want
You can also change the height and width of the spacer to change the shape. You can move the shape anywhere you want by dragging and dropping it.
Add multiple custom shapes to the page by duplicating this shape and changing the value to create another shape you want.
Wrapping Up
Making your own custom shape is not a very hard task to do. With some tricks, you can easily do that. Following this process, you can create beautiful custom shapes to make your website look better. You can see our other Elementor-related article here.
We can also see our other articles to learn How to create section templates in Elementor
How to create icon-only buttons in Elementor.
We hope this article will help you. If you like this article please like our Facebook page to stay connected.


Comments