
How to use advance tab with Elementor
Do you want to add an advance tab with Elementor on your website? This article will help you to add an advanced tab section to your web pages using the Elementor page builder.
The advanced tab section will help you to display more information in limited space on your page. You can add text, images, descriptions, icons,s and other information in the advance tab section that helps your user without distracting their browsing. Elementor has its own tab widget that offers you to add a tab to your pages. But it doesn’t have a different layout or advanced features.
Design your website pages with a professional style using the Advance Tab Widget of Absolute Addons. You can easily implement it in your web pages and edit it within a minute based on your website focus.
Use the advance tab with Elementor
Step 1
To use our Advance Tab widgets, first, create a section by clicking on the “+” icon on Elementor, and then from the block section of the left bar search for Advance Tab. Drag the Advanced Tab block and drop it into your created section.

Now under the Content tab, you can select the Advance Tab style from the Advance Tab Style dropdown menu. There are ten unique and professional-looking styles available for the Advance Tab section. You can choose any of the styles you want.
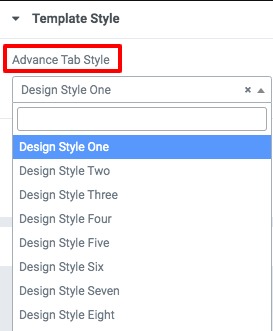
You can see all the Advance Accordion-style from here –
Choose any of the styles you want by clicking on the style number.
Step 2
After selecting the style set the tab position as vertical or horizontal. You can also set the alignment of the tab from here.

From the Content section, you can add content to your tab section. By default, there are four items available. You can delete an item by clicking on the “X” icon and copy an item by clicking on the copy icon. Click on the Add Item button to add a new item.
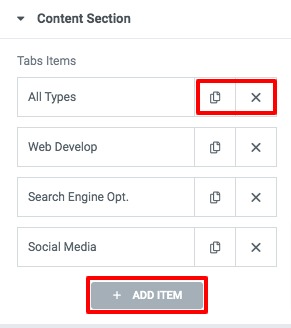
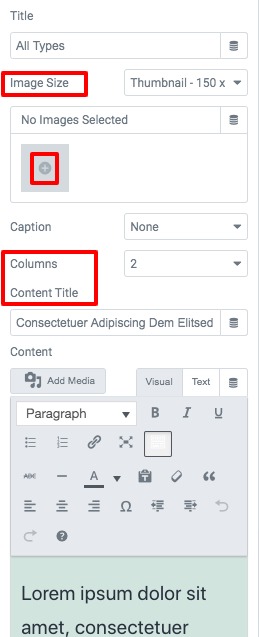
To edit an item just click on it. Now you can add a title from the Title field. After that add images by clicking on the add image icon and then choose the image size. There are different image sizes available. You can add images from your media library or upload images from your device.
You can disable the caption option or can select the custom caption or attachment caption option. From the column option, you can select the image column and then add the content title with a description.
You can also enable or disable the Read More button and add a button text with a link.
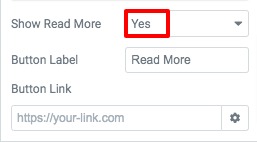
Step 2
Now move on to the Style tab where you will find different style options to customize your tab section.
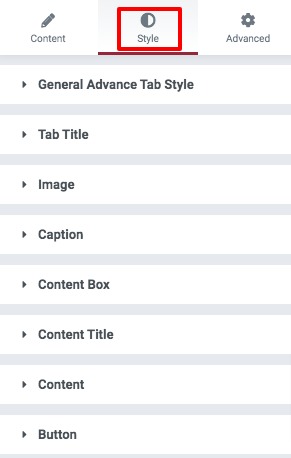
General Advance Tab Style
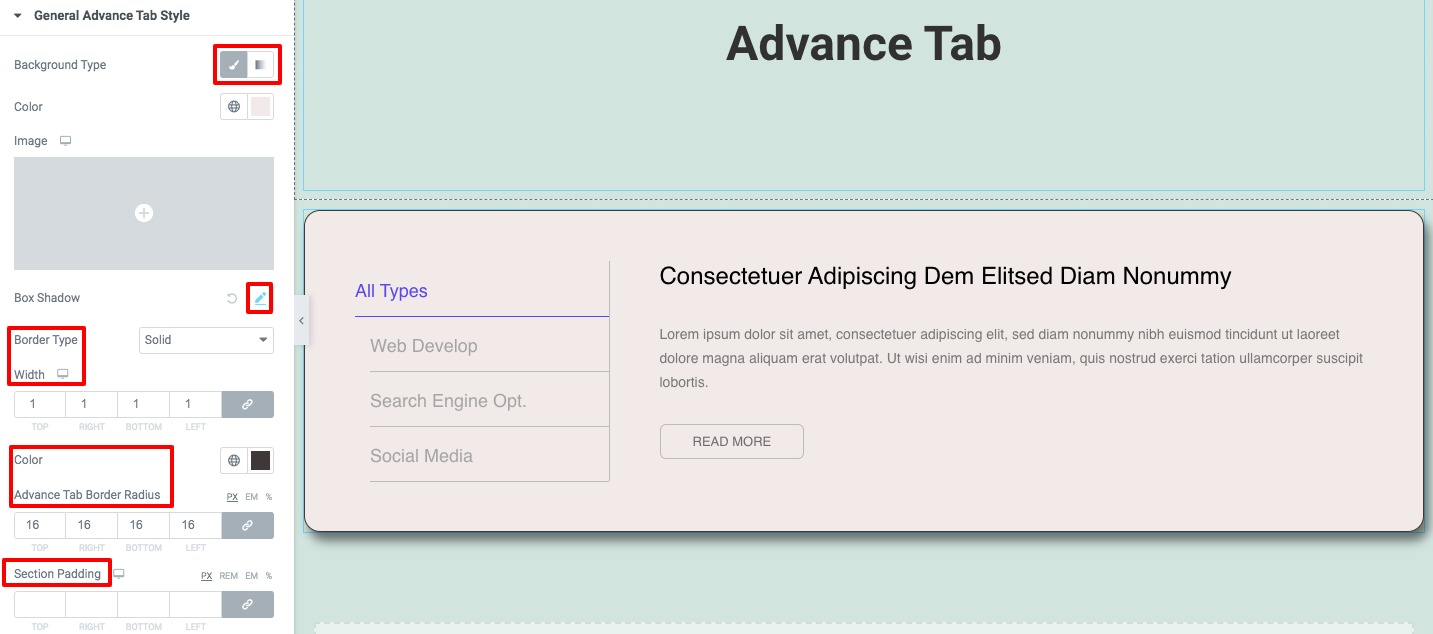
Under the General Advance Tab Style menu set the background type as Classic or gradient. You can also use an image as a background too. After that click on the box-shadow edit icon to add a box-shadow to it.
Set the border type, and add border width, color, border-radius. At last add padding and margin for the section.
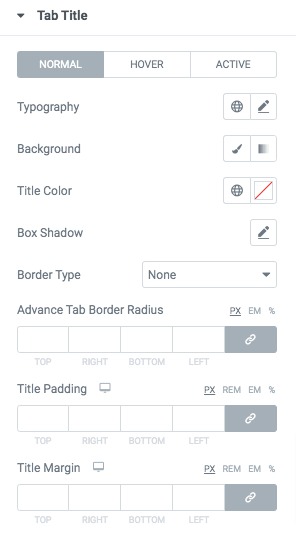
Tab Title
Style your Advance Tab title text for normal, hover, and active condition. Set the typography, background, title color, box-shadow, border type, padding, and margin for all three conditions.
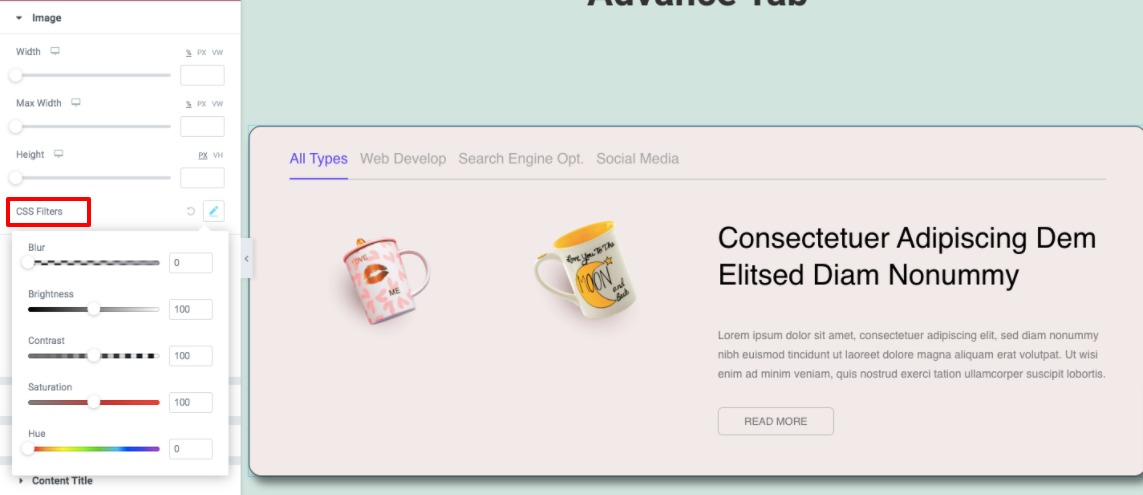
Image
Add image width, height, border type, box-shadow from here. You can also add different CSS filters to your image too.
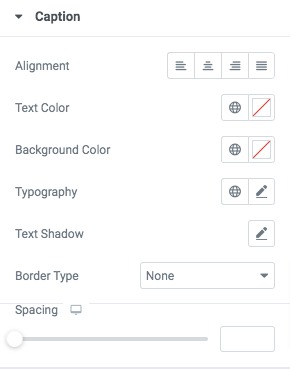
Caption
If you enable the caption then you can set the caption alignment, color, background typography, and others.
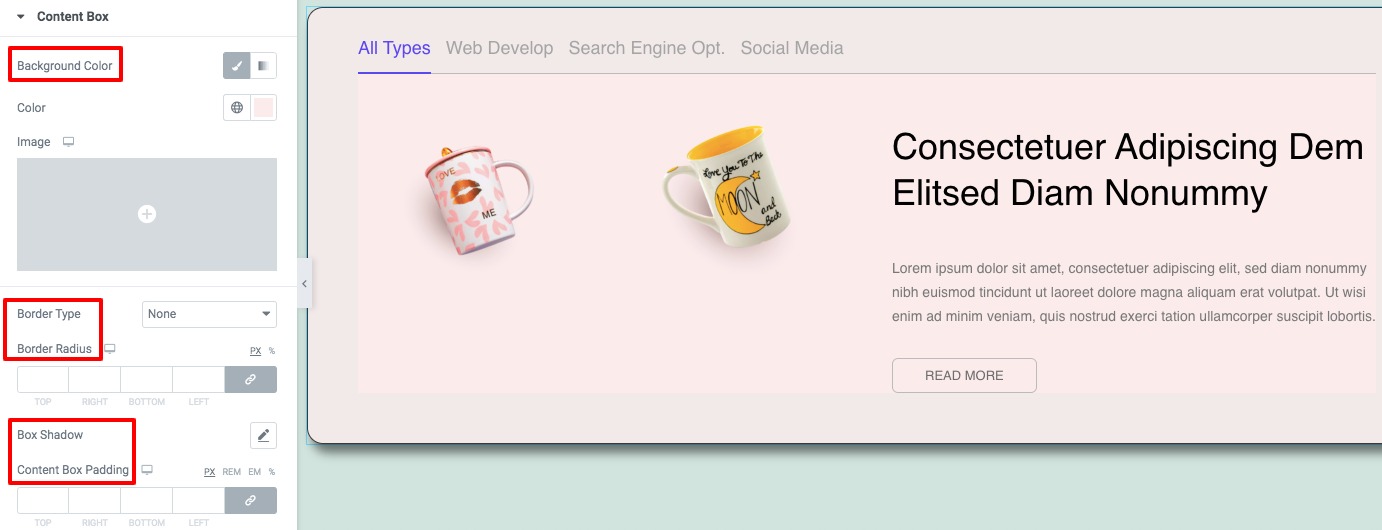
Content box
Add content-box background color, border, box-shadow, padding, and margin from this option. Similarly, you can set content & content title typography, color, and other styles from the Content & Content Title menu.
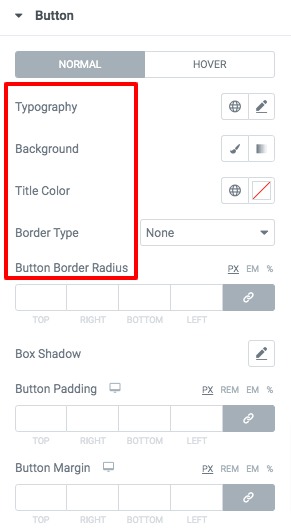
Button
Add button typigraphy, background, color, border, padding, and margin for both normal and hover conditions.
That’s it! You have successfully redesigned your Advance Tab section.
Wrapping Up
Following the process, you will be able to add an advanced tab section to your pages. You can see our other articles to learn How to create a multicolor heading with Elementor
How to add an image slider using Elementor free
How to Create a Gradient Button in Elementor
If you like this article please like our Facebook page to stay connected.
