
How to create a custom WooCommerce Cart page
Looking for a way to create a custom WooCommerce cart page on your eCommerce website? Using the Elementor page builder you can easily customize your online shop. Elementor Pro offers you the WooCommerce builder feature that you can use to customize your website. You can easily create custom pages for your WooCommerce pages like the shop page, cart page, single product page, my account page, and others without add-ons. The Elementor itself provides you with all the features you need.
Here in this article, we will guide you to the easiest way to create a custom WooCommerce cart page using the Elementor website builder.
Create a custom WooCommerce Cart page
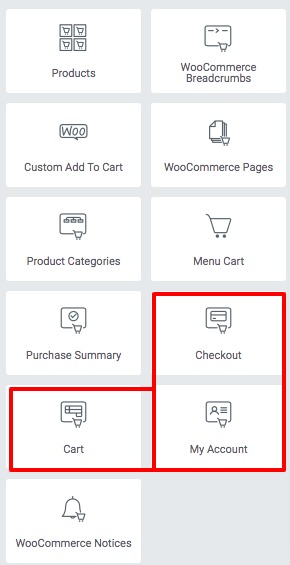
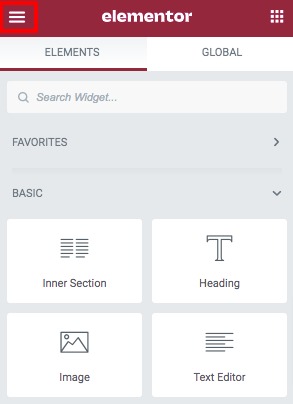
Before creating your custom WooCommerce cart page make sure that you have upgraded to Elementor Pro version 3.5. Now open up the page with the Elementor editor. Here in the Elementor widget panel, you will be able to see three different widgets –
- Cart
- Checkout
- My account
Creating a cart or checkout page is different from the shop and single product page. On the other hand, My account page is also different from others. Using the widget you can separately create all the pages to your own requirements. The cart page, my account page, and checkout are created automatically after installing the WooCommerce plugin on your website. You can edit the existing page or create a new page. So let’s see how to edit the existing page.
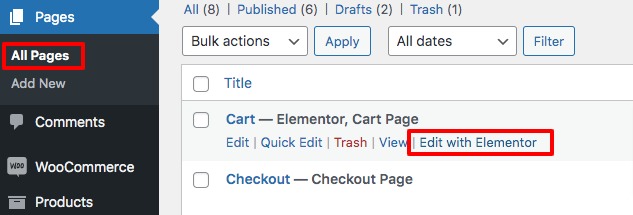
Go to Pages > All pages page and click on the edit with Elementor option on your cart page.
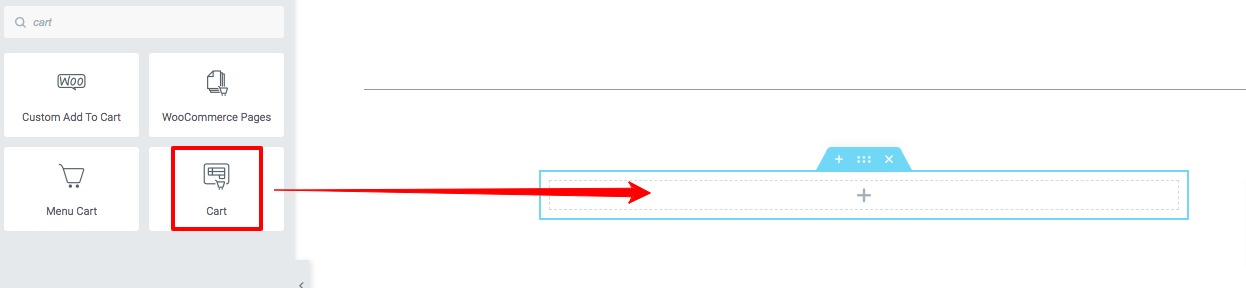
Now after loading the page delete the existing widget and now add the cart widget from the Elementor widget panel.
After adding the Cart widget you can customize it from the settings panel. The content tab will offer different options to customize your cart appearance.
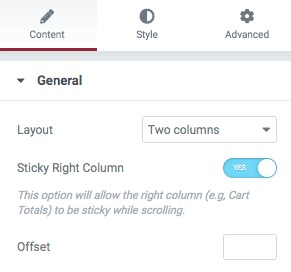
General
From the general menu, you can select the cart layout as one-column or two-columns. Then you can enable the sticky right column feature; it will allow the right column to be strict while scrolling. You can also set the sticky right column offset too.
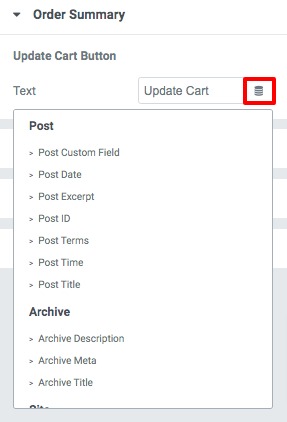
Order Summary & Coupon
You can edit the cart button & coupon button text from the order summary menu. Here in this menu, you can also add a dynamic tag instead of cart or coupon text.
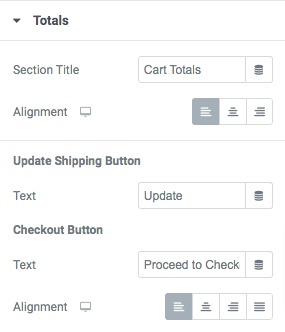
Totals
Under the total menu, you can set the section title for total value text and set the alignment of the text. After that, you can add the Shipping Button text as well as the checkout button text. There is also an option to set the alignment of the text too.
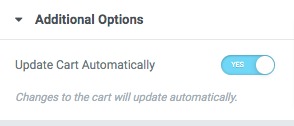
Additional Option
From the additional options menu, you can enable the update cart automatically option.
Now move on to the Style tab where you will find the features to style up your cart page.
Sections
You can set the background color, box-shadow, border type, border color, border radius, padding, and margin for the cart section.

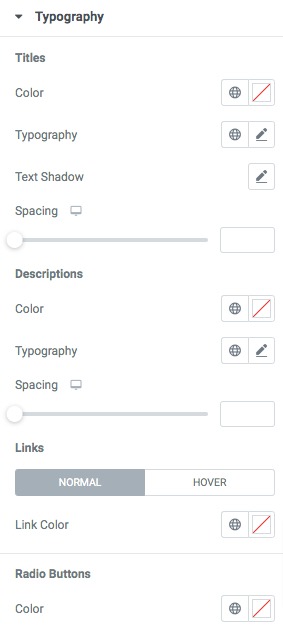
Typography
From the typography option, you can set the title color, font family, text-shadow, and spacing. Similarly, you can style up the description, link, and radio button text too.
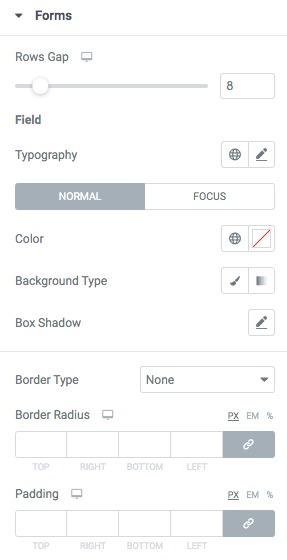
Forms & Order Summary
From the forms menu and order summary menu, you can set the rows gaps, filed typography, color and background, and others. You can also style up the button section too from here.
Following the same process, you can style up the Totals, Checkout Button, and Customize sections. When you are done click on the Update button to save the changes. It will update the page as you design it.
If you create a new page for your car section then you need to change the cart page from WooCommerce settings.
Change the WooCommerce cart page
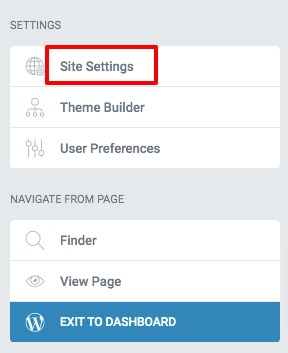
To change the WooCommerce cart page click on the hamburger menu on the Elementor dashboard.
It will show you the settings option, and from there click on the Site Settings menu.
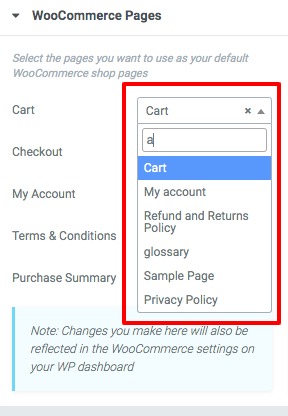
Now scroll down and move on to the WooCommerce section.
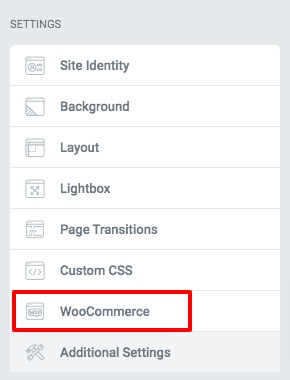
Now from the cart field search for the page you just created and add the page. After that click on the update button. It will set your selected page as the default cart page of your website.
Wrapping Up
Following the process, you will be able to create a custom WooCommerce Cart page on your website. You can see our other articles to learn How to create a reading progress bar using the progress tracker widget in Elementor
Best Free Elementor Themes in 2022
How to create a PDF file download button in Elementor
We hope this article will help you. If you like this article please like our Facebook page to stay connected.


