OceanWP WordPress Theme – An in depth review
OceanWp is a very fast-growing multipurpose free Elementor WordPress theme with more than 700000 active installations. This theme can help you promote your business easily and uniquely with its extra flexibility and features. Without any coding experience, you can customize and edit all the elements of this theme. It also offers you 80 plus demos so you can easily choose the best or perfect for your business.
Features:
- Responsive
- Fast page load time
- eCommerce supported
- RTL and translation ready
- SEO friendly
How to install the OceanWP WordPress theme
To install the theme navigate to Appearance > Themes and then click on the add new theme option, it will open the WordPress default theme directory. Search for OceanWP in the search box and the theme will appear. Just click on the install button to install the theme.

It will take some seconds to install the theme. After successfully installing the theme you can see the live preview of the theme from the preview option. To apply the theme to your Website click on the Activate option.
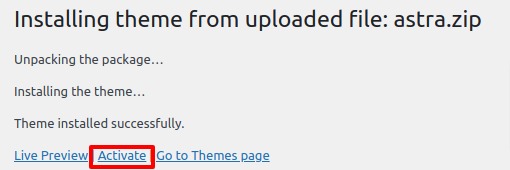
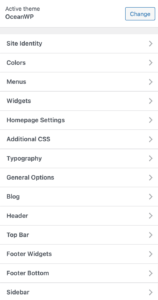
Your theme is activated. Customize the general settings of the theme from the customize option. You can see many customization options available. You can set the global setting, set header, footer, sidebar, etc from this option.
Site Identity
Here from the site identity option, you can add your website title and tagline. There is also an option to show or hide the site identity. You can also add a site icon. Site icons refer to the graphical symbols visible in browser tabs, bookmark bars, and WordPress mobile apps. 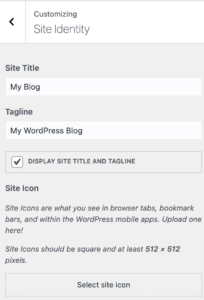
Color
You can set the header text color from this option. 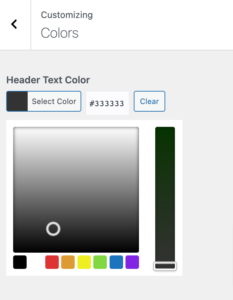
Menu
Add, edit delete and reorder all of the menus on your website from here. You can reorder all the menus and sub-menus and add a menu link to it. 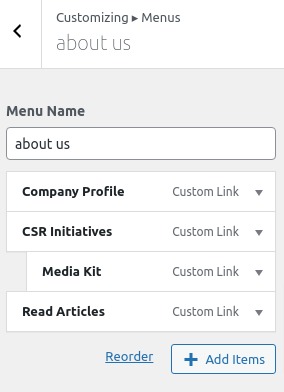
Widgets
You can add and manage widgets from different sections of your website. You can add edit and delete Woocommerce sidebar widgets, default sidebar, and footer widgets. 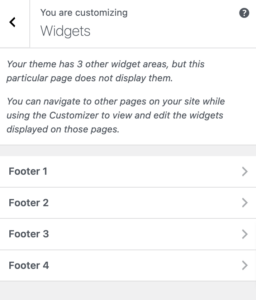
Homepage Settings
From here you can select the content that appears on the homepage of your website. This can either be posts arranged page like a traditional blog or a static/fixed page. You can set the posting page or any static page as the homepage. Then you need to select the page. You can select from any existing page or create a new page. 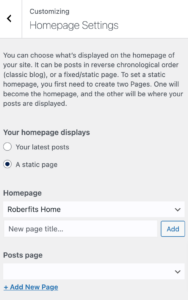
General Options
Go to general styling from the general options where you can select your primary color, hover your primary color, and border color. You can also set background colors and images. From general settings, you can set the layout style as boxed, wide, or separate. Set main container width, sidebar width, and page layout.
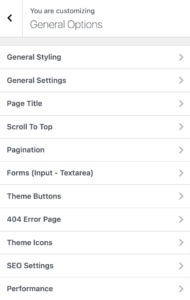
From the page title option, you will be able to set title visibility, and title tag, and add background color, and text color. Choose your scroll-to-top icon from the Scroll to top option. You can also set the position and size and add some style as your own. Add your pagination position, font size, border, and color from the pagination option. From the form option, you can style your default form. Add the design of your website’s default button from the theme button option. From the 404 pages, you can enable or disable the blank page option. You also select the layout and choose a template for 404 pages.
Typography
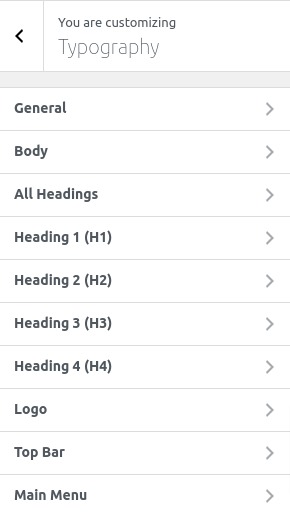
Choose the typography for all the text sections of your website. You can set general typography style, heading typography style body typography style, and many others.
Top Bar
Go to the general tab from the Top Bar option where you can enable or disable the top bar, set visibility, and add padding, style, and color for the top bar section. From the content, the tab adds your content and from the social tab add a social media icon with a link.
Header
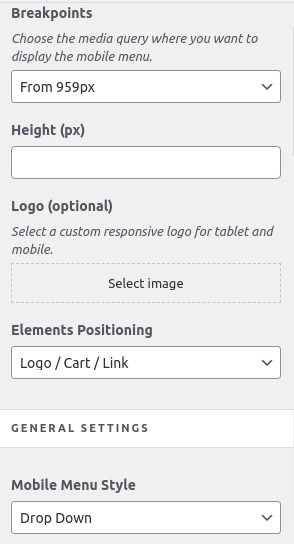
Go to the header option to set header style, height, and color. From the header media tab, you can add a video or image to your header. Set the header position and overlay color. From the logo, the tab adds the logo and retina logo. Choose a logo color for normal and hover conditions. From the mobile menu tab, you can add a logo specially for mobile devices and add style to it.
Blog
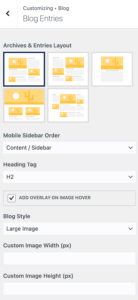
The blog entries tab from the blog option will enable you to choose the layout for the blog section. You can also set the blog pagination style and reorder elements. The single post tab makes a global style for all the single post pages.
Sidebar
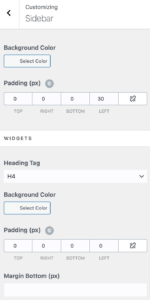
Add sidebar background, padding, background color, and border color from the sidebar options.
Footer widgets
You can enable or disable the footer widgets and choose their visibility. Select any template for the footer or you can add the column number to display in the footer section.
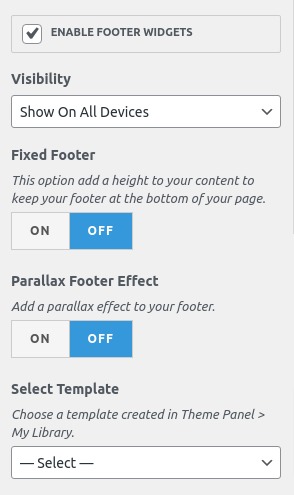
When you are done click on the publish button to save the changes you made.
Install OceanWP Demos
To install the OceanWP demos you need to install and activate the Ocean Extra plugin. Navigate to Plugins > Add New and search for Ocean Extra. Install and activate the plugin on your website.

Now navigate to the OceanWP dashboard and then the Install Demos option to view and install the demo you want. There are different types of ready-made templates are available.
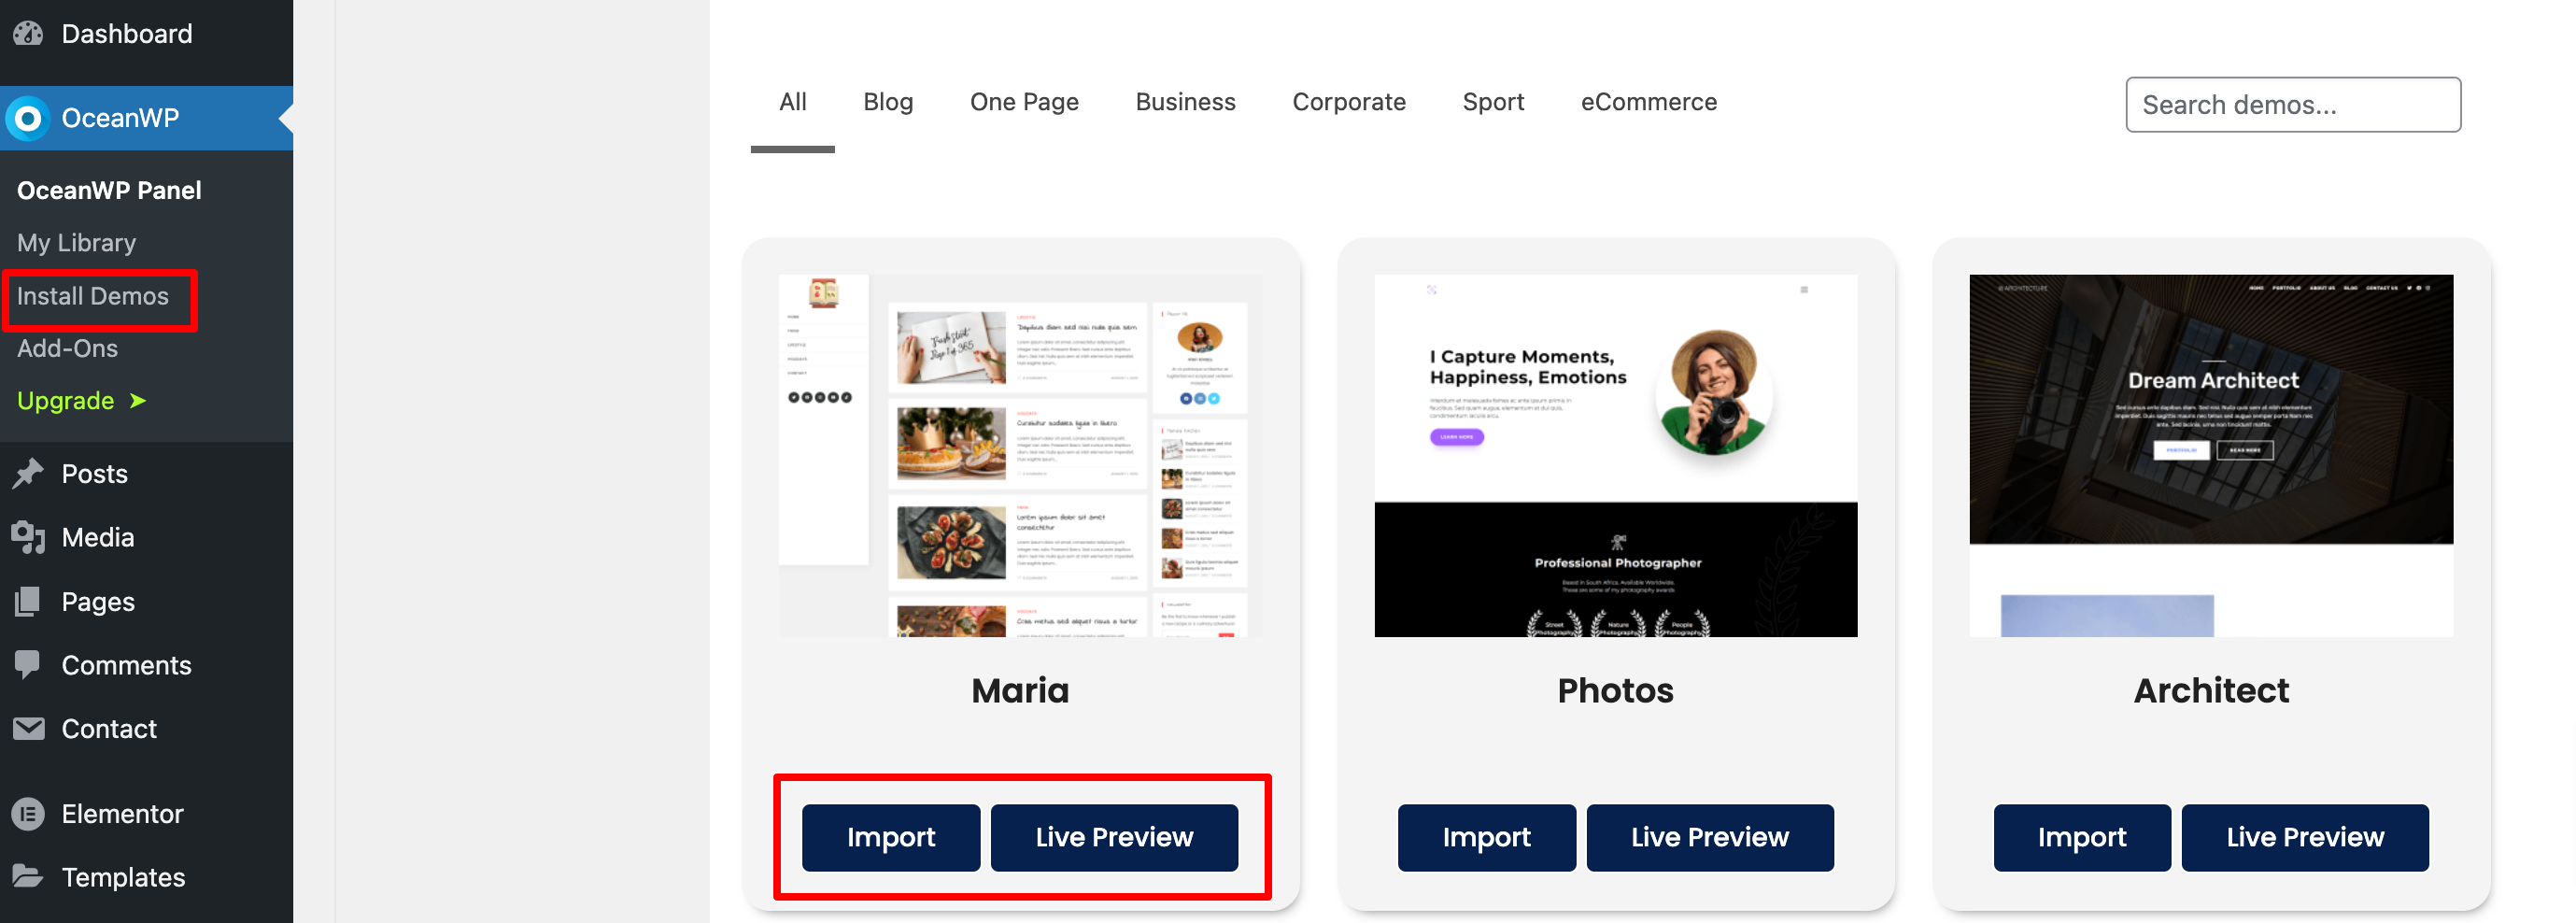
You can preview the template and then click on the Import button to install the demo on your website. It will show you the required plugin list while importing the demo. You can install the plugin manually or it will install the plugin automatically while importing the demo. You can also select which data you want to import.
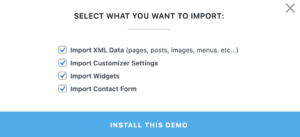
This will install the full demo with content on your website. After importing the demo you can replace the content and images as per your requirements to make it perfect for you.
Wrapping Up
This article will help you to understand the features and functionalities of the OceanWP WordPress theme. Reviewing the article you will understand is the theme suitable for your website or not. You can see our other articles too
Ayyash – A base WordPress theme for your need
Best Free Elementor Themes in 2023
Astra WordPress Theme Reviews & Product Details
We hope this article will help you. If you like this article please like our Facebook page to stay connected.


Comment