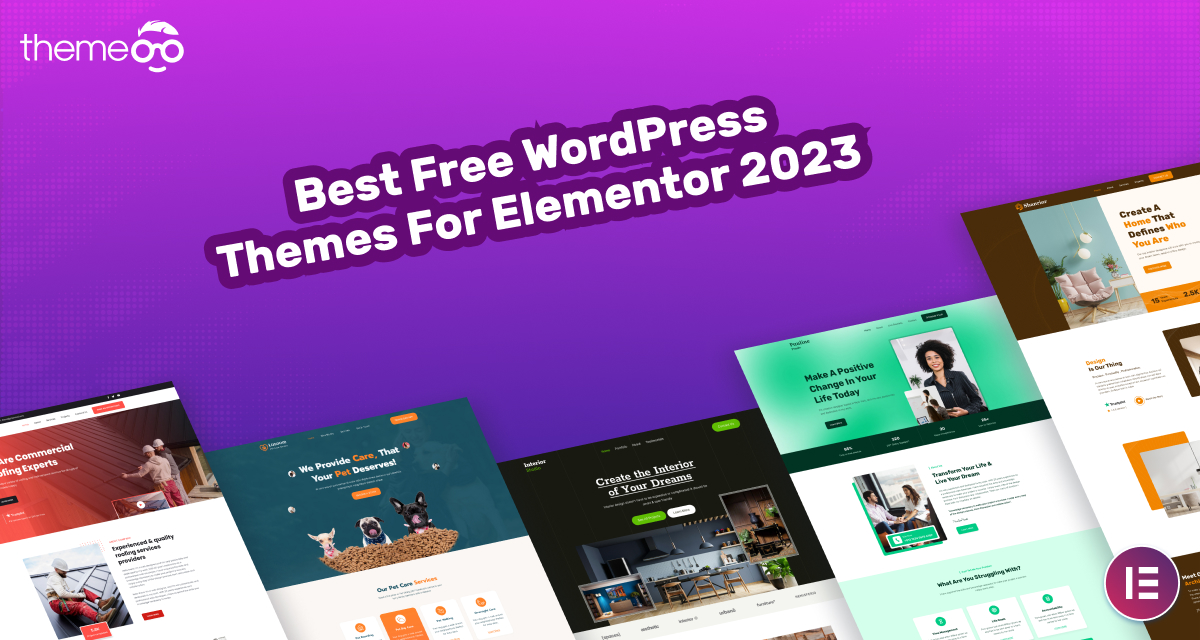
Best Free Elementor Themes in 2023
Are you looking for the best free Elementor Themes? Building a website may seem painful and daunting when you have little knowledge of coding. But with the help of a page builder, you can easily make, design, and customize your website very easily. There are a few page builders available to build a WordPress website. Among them, Elementor is one of the best and most popular page builders with so many features and functionalities.
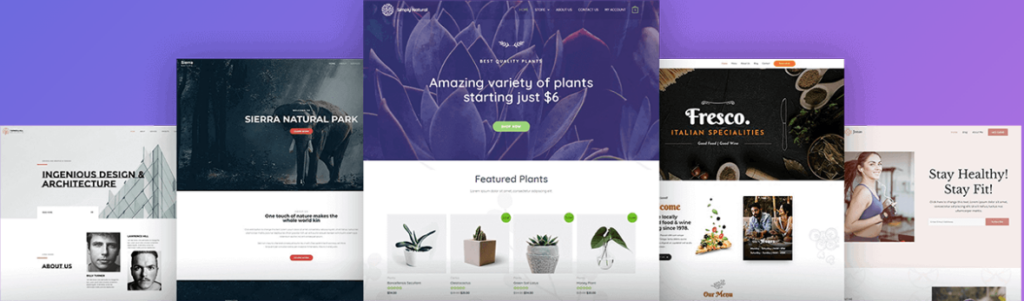
With the help of this page builder, you can easily make your own website. To work with Elementor you will need a free WordPress theme that will integrate properly with this plugin. So here in this article, we will discuss some of the best free Elementor WordPress themes in 2023.
Best Free Elementor WordPress Themes in 2023
Astra
Astra is a very popular free Elementor WordPress theme with many features. It is super customizable, lightweight, and easy to implement. This theme is also WooCommerce supported so you can use it as an online shop also. It offers many unique features and all of these features support customization. Astra is made with user-friendly code so for developers it will be easy to customize the code.
More than 1,253,898 websites are built with these themes so you can easily guess the popularity of this theme.
Features:
- Pre-built websites
- Customize without code
- Easily integrate with Page builder
- Superfast performance
- Layout settings
- Colors and typography
- No jQuery
How to install Astra in WordPress
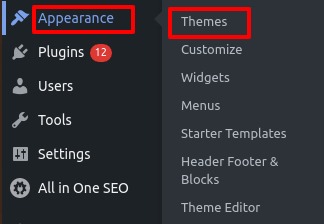
To install the Astra theme go to their official website WPAstra and download the free version of the theme. A zip file named “astra.zip” will be downloaded and to install the theme go to your WordPress website and log in to the dashboard. To install the theme go to Appearance > Themes where you can see all your available themes. From this page, you can add the theme.
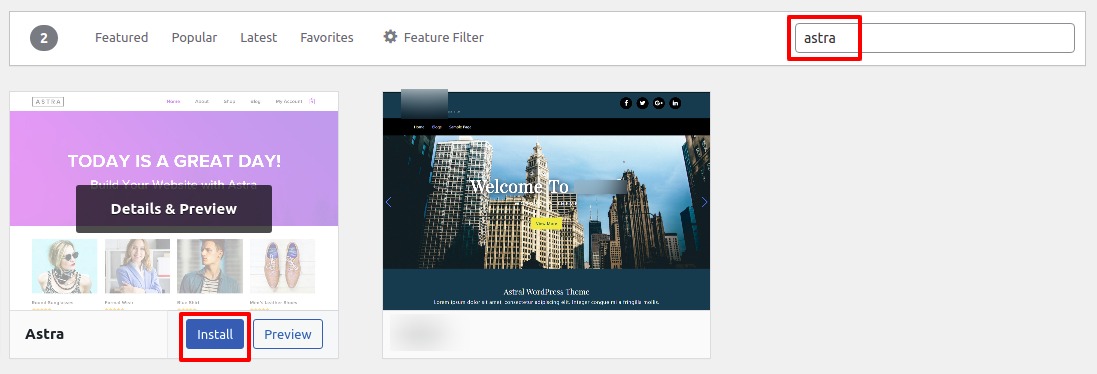
To install the theme click on the add new theme option, it will open the WordPress default theme directory. Search for Astra in the search box and the theme will appear. Just click on the install button to install the theme.
 It will take some seconds to install the theme. After successfully installing the theme you can see the live preview of the theme from the preview option. To apply the theme to your Website click on the Activate option.
 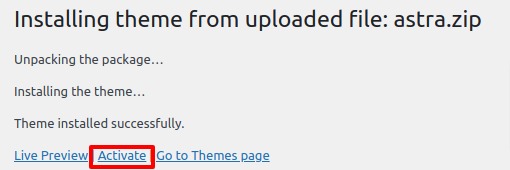 Your theme is activated. Customize the general settings of the theme from the customize option.
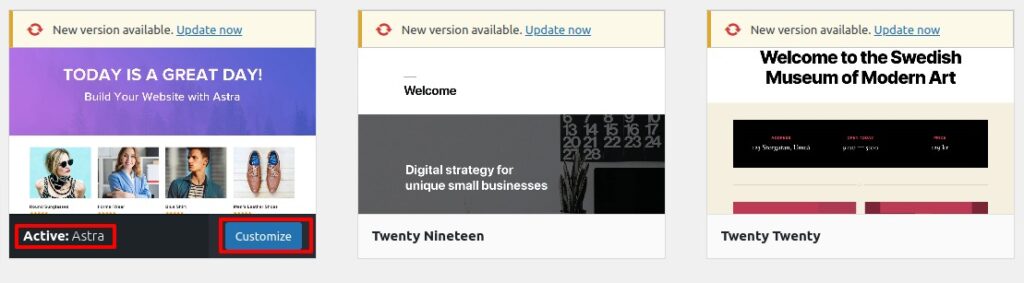
You can see many customization options available. You can set the global setting, set header, footer, sidebar, etc. from this option. 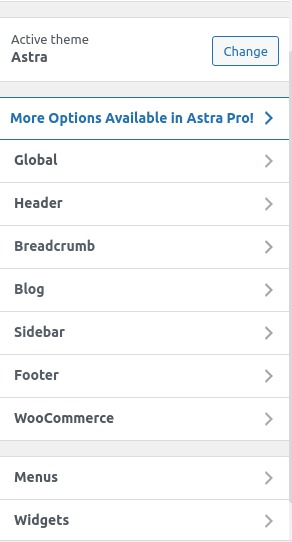
General
From the General option, you can set global typography, colors, containers, and buttons. Typography There are two types of typography options are here base typography and headings. Base typographies are the body and content text. You can set global font family, size, weight, line height, and others for all body and content text. 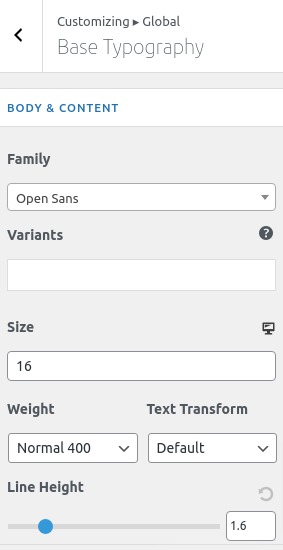
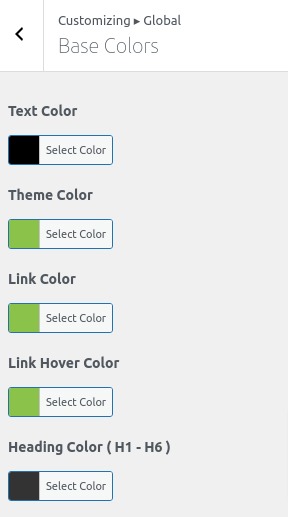
Similarly for all the heading text, you set some global style following the same way. Colors You can set the base color of your website from the color options. You can set global text color, theme color, link color, etc from here.
Container From the container option, you will be able to set width, layout, page layout, and other layout settings for your website.
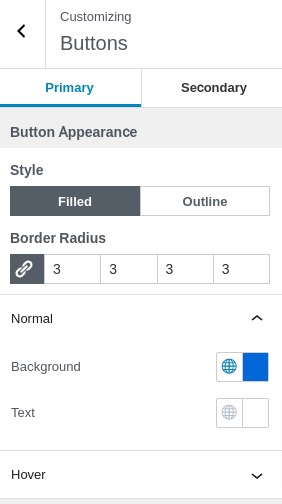
 Buttons You set the global button style from here.
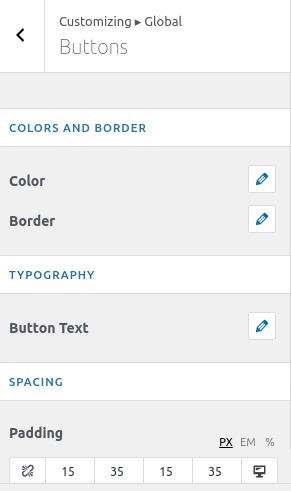
Header
Here you will find four options to style your website header section.
- Site Identity
- Primary header
- Primary menu
- Transparent header
Site Identity It will represent your website identity. You add your website logo, website icon, title for your website, and tagline of your website. You can display different logos for different devices too. There is also an option to enable or disable the site title and tagline. You can set all of these from here. 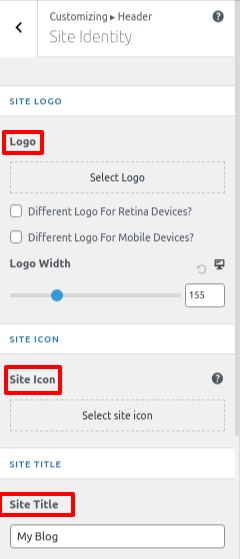
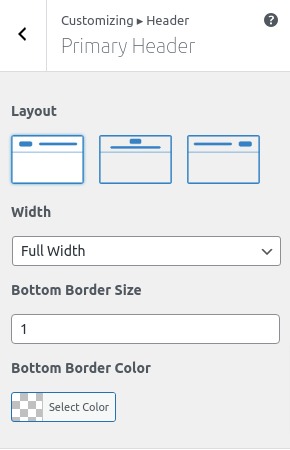
Primer Header You can choose your header layout for desktop and mobile devices from this page. For desktops three different header layouts are available and for mobile devices two types of layouts are available. You can set the width as full width or content width and set the bottom border size.
Primary menu Set your website menu for mobile and desktop devices from here. You can set menu items, container animation, border, color, etc. Transparent Header Enable the transparent header and set a different logo for the transparent header. You can also have the option to set logo width, bottom border size background everything for a transparent header option.
Sidebar
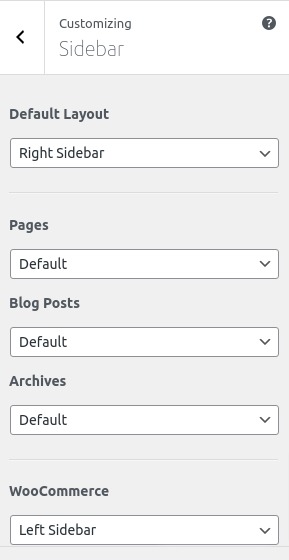
You can set the settings for a global sidebar. You can set a sidebar layout for pages, posts, Woocommerce, and archive pages.
Footer
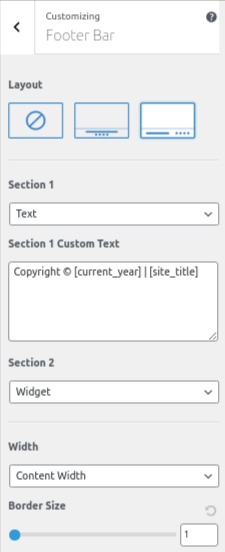
For footer settings, there are two options footer widgets and footer bar. From the footer widgets, you can set the footer layout. From the footer bar, you can add the copyright text for your website. You can set the footer width, border, and border color. You can also set the footer section and choose which element to show in which section.
There are also options to add additional CSS so you can style your website as your own. After selecting all the global settings click on the publish button. Your theme and all the settings are live now. Let’s take a look at how your website will look after publishing the Astra theme.
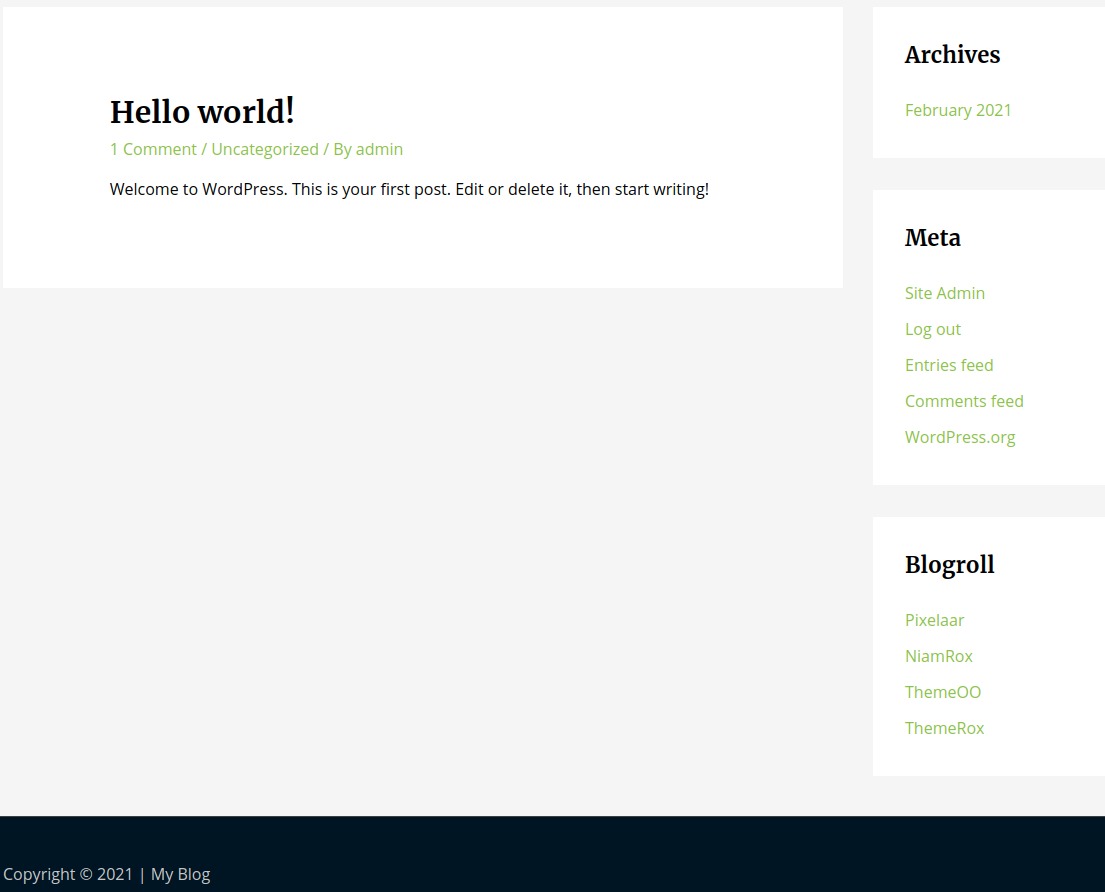
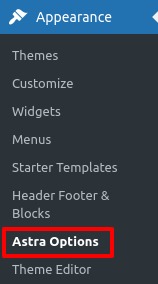
After installing and activating the Astra theme you will be able to see the Astra option in your WordPress dashboard from there you can implement all the features and functionalities available for this theme.
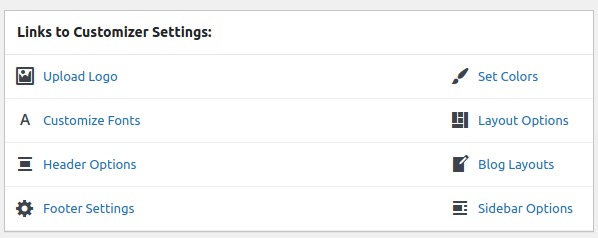
From the Astra options page, you can upload your logo, customize fonts, set colors, header and footer settings, and many more things. You can also set the layout and sidebar options too. Many more options are also available for the pro version.
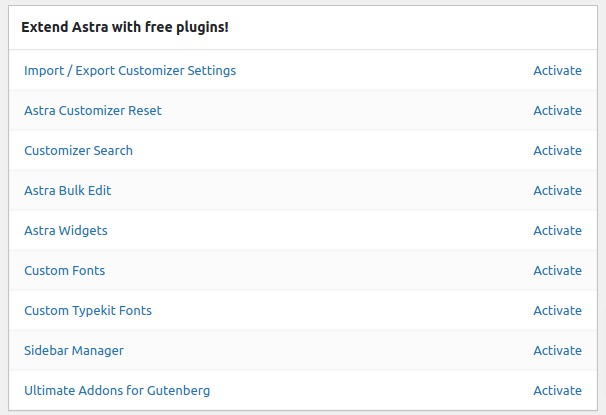
Astra also offers you some of its free plugins. You can install the plugins to extend the functionalities of the theme on your website. You can easily install any plugin by just clicking on the activate button.
How to import the Astra demo to your website
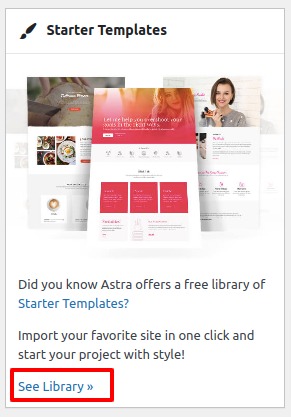
Astra has many starter template collections from there you can easily import a demo for your website. From the starter template library, you can import a full website or you can import any specific page. To import the demo you need to install the Astra Starter template plugin. After installing and activating the plugin you can see the starter library option. Click on the see library link and all the starter templates will show up. You can preview the template and import the full demo on your website.
There are different types of starter templates available for different industries. Astra has a starter template for agency, lifestyle blog, tour and travel, eCommerce, and many more business industries demos are available. Some of the templates are free and some of the templates are available for the pro version.
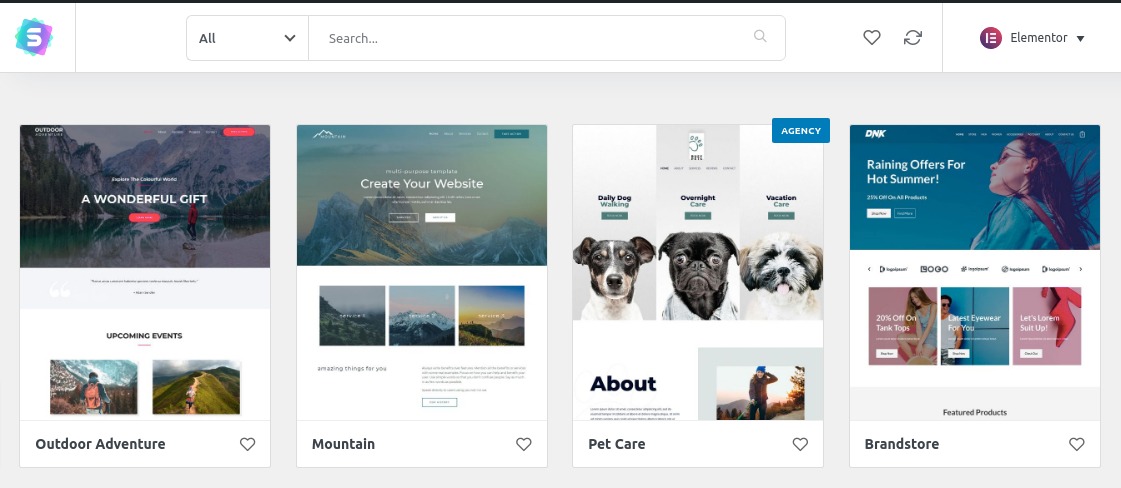
To import any demo just click on it and you can see all the available pages and functions from the preview option. You can import any specific page or can import the full website. Just click on the import complete site button to import the full website.
Now the demo will be uploaded to your website you need to set some options before uploading the demo like updating plugins or not, deleting previous data or not, importing or customizing the site, etc. Check the boxes and click the import button. It will take some time to import the demo. After successfully installing the demo it will show you a success message. Now go to your website and see how your website looks. Your website will look like a demo.

Now you can edit the text and images based on your needs and business purposes. Using Elementor you can easily edit the content. You can see our article to learn how to Edit a page with Elementor using a pre-built template
Neve
Neve is another lightweight and flexible free WordPress theme that can easily integrate with the Elementor page builder. This theme offers you all the flexibility to make your website look and perform better. Neve is also very user-friendly. You can make a professional website with this theme in a very short time. The developers of this theme make their demo content using Elementor so it will be easy for you to implement it. Without any coding knowledge, you can make a professional website very easily.
Features:
- Mobile friendly
- 80+ demos
- Woocomerce and Elementor supported
- Custom Layout
- Search Engine Optimization
- Easy Customization
- Fast performance
How to install the Neve theme
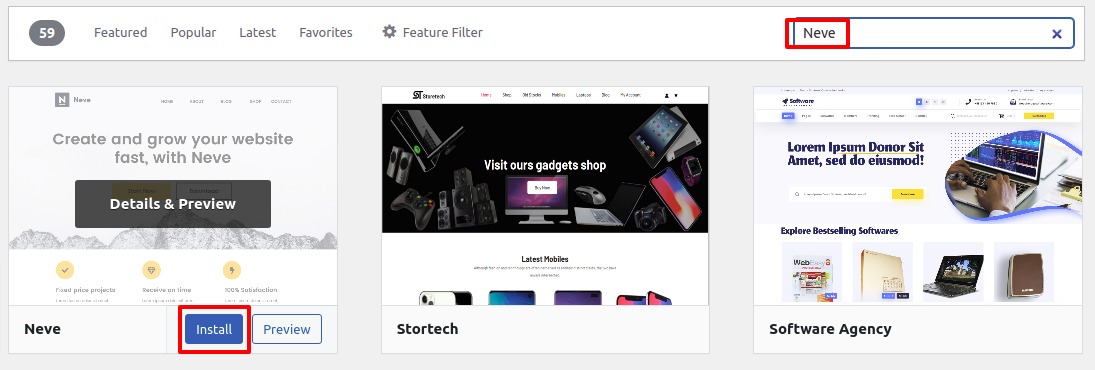
To install the theme click on the add new theme option, it will open the WordPress default theme directory. Search for Neve in the search box and the theme will appear. Just click on the install button to install the theme.
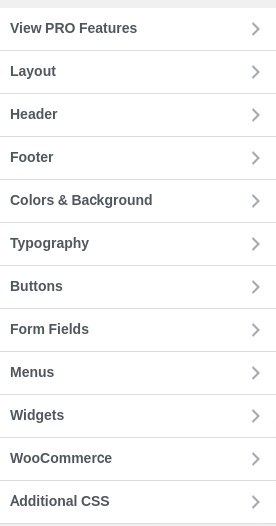
You can also customize this theme and set some global settings for your website. It also has many customization features.
Layout From the layout option, you can set the layout for –
- Container
- Content/Sidebar
- Blog/Archive
- Single post
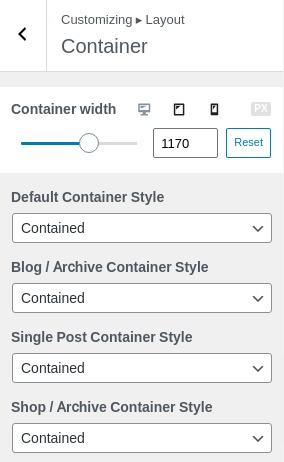
From the container, you can set container width and choose container style as contained as full width for different pages.
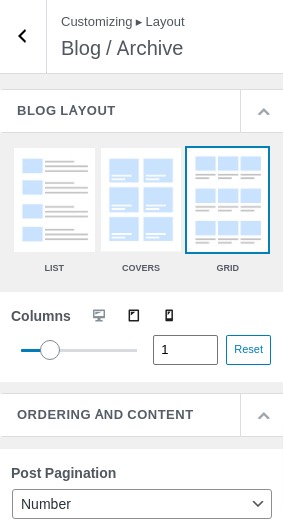
From the content/sidebar option, you can set the layout for different pages like sidebar, single post page products page, etc. You can choose a different layout for different pages too. From the Blog/Archive page, you can set the blog layout as
- List
- Grid
- Cover
You can set the column number for different devices and add post pagination.
You can set the order of the elements from the single post option.
Header
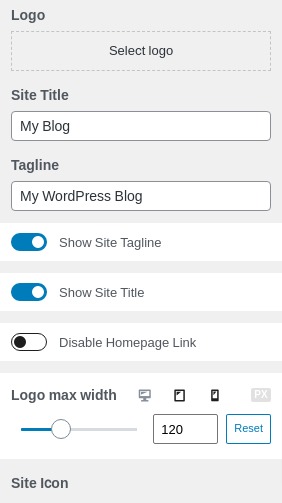
From header customization, you can change the logo, color, and menu. Logo and site identity From the General tab, you can add a logo, site title, and tagline. It also has the option to enable or disable the title and tagline. You can set the logo width for desktop, mobile, and tablet and add a site icon.
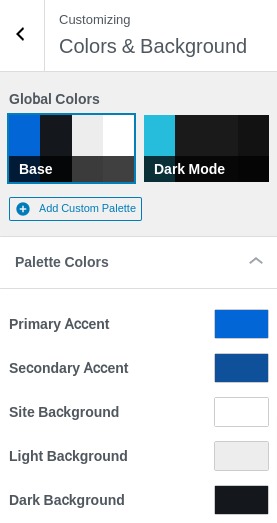
From the layout tab, you can set alignment padding and margin. You can set the text color from the style tab. Footer From the footer option, you can add and style copyright text and footer color. You can add copyright text from the general tab and from the layout tab you can add alignment and vertical alignment. Similarly from the style tab, you can add text color and set typography options. Colors & Background You can choose the color as a base color or dark mode. There are also some color palettes available.
Typography You can set the global typography option for general text, heading text, and blog text. Set the font family, font size, weight, and line height for a different section Button Style your primary and secondary buttons from this button customization option.
 Form field From the form field option, you can set the global style of
- Form fields
- Input text
- Form labels
- Buttons
Menu From the menu option, you can add and order your menu. You can add a menu submenu and a menu link to everything from here. 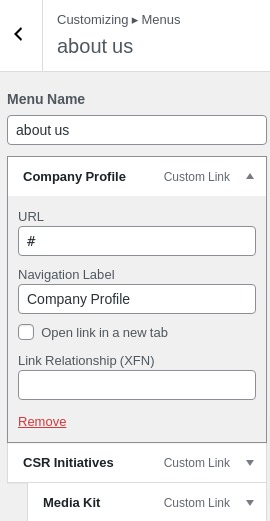 From the widgets option, you can manage your widgets and the Woocommerce option allows you to manage –
- Store notice
- Product Catalog
- Product images
- Checkout
- Single products
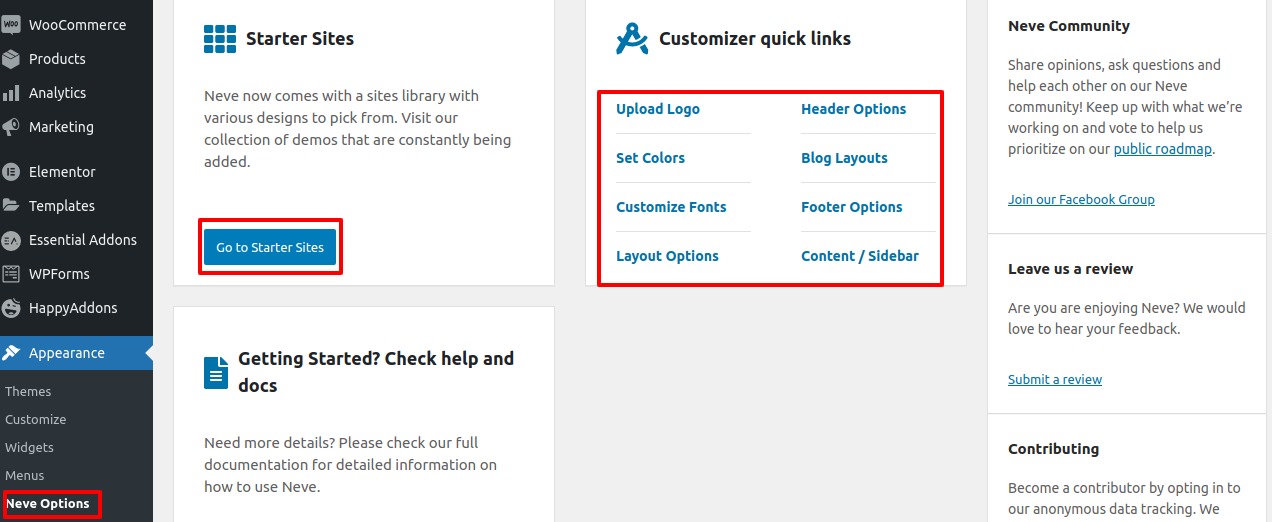
Now go to the Nave options from your dashboard where you can see all the available options for this theme. You can access the quick links of some theme settings options here. Neve also has many starter libraries to import demos. To view the starter template click on the Go to starer site button and install and activate the plugin.
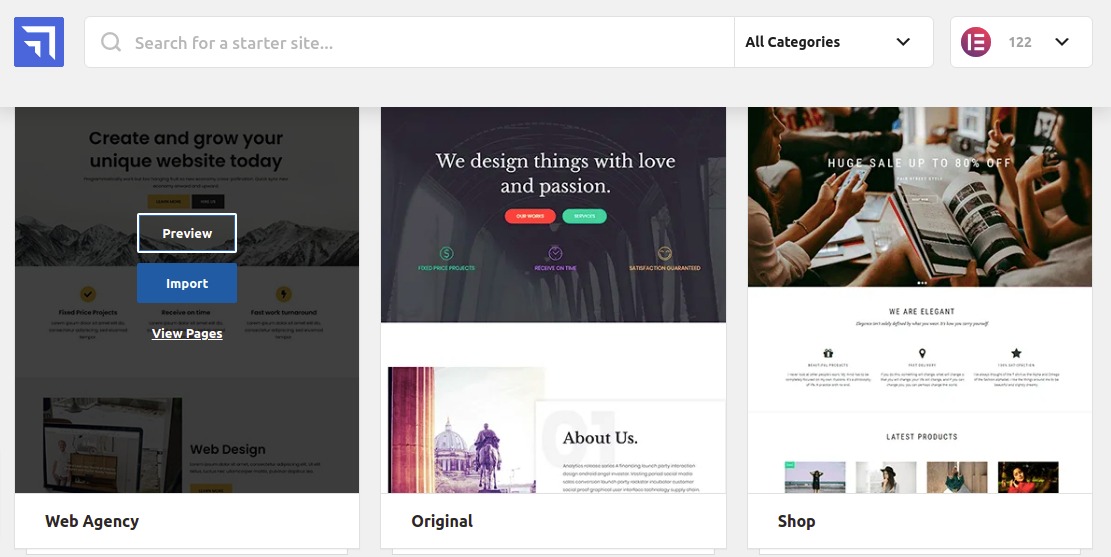
Now you will be able to see the starter template library. Different website templates are available for different business sectors and personal blogs. You can preview the template and import it to your WordPress website. To import any template just click on the import button and set some important settings. Your template will be imported to your website.
Now you can edit the content and information based on your website. You can easily change all the content and images using Elementor very easily.
Customify
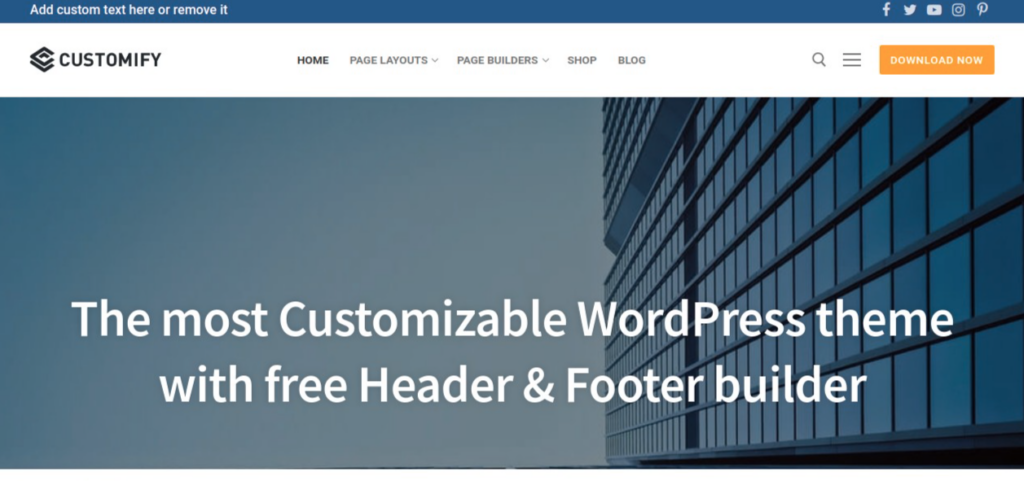
Customify is a very flexible, intuitive, and customizable free Elementor WordPress theme, which offers you so many customization options with its unique features and functionalities. With its header and footer builder option, you can easily make customizable footer and header sections to give your user a better user experience on all devices and platforms. Features
- Unique header & footer builder
- Ready to import demos
- Integrated with page builder especially Elementor
- Easily customizable
- SEO optimized
- Fast performance
How to install Customify free Elementor WordPress theme
To install the theme click on the add new theme option, it will open the WordPress default theme directory. Search for Customify in the search box and the theme will appear. Just click on the install button to install the theme. After installation, the theme activates it. Now go to the customize option to set the global settings based on your need. Like the Astra and Neve themes, Customify also offers you many customization options. 
Header
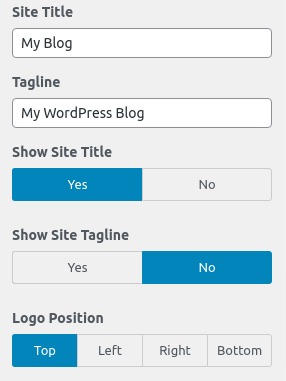
There are a lot of header options available. From logo and site identity you can add a website logo and icon, site title, and tagline. You can hide the site title and tagline if you want. You can set the logo width and choose the logo position.
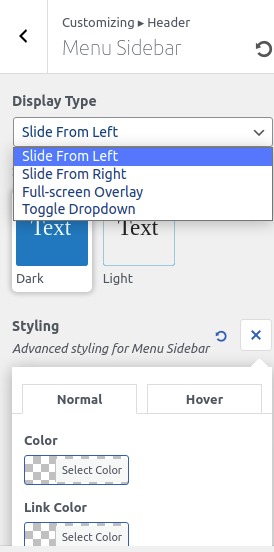
The header top option enables you to choose the layout of the header section as full width and contained. Set the skin mode as dark or light. You can also change the background color, border style, and color as well as add a box shadow. The header menu and header bottom option also have the same option to choose between dark and light modes and different styles similar to the header top option. From the menu sidebar option, you will be able to set the display typeset the align and add color, margin, and padding for normal and hover conditions. You can also set the background color and background image for the sidebar section.
Set the menu level for different devices from the menu icon option. You can also add the icon size, color, and hover color for your website icon. Search icon enables you to set icon size and padding. You can also set the placeholder, and add height width, and typography. Add different styles for normal and hover conditions. For search boxes, you can also add different styles. 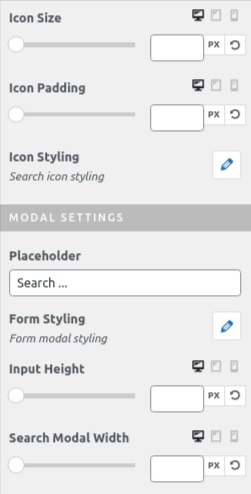 Style your primary menu from the primary menu option. You can add item style and typography style for normal and hover conditions. You can set margins for different devices too. The button option enables you to add button text, button icon, link, and icon position. Style button typography and add some style for normal and hover conditions. Add edit and delete social icons from the social icon option. You can set the size, and add padding, margin, icon spacing, shape, and color for your social icon. You can edit the social icon link from this option too. Style your shopping cart icon from the shopping car option. You can add labels and set the icon for the shopping cart icon. You can set the link page from here and style the section and typography for normal and hover conditions. When everything is done click on the publish button to save and then change. Now go to Appearance > Cutomify Option from your dashboard to see the Customify theme option and some quick links.
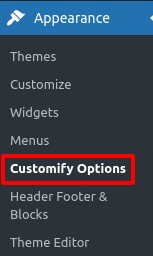
How to import the Customify demo
To import the demo you need to install the Customify sites addons. You can find the addons installation option from the Customify option page. Install the addons from the install link and activate them. After activating the addons you can see the site-library option. View the library and see the starter templates collection. Elementor it provides some starter templates you can import on your website. You can preview the templates. 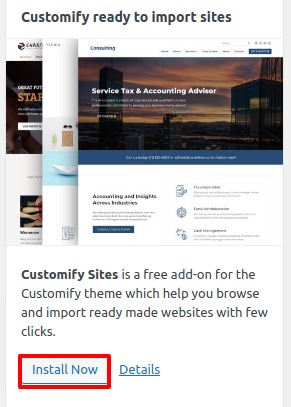 To import a template click on it and then click on the import button. You need to choose some options like installing plugins and importing content and then the starter will be imported on your WordPress website.
  It will take some time to import. After completing the import it will give you a successful message. Now you can go to your website and see how your website looks with this demo.
Page Builder Framework
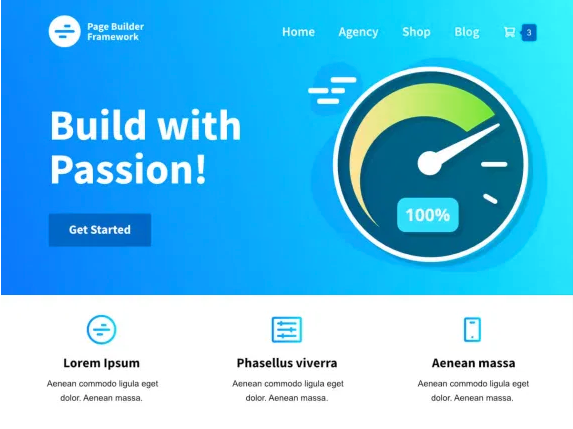
The page builder framework is suitable for all the page builders available like Elementor, Visual Composer, and others. This Free WordPress Theme is created very lite weighty and you can implement it without any hassle. It’s very flexible to customize. Flexibility with Elementor and other tools you can easily make your website with this theme in a very short time.
Features
- Specially created for page builders
- SEO optimized
- Gutenberg compatible
- Fast page speed
How to install Page Builder Framework
To install the theme click on the add new theme option, it will open the WordPress default theme directory. Search for Page Builder Framework in the search box and the theme will appear. Just click on the install button to install the theme. After activating the theme go to the Customize option to set the global settings. Like the others themes, you will also find many customization options for this theme too. 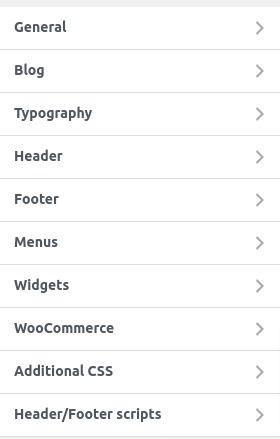
General
From the layout option, you can set the page width and add padding for different devices. you can also enable the box layout and add the margin, padding, background, and box-shadow there. You can set the background color or image from the background option. The sidebar option enables you to set the sidebar position, gap, width, and background color, and also set padding for different screens. Set the 404 titles and text from the 404-page option. Enable the Breadcrumbs and select the pages to show it. You can also set the position, font color, and hover color for it. 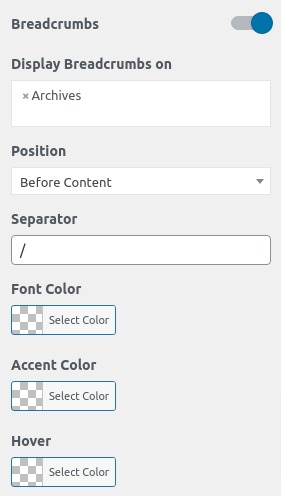 The style you theme button for normal and hover condition from the theme button option. You can also enable the ScrollTop option and add some style to it too.
Blog
From the general option of Blog settings, you can reorder the metadata position, add a separator and enable the author avatar option. You can also set Excerpt length, indicator button link, button text everything from this option. Style the pagination background color, font color, size, and border for normal and hover conditions from the pagination option. Set the custom content width, archive headlines, and sidebar, choose the layout, and add color. You can also reorder the header, footer, and content element. Do the same for the post-layout option too. 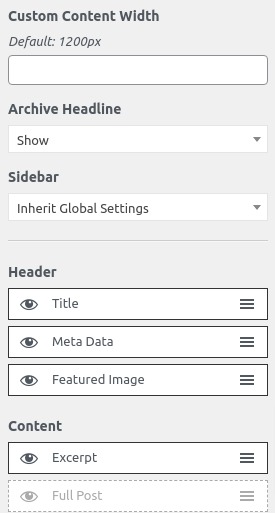
Typography
Set the global settings for all of your website text color, size font family everything from the typography option. 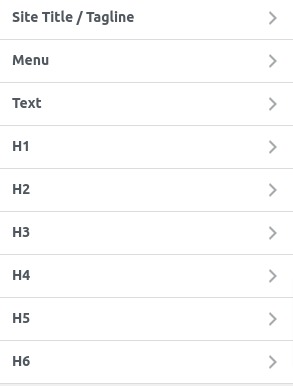
Header
Go to the preheader option and set the column as none, one-column or two-column. You can edit the column name and text. Set a pre-header width and height and add background color, font color, and hover color. From the logo, option add your logo, site title, tagline, and logo URL. You can also set logo width for desktop and mobile devices. From the navigation option set the menu position, navigation width, menu height, spacing background color, font color, and others. 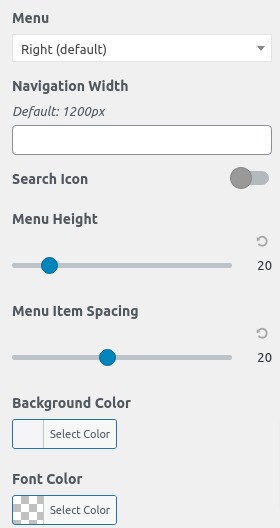 Go to the sub-menu option to set the submenu alignment, width, padding, color, and size. You can enable the sub-menu separator and color on it. For mobile devices, the theme also has a mobile navigation option. you can style the hamburger menu and add margin padding and color for mobile devices from the mobile navigation option.
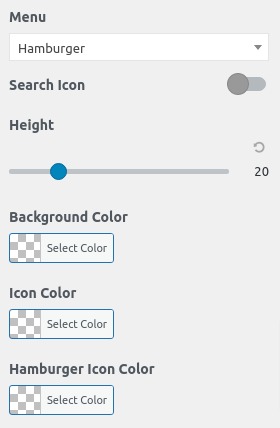 Similarly from the mobile sub-menu option, you can style the submenu to display on mobile devices.
Footer
Go to the footer bar from the footer option where you will be able to set the footer bar as one-column or two-column. Add the column title and text to display in the footer area. Set the footer width and height and add some style to your footer section.
Menu
Add, edit delete and reorder all of the menus on your website from here. You can reorder all the menus and sub-menus and add a menu link to them. 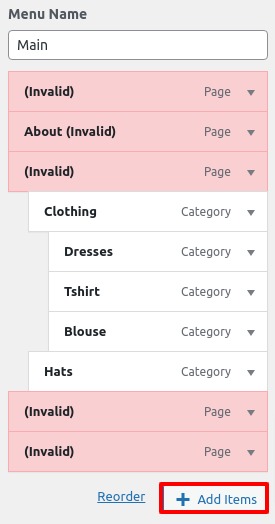
Widgets
Go to the sidebar from the widgets option where you can add and reorder any widgets All the widgets have different settings options you can choose the option suitable for your website. Just click any widget it will expand the option. You can enable the widgets or remove them from there. 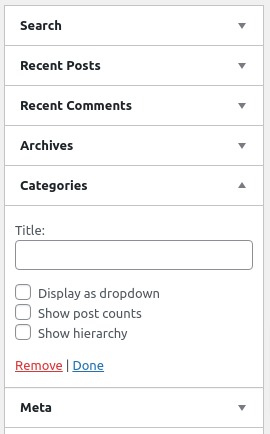
Woocommerce
From the Woocommerce option, you can set some global settings for your online store like you can set the store notice, setting the product’s item size image default size, and many otters settings options are available. 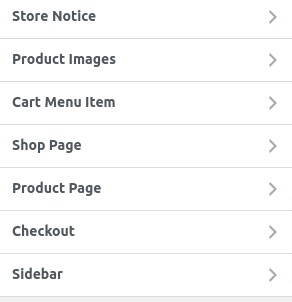
Header and footer script
You can add code to the header and footer section of your website from this header and footer script option. Header script code will output before the closing </head> tag. Footer script code output immediately before the closing <body> tag. When everything is done click on publish button.
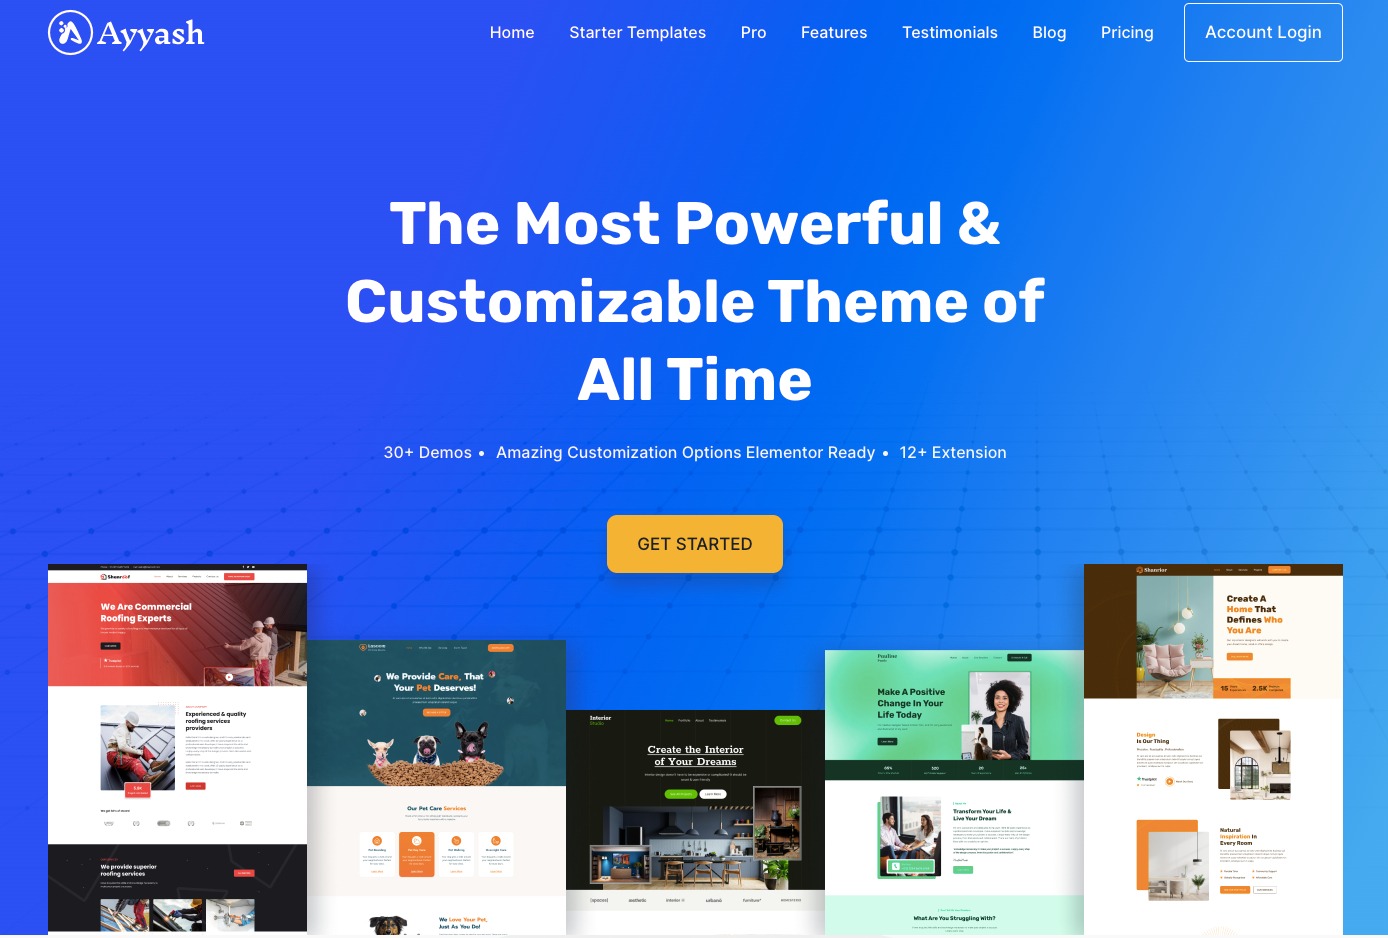
Ayyash
Ayyash is a clean and easy-to-use WordPress theme for any type of blog. It is a multi-purpose theme and can be used for travel journals, food blogs, magazines, news websites, and personal blogs. With its advanced page and post options and attractive interface of the theme, you can give an enticing look to your blog. Ayyash is fully compatible with the most popular page builders which will help you in creating awesome-looking content easily. Ayyash is based on the WordPress customizer settings panel.
Features:
- Easy to use
- Flexible
- Customizable
- Huge customization options are available (You can customize every part of the theme)
- Superfast performance
- Layout settings
- Colors and typography
- Easily integrate with page builder
- Responsive and mobile-friendly
- Custom layout
- Search Engine Optimization friendly
- WooCommerce supported
- Gutenberg compatible
- Fast page load time
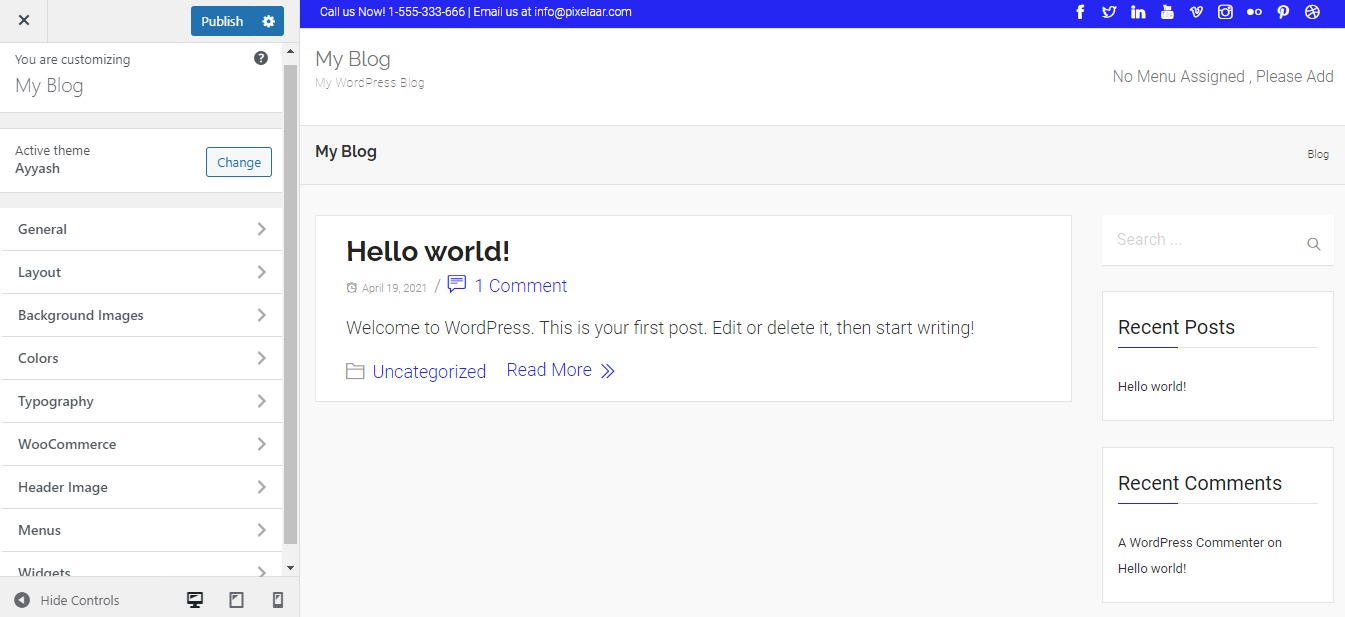
Customizing Ayyash Theme
You are free to customize every aspect of the Ayyash theme to your liking. Below you will find what options you will be able to use.
Ayyash Options
This section will provide you with an in-depth guide on how to use the Ayyash Options. There are a few ways to access the Ayyash customization page, the following method is the best practice.
Go to Dashboard > Appearance > Customize > Ayyash Options.
General
Here in the General setting option, you will find the following option:
- Site identity – Set your website title and tagline
- Social profile – Add your social profile link
- Sticky posts – Add a featured post
- Site configuration – Improve your site performance
- Homepage settings – Setup your homepage
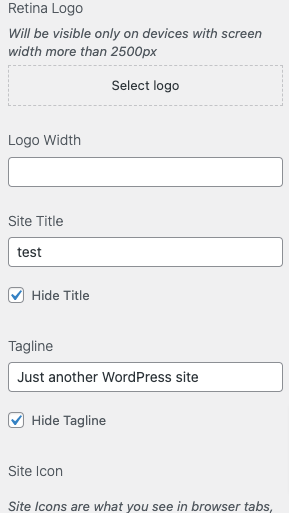
Site Identity
From the site identity option, you can add your website title and tagline. There is also an option to hide the title and tagline. So if you want you can hide the title or tagline from your website. You can manage your logo width too from here.
You can also add a site icon from here. Site Icons are what you see in browser tabs and bookmark bars. Upload your site icon from here.
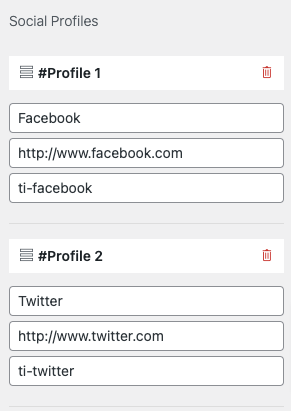
Social Profiles
You can add your social profile links from here. By default, the Ayyash theme has all the popular social profiles on the list. You can delete the social profile by clicking the delete icon on every social profile. You can change the text, and icon and add a link too.
To add a social profile just click on the add profile button.
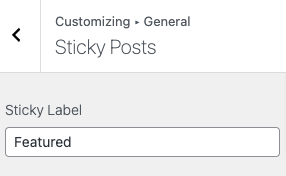
Sticky Posts
From here you can set the sticky post label.
Site Configuration
Here in the site configuration option, you can enable the lazy loading features which will increase your website performance.
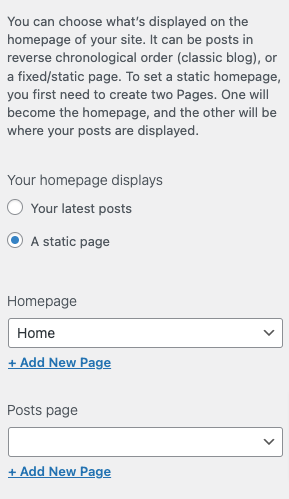
Homepage Settings
You can choose what’s displayed on the homepage of your site. It can be posted in reverse chronological order (classic blog), or on a fixed/static page. To set a static homepage, you first need to create two Pages. One will become the homepage, and the other will be where your posts are displayed.
Layout
Here in layout customization, you can set the layout for –
- Global
- Hader
- Title bar
- Blog (Post page)
- Archive
- Search results
- Single post
- Single page
- Footer top
- Footer
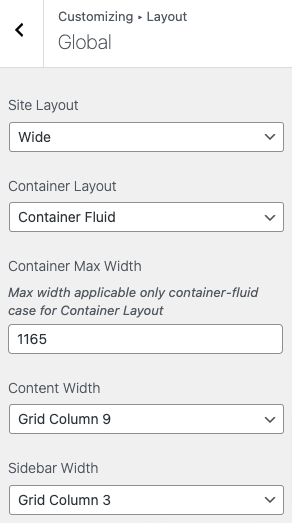
Global
You can set the global site layout as wide or boxed. Set container layout as container or container fluid. You can add Container Min Widthwhich will be applicable only to container cases for Container Layout. will also be applicable only to the container-fluid case for Container Layout.
Add a content column and sidebar column from the option.
Header
Here you will find different options to customize the header section –
Top Bar / Secondary Header Settings
Change Top Bar / Secondary header Related Settings, you can enable or disable the secondary header and choose the secondary header layout. You can also add secondary header callout text.
Header and Menu Settings
Change the Header menu and related configuration settings from here. You can control the header and header menu height. After that, you can set where to show or hide the mobile menu, main and sub-menu alignment, color styles, and many more things.
Header Button Settings
Enable or disable the header button, add header button text, and link from here. You can also set the header button top and right padding and border-radius too.
Sticky Header Settings
Enable or disable the sticky header, and set the sticky header height and main menu height from here.
Transparent Header Settings
Change transparent header-related settings like –
You can also add a Transparent Header on specific pages too. You just need to e
Title bar
You can add a background image in your title bar.
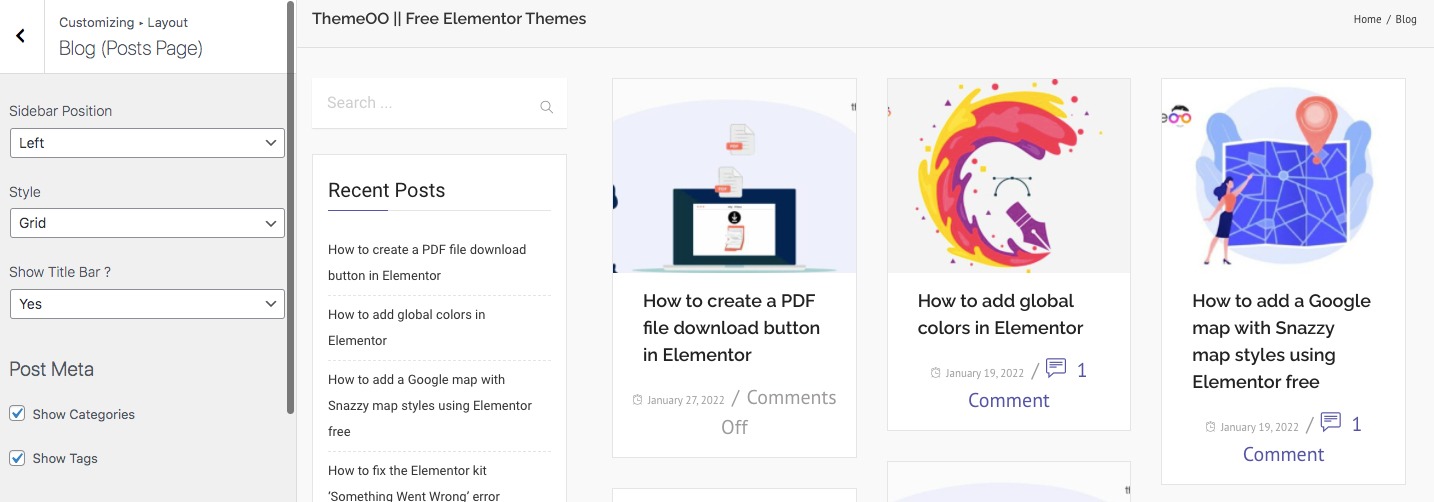
Blog (Post page)
From here you can set the sidebar position as left or right. You can display the post as normal, medium, or grid. You can also show or hide the category and tag it in a blog post.
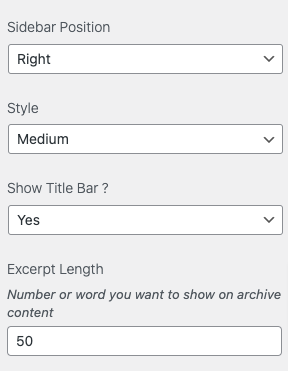
From here you can set the layout of your website blog post page. You can set the sidebar position as left or right or none and then set the style as –
- Grid
- Normal
- Medium
You can show or hide the title bar, category, and tags.
Archives & Search result
Archive and search result features are the same. you can set the sidebar position as left, right, or none. You have also the option to show or hide the category and tag.
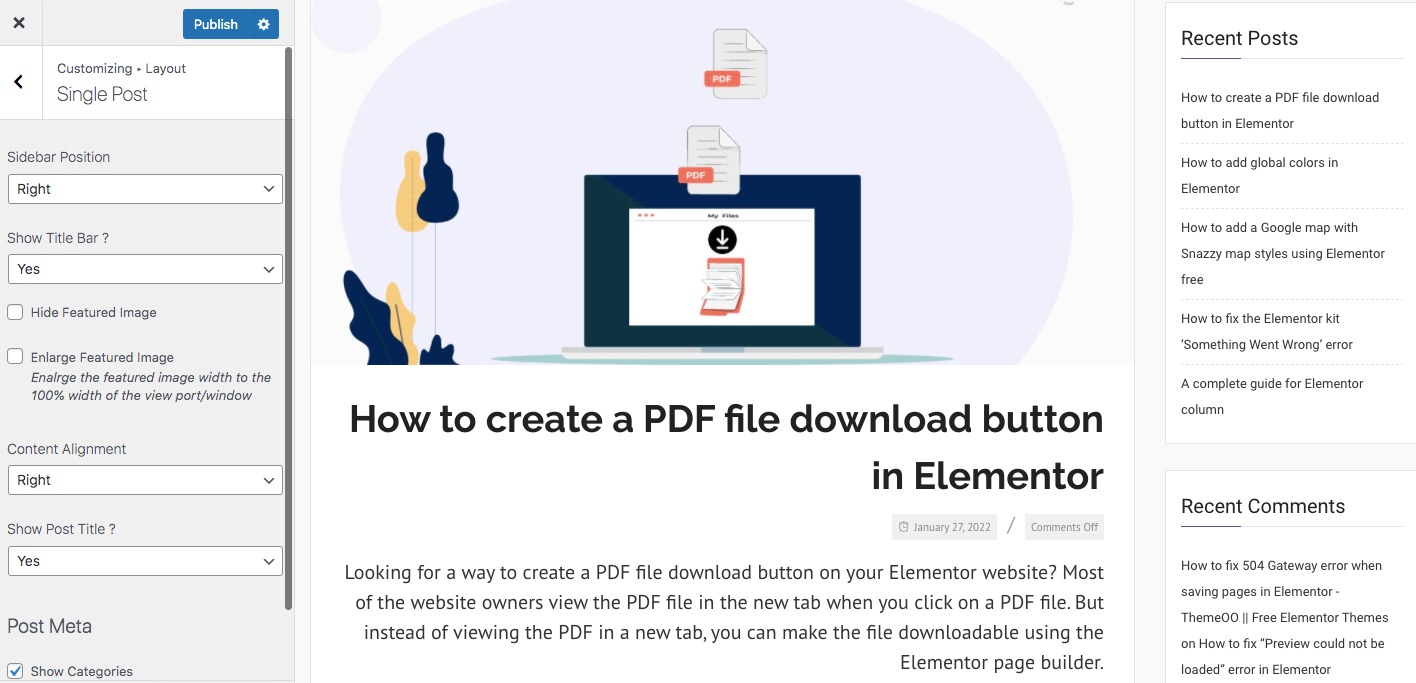
Single post & Single page
Single post and page options are also similar. You can set the sidebar position, and enable or disable the title bar for posts and pages. You can show and hide the feature image as well as enlarge the featured image width to 100% width of the viewport/window.
Set the content alignment and show or hide the post title, category, and tags.
Footer top
Here you can add a background image as the footer container.
Footer
From here you can manage the Credit Top Button margin, show or hide the social icon and enable or disable the scroll to the top and Inline Copyrights & Credits text.
Colors
Customize your website color from the color settings options. Here you will find a color setting for –
- Global
- Header
- Main menu
- Title container
- Top Footer
- Main Footer
- Bottom Footer
- Secondary Footer
Global
Here from the global option, you can set global color for your website’s button, links, hover, form background, border, text, and content background color. This global color will be applicable anywhere in your website elements with the default color you set.
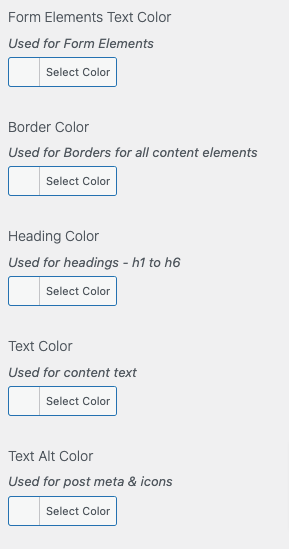
- The site Background color is used for the background color of the site, It will apply if the site layout is Boxed selected.
- The content Background color is used for the background color of the site content
- Sticky Post Background color is used for the background color of the sticky post archive layout
- Gradient Stop color is used for gradient stop color that extends primary or secondary color
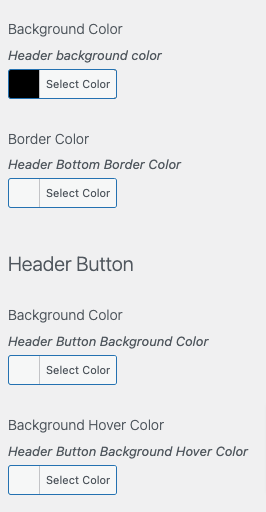
Header
Set primary, secondary header, and header button background color, bottom border color, text color, and others from here.
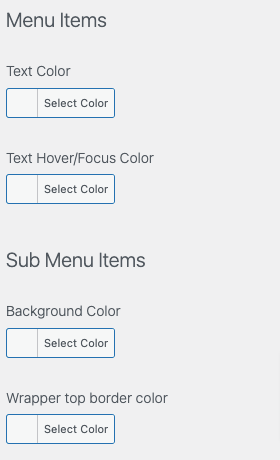
Main menu
Control all color-related settings for menu items, sub-menu items, and mobile menus from here.
Title container
Add title container background color, text color, and border color.
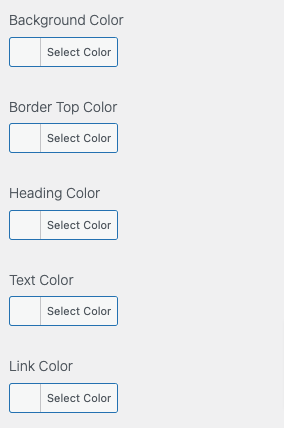
Top Footer, Main footer, Bottom footer
Set background color, border color, heading color, text color, and other color-related settings.
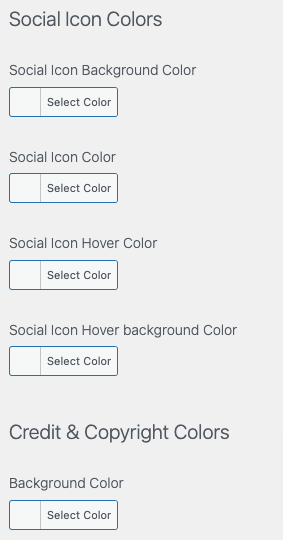
Secondary Footer
Control social icons and Credit & Copyright Colors settings from here.
Typography
From the typigraphy option, you can set the typography of the following section-
- Global
- Site title & tagline
- Text heading
- Main menu
- Site title & tagline
- Sidebar
- Footer
Global
Set the type scale for text and body and set the global font family, variant, size, line height, letter space, and word spacing. You can also set the typography for the heading sections too.

Site title and tagline
Control the font settings for the site title and tagline from this option.
Text heading
Set text heading typography styles individually for all the text heading options, You can set different typography styles for different text heading tags.
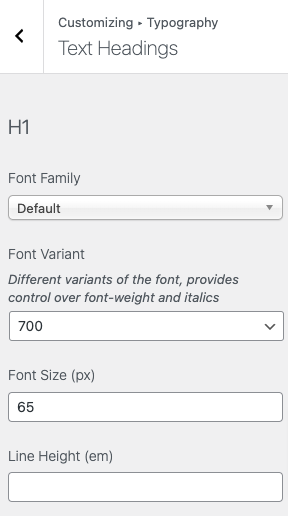
Similarly following the same process you can set the typography style for the main menu, sidebar, and footer section.
More Info
OceanWP
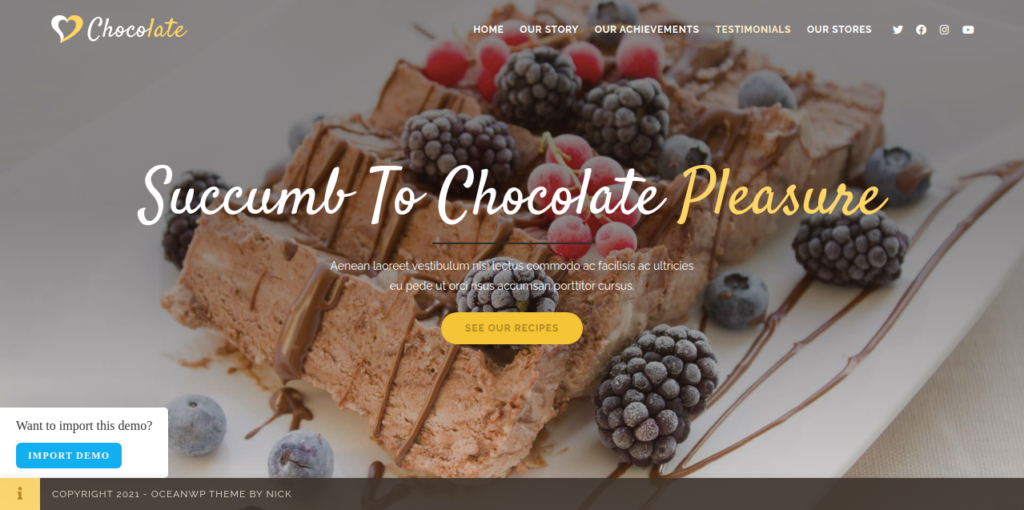
OceanWp is a very fast-growing multipurpose free Elementor WordPress theme with more than 3.5M downloads. This theme can help you to promote your business easily and in a unique way with its extra flexibility and features. Without any coding experience, you can customize and edit all the elements of this theme. It also offers you 80 plus demos so you can easily choose the best or perfect for your business.
Features:
- Responsive
- Fast page load time
- eCommerce supported
- RTL and translation ready
- SEO friendly
How to install OceanWP free Elementor WordPress theme
To install the theme click on the add new theme option, it will open the WordPress default theme directory. Search for OceanWP in the search box and the theme will appear. Just click on the install button to install the theme. After installing activate the theme and click on the customize option to set the global settings. 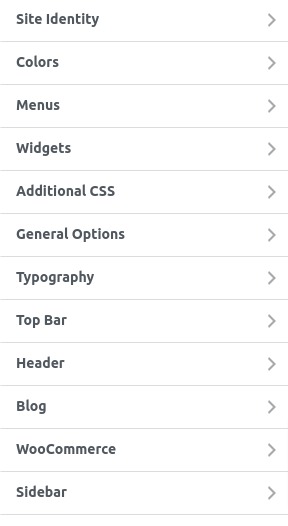
Site Identity
Add your website logo, icon, title, and tagline from here.
Color
Set the header text color from this option
Menu
Add, edit delete and reorder all of the menus on your website from here. You can reorder all the menus and sub-menus and add a menu link to it. 
Widgets
You can add and manage widgets from different sections of your website. You can add edit and delete Woocommerce sidebar widgets, default sidebar, and footer widgets. 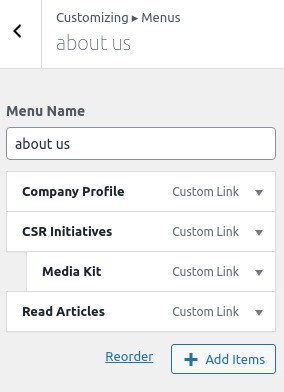
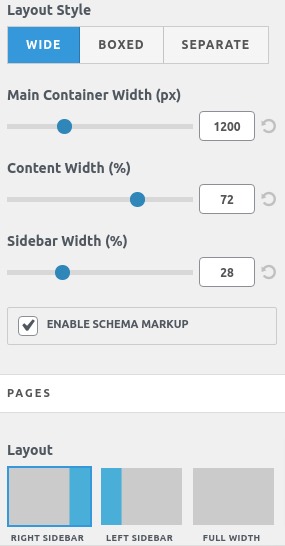
General Options
Go to general styling from the general options where you can select your primary color, hover your primary color, and border color. You can also set background colors and images. From general settings, you can set the layout style as boxed, wide, or separate. Set main container width, sidebar width, and page layout.
 From the page title option, you will be able to set title visibility, and title tag, and add background color, and text color. Choose your scroll-to-top icon from the Scroll to top option. You can also set the position and size and add some style as your own. Add your pagination position, font size, border, and color from the pagination option. From the form option, you can style your default form. Add the design of your website’s default button from the theme button option. From the 404 pages, you can enable or disable the blank page option. You also select the layout and choose a template for 404 pages.
Typography
Choose the typography for all the text sections of your website. You can set general typography style, heading typography style body typography style, and many others. 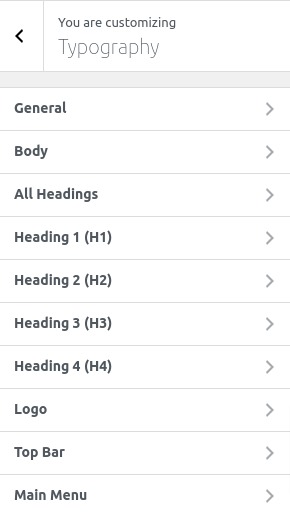
Top Bar
Go to the general tab from the Top Bar option where you can enable or disable the top bar, set visibility, and add padding, style, and color for the top bar section. From the content, the tab adds your content and from the social tab add a social media icon with a link.
Header
Go to the header option to set header style, height, and color. From the header media tab, you can add a video or image to your header. Set the header position and overlay color. From the logo, the tab adds the logo and retina logo. Choose a logo color for normal and hover conditions. From the mobile menu tab, you can add a logo specially for mobile devices and add style to it. 
Blog
The blog entries tab from the blog option will enable you to choose the layout for the blog section. You can also set the blog pagination style and reorder elements. The single post tab makes a global style for all the single post pages.
Sidebar
Add sidebar background, padding, background color, and border color from the sidebar options.
Footer widgets
You can enable or disable the footer widgets and choose their visibility. Select any template for the footer or you can add the column number to display in the footer section. 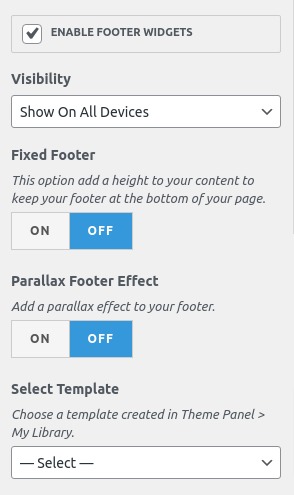
Header and footer script
You can add code to the header and footer section of your website from this header and footer script option. Header script code will output before the closing </head> tag. Footer script code output immediately before the closing <body> tag. When everything is done click on publish button.
PHLOX
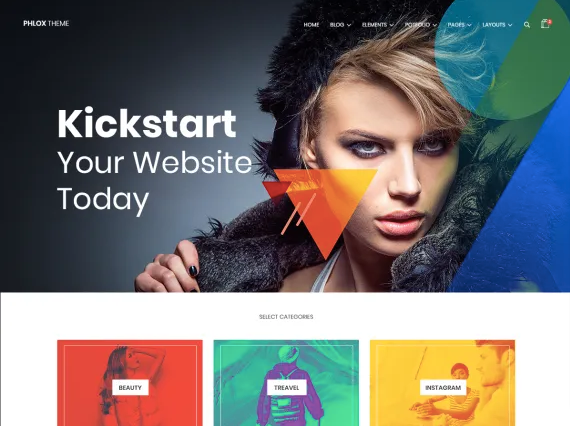
This theme is fully compatible with the Elementor page builders and offers a host of pre-built features. Whatever your business is you can implement it with it. It offers 30+ widgets and elements and more than 19 demos. So within a very short time and hassle, you can easily import it into your website and customize it very easily.
Features:
- WooCommerce supported
- Fully responsive
- RTL and Translation ready
- 1 click import
- 100% GDPR compliance
How to install the PHLOX theme
To install the theme click on the add new theme option, it will open the WordPress default theme directory. Search for PHLOX in the search box and the theme will appear. Just click on the install button to install the theme. Activate the theme and go to the customization option. 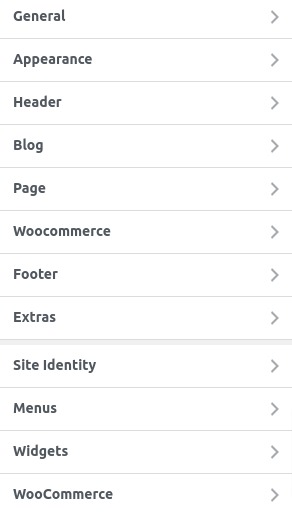 You will have all these customization options to set for your website.
General
You can set the general layout, general typography, page animation, and preloading from the general option. There are many page animation and preloading styles available. You can view the style and choose anyone for your website. 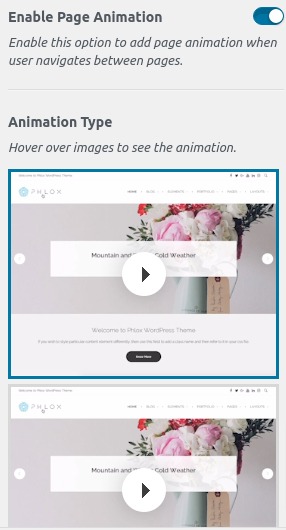
Appearance
You will be able to set so many things from here such as-
- Featured color
- Background
- Content background
- Website frame
- Typography
- Skin option
- Mobile browsers
- Forms
- sidebar
Header
This theme provides you with a header builder. Using the header builder you will be able to make your header. Header templates are also available and from the header template settings, you will find many more header options. 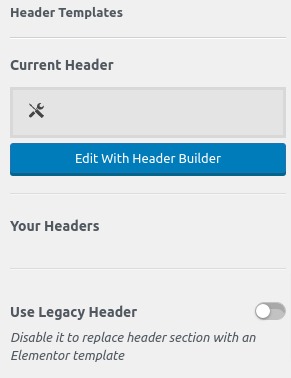
Blog
You can set blog single post sidebar style, featured color, width content style, and more options available. For the blog page, you can choose the blog template, blog sidebar position display content, and others. Blog slider features are also available and you can edit your slider to make it perfect for your website. 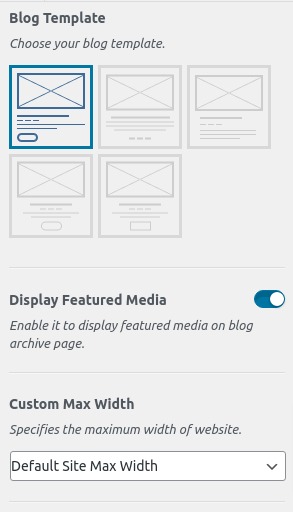
Page
You can set page layout, style page title, and typography.
Footer
Footer builders are also available so you can edit your footer with the footer builder. Use the footer template settings to make your footer more unique and professional.
How to upload a demo
To upload the demo you need to install the Phlox Core Elements plugins. Go to your plugin option from the dashboard and you can see the Phlox Core Elements plugin install button. Just click on it and the plugin will be installed on your website. 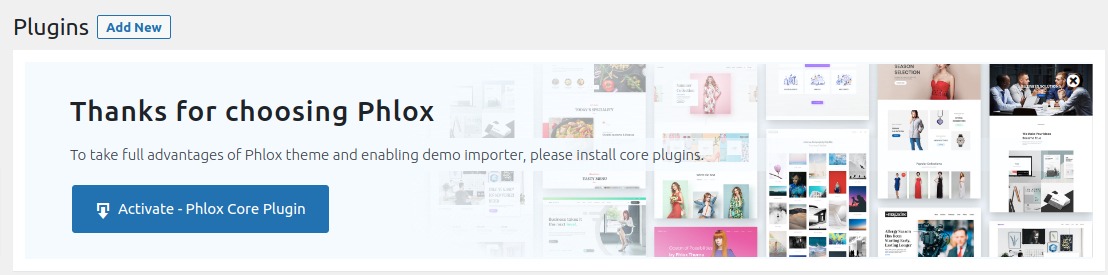 Now go to the Appearance > Phlox page where you can see the demo importer option just click on it all the available demos will be displayed. Preview the demo and click on the import button to import the demo to your website.
 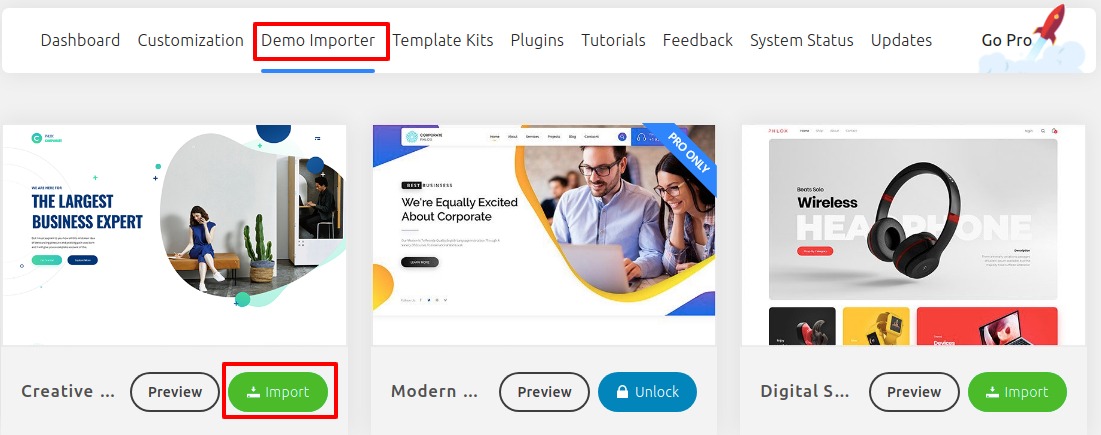 It will require some plugins to install the demo accept it and your demo will be imported.
Zakra
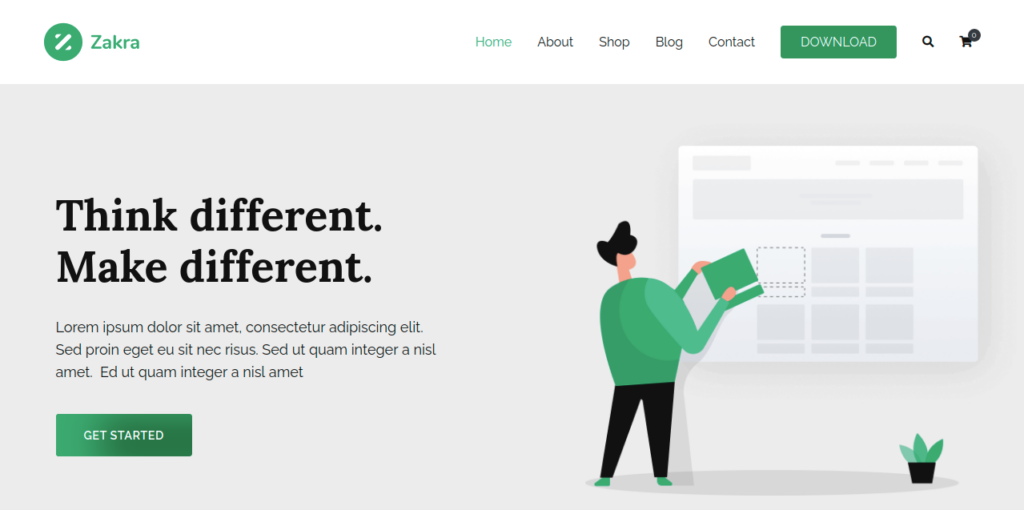
Zakra is a multipurpose free Elementor WordPress theme that provides endless features and possibilities to make your website very easily without any extra hassle. This flexible theme is used by more than 50K people. It also offers you 1 click demo installer so you can choose between their 50+ demos and import them into your website with just 1 click.
Features:
- Unique design
- Easy customization
- Lite weight
- WooCommerce integration
- Responsive
- Page builder compatible
- WPML/Polylang & Translation Ready
Wrapping Up
We hope this article will help you. You can also see our other article to learn How to enable coming soon mode in Elementor
How to create a pricing table with Elementor free
If you like this article please like our Facebook page to stay connected.