
How to create beautiful charts In Elementor free
Looking for a way to create beautiful charts in Elementor for free? Here in this article, you will guide you to create a chart using Elementor free.
If you represent your information in a unique graph or chart then it will get more audience attraction than plain text. You can get more engagement using unique and professional-looking charts on your website. Instead of writing long paragraphs most successful website owners represent their data visually.
In Elementor you can usually display the information visually but the Elementor page builder doesn’t have the chart widget. To use the chart widget you need to install an extra plugin.
Create beautiful charts In Elementor free
To create charts in Elementor free you need to install the Elementor Addon Elements WordPress plugin. The plugin is free and you can use the chart widgets using this plugin.
Step 1
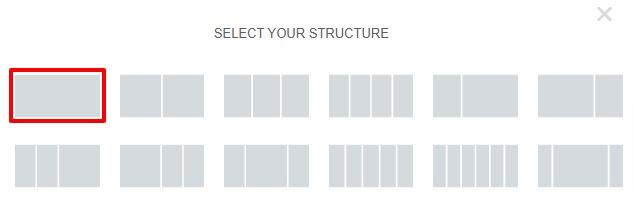
First, install and activate the plugin and then open up a page where you want to create a chart. Open up the page with the Elementor editor and then click on the “+” icon to add a section. After adding the section choose your column for the section.
Now search for the chart widget of Elementor Addon Elements and add the widgets in your created column.

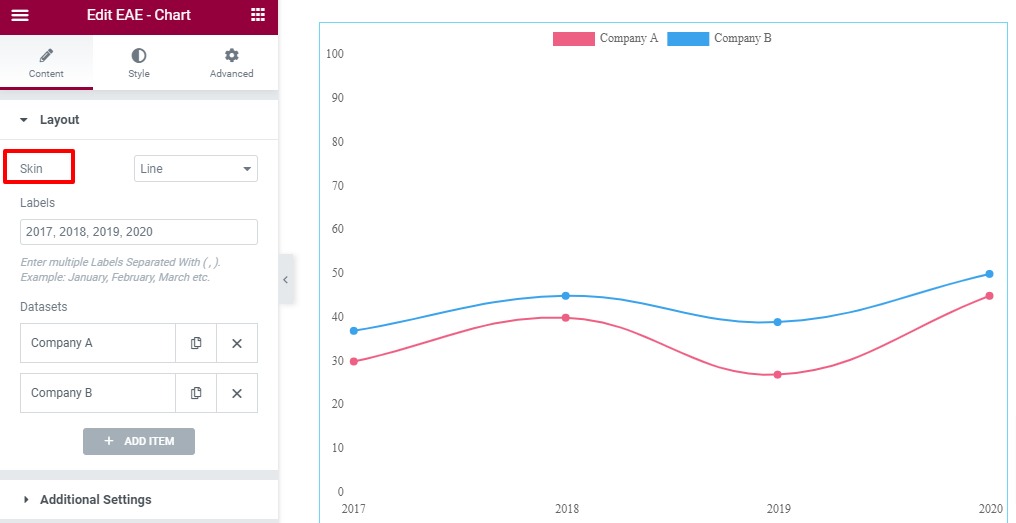
A default chart will show up here. Now you need to customize it. Under the Layout tab, you will see the skin option. From the skin option, you can set the chart as –
- Vertical bar – The chart bar will show vertically
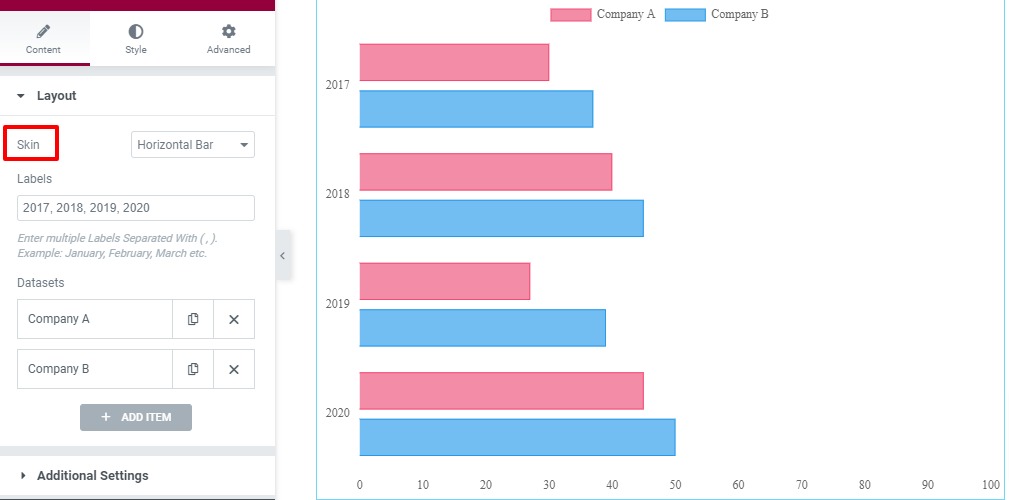
- Horizontal bar – The chart bar will show horizontally
- Line – The chart bar will show as a line
This is how the chart bar will show when you set the skin as a line-
The horizontal view will look like this –
Under the label field, you can add the level. After that, you can see the dataset item. you can add an item by clicking on the Add item button. Use the “X” icon to delete any item and copy the icon to duplicate the item.

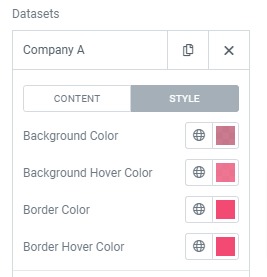
To edit the item click any of the items and the edit option will show up. From the content tab under the edit item, you can set the name and dataset.

Move on to the style option to style up the item. Here you can add background color, background hover color, border color, and border hover color.
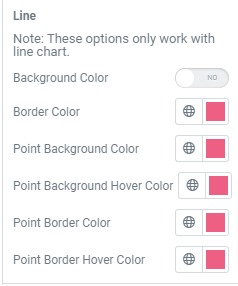
For the line chart skin, it has a separate style option. You can add background color, border color, point background color, and hover color.
Now move on to the additional setting from where you can set the bar height if you select the skin as vertical or horizontal. After that, you can set the bar width, category width, and bar border width.

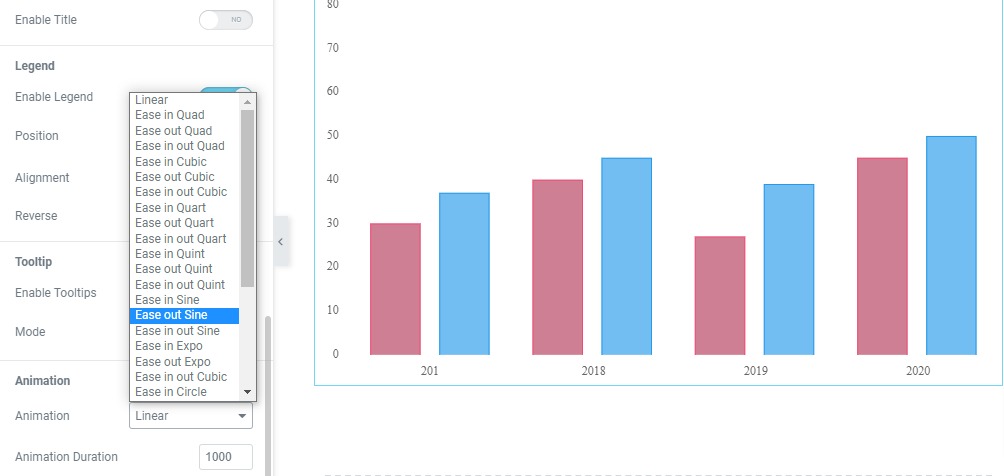
After that, you can enable or disable the grid line, title, and labels for the x-axis and y-axis.

You can also enable or disable the legend and tooltip option. You can set different animations for the bar chart with animation duration time from the animation option.
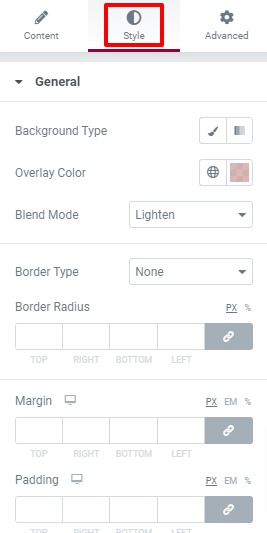
Step 2
Move onto the style tab to style the char section. Under the General tab, you can add background color as classic or gradient, border enables the blend mode, add border color, border radius, padding, and margin.
Under the x-axis menu, you can add the grid color and width of the x-axis. You can also add label colors, typography, and padding too.

Similarly, you can style up the grid and label the y-axis too.
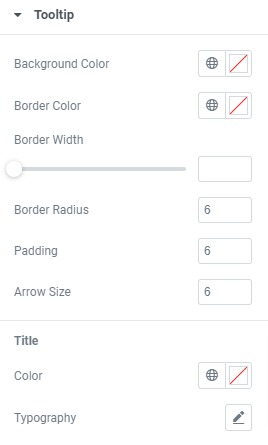
From the tooltip option, you can add tooltip background color, border, arrow size, typography, and others.
That’s it. Your chart section is fully ready.
Wrapping up:
Following the process, you will be able to create a beautiful bar section using Elementor free on your website. You can also see our other articles to learn How to add global colors in Elementor
How to add custom fields in Elementor
We hope this article will help you. If you like this article please like our Facebook page to stay connected.


Comments