
How to add content switcher using Elementor free
Do you want to add a beautiful and interactive content switcher using Elementor free on your website then this article is for you? Here we will guide you to create and add a content switcher to your WordPress website using the free Elementor page builder plugin.
At present, you need to make your website content readable, unique, well planned as well as interactive. If your website is more interactive then it will easily attract the audience and lead you to better traffic. It also helps you to increase audience engagement.
Nowadays most users want to get the proper information and when they come to your they get the information and go back. The users don’t want to waste their browsing your website after getting their information. But if you represent your content in an interactive way then you can get their attention. You need to display your lengthy content in an interactive manner so that the users get interested to read it.
So to get more traffic and engagement you need to create your website and display your content in a unique way. You can create a different version of the information with a different unique style but you don’t want to display it by default. Here you can use a Content Switcher widget to switch between the two versions of the content. You give your users an option so that they can switch the content view with just one click.
Add content switcher using Elementor free
To add the content switcher widget using Elementor free you need to install the Essential Addons for Elementor, a free WordPress plugin. This plugin will enable you to add the content switcher to your web pages.
First, install and activate the plugin and open up a page with Elementor editor where you want to add the content switcher.
Now click on the “+” icon to add a section and choose the column. After that search for the Content Switcher widget and add the widget to your created column.

It will add the content switcher in the section. Now from the skin option under the Content tab, you can select the skin. There are 3 different skin styles available for the content switcher. After choosing the skin you can add the item.
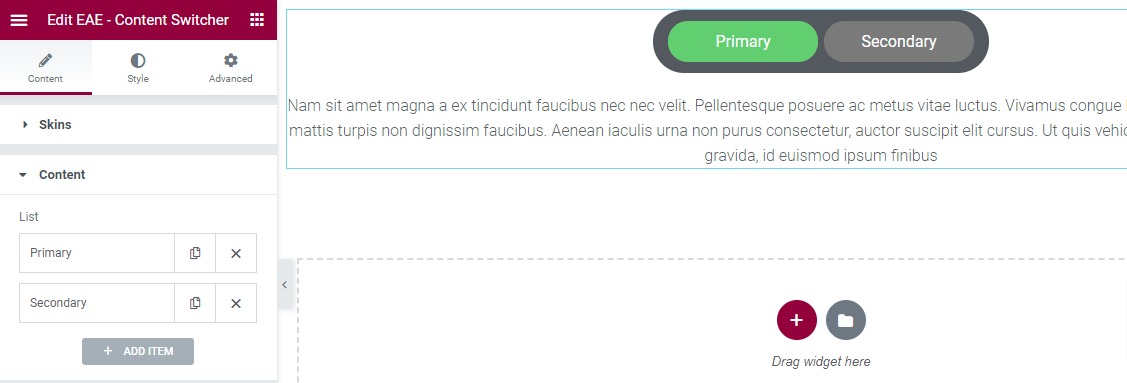
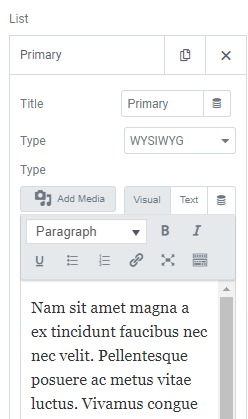
Just click any of the items to edit the title and description on it. You can add the title, type and description of the item.
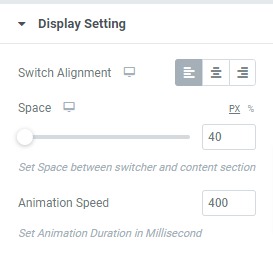
Now from the display settings, you can set the switch alignment. You can also set the space and animation too.
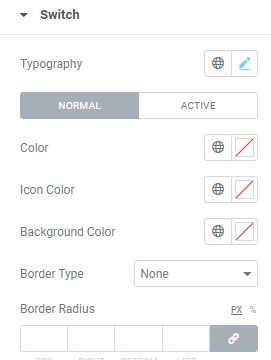
Now move on to the style tab to style the section. First, you can set the typography of the switcher. Now you can set the color, background color, icon color, border type and border-radius.
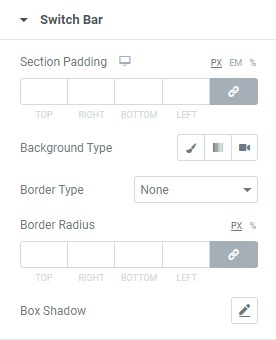
Under the switch bar option, you can add section padding, background and others.
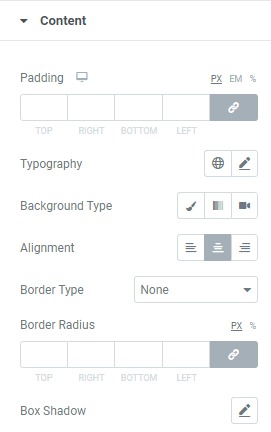
Now under the content tab, you can style your content section.
That’s it. Your content switch section is fully done.
Wrapping up
Following the process, you will be able to add a content switch to your website using Elementor free. You can see our other tutorials to learn How To create beautiful charts In Elementor free
How to add global colors in Elementor.
We hope this article will help you. If you like this article please like our Facebook page to stay connected.


Comment