How to create reading progress bar using the progress tracker widget in Elementor
Looking for a way to create a reading progress bar using the progress tracker widget in Elementor? A reading progress bar can be an easy way to improve the user experience of your website. Adding a progress bar is super easy if you have the right tools. Elementor page builder will allow you to create a reading progress bar without any coding. Elementor offers you a widget called Progress Tracker that you can use to create a reading progress bar on your website.
You can add the progress bar anywhere on your website, you don’t need to add an additional add-on or plugins for this. You can add the progress bar anywhere but most of the websites use the reading progress bar to the header of the website.
Create a reading progress bar using the progress tracker widget in Elementor
The Progress Tracker widget is available in Elementor Pro 3.5 version so make sure that you have upgraded to Elementor Pro. Here in this tutorial, we are adding a progress bar in our single post layout. So the first thing we need to do is to create a custom single post.
Login to your WordPress admin dashboard and then go to Templates > Theme Builder page where you will find the WordPress theme builder functionalities. Now click on the Single Post option and it will show your created single post template. If you don’t create any single post template then click on the Add New option from the top right corner to add your single post template.

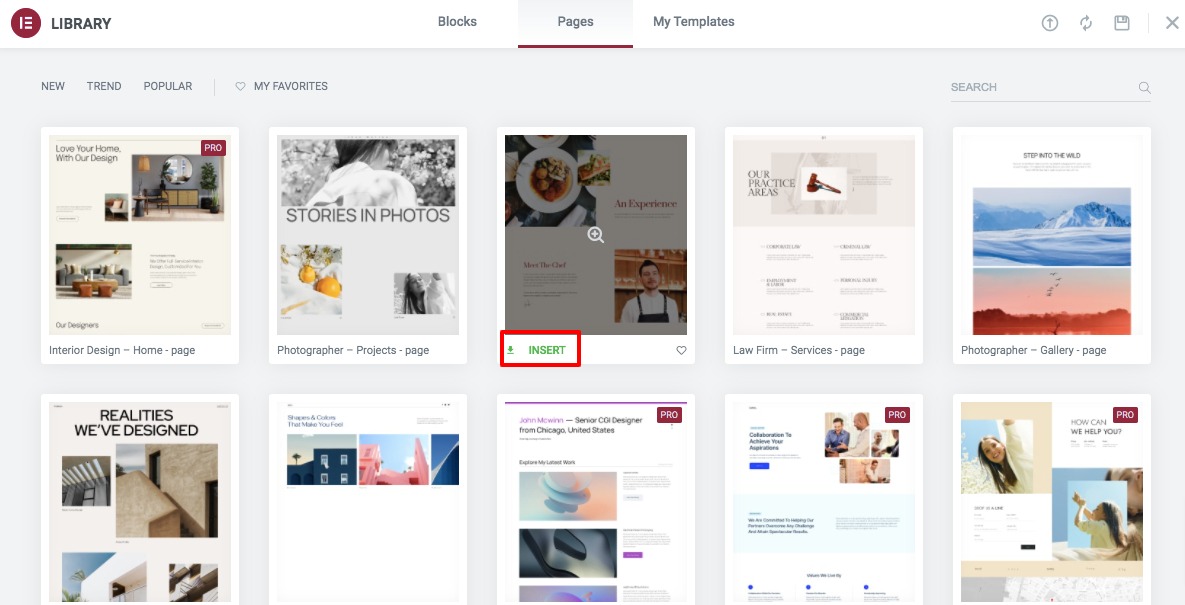
Now you need to choose the block or page for your single page template. You can import any block from Elementor or you can use your own custom template.

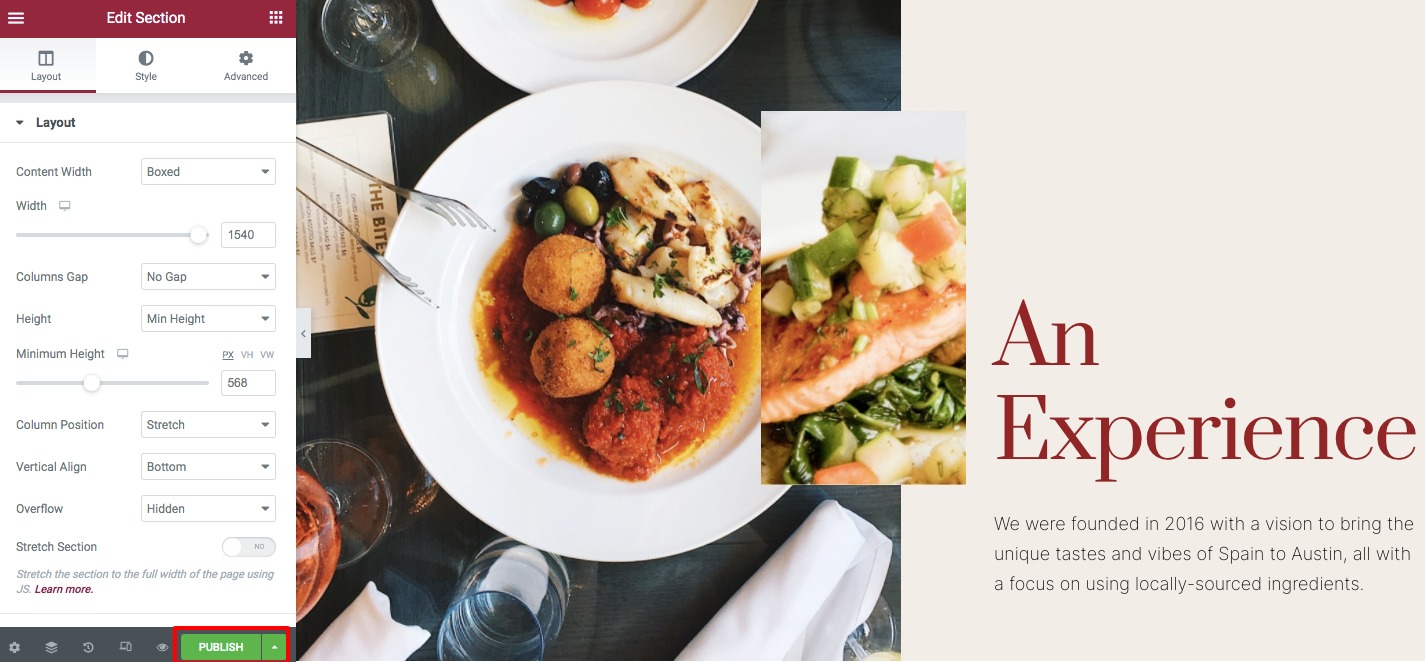
It will import the page or block as it is. Now you can edit the content using the Elementor dashboard. When you are done click on the Publish button.

This will save the page as your single post template. Now to create the reading progress bar, you need to add the Progress Tracker widget anywhere you want. Search for the widget on the Elementor dashboard, drag the Progress tracker widget and drop it into your selected area.
![]()
This will add the widget in your selected area. By default the progress type is horizontal.
![]()
Now from the content tab, you can set the tracker type as horizontal or circle. You can also set the progress related to the Entire page, Post Content, or Selector. After that, you can set the direction as left or right. You can also enable the percentage option and set the percentage direction too.
![]()
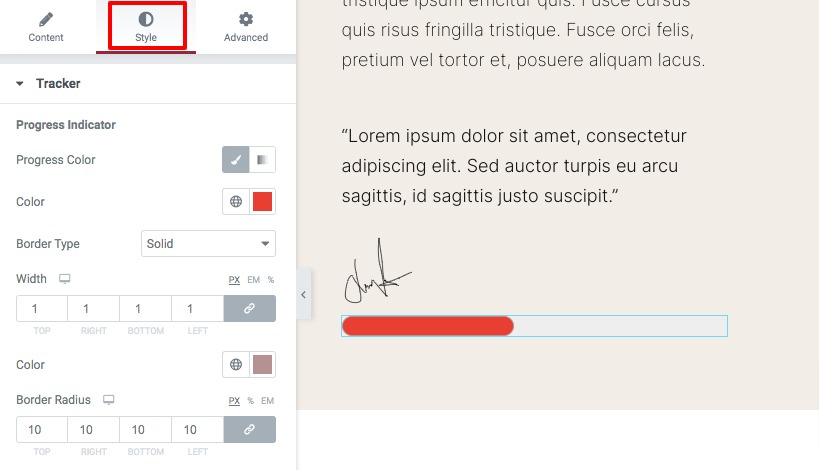
Now move on to the Style tab to style up the progress tracker. Under the Progress Indicator option, you can choose the progress color, set the border type, and border radius.

Under the Tracker Background option, you can set the background color, height, border type, border radius, box shadow, and padding of the progress tracker.
![]()
That’s it! Your progress tracker is ready to use. Now update the page and see the live preview of the reading progress bar you just created.
Wrapping Up
Following the process, you will be able to create a reading progress bar for your single post template using the Elementor page builder. You can see our other articles to learn Best Free Elementor Themes in 2022
How to create a PDF file download button in Elementor
How to speed up your Elementor website
We hope this article will help you. If you like this article please like our Facebook page to stay connected.


