How to work with the progress bar widget in Elementor
Do you want to know how to work with the progress bar widget in Elementor? Here in this article we will discuss the progress bar widget and show you how it works. You can use the progress bar widget on your website to display milestones, projects, campaigns, and other elements.
The Elementor progress bar widget is very easy to use. The progress bar widget is available for both Elementor free and Elementor pro. So you don’t need to get the pro version to add the progress bar widget.
Work with the progress bar widget in Elementor
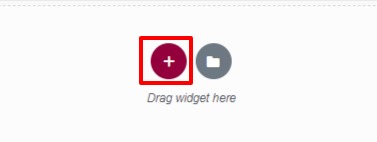
First, open up a page or post where you want to display the progress bar widget. Open up the page with the Elementor editor and then create a section by clicking on the “+” icon.
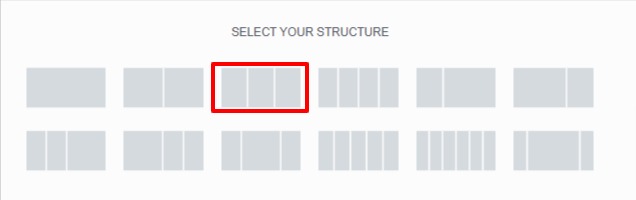
Now you need to choose your column. For our progress bar here we are using the three-column section to make the section look more beautiful.
Now from the left dashboard search for the progress bar, drag the widget, and drop it into your created column.

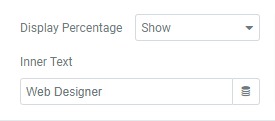
Now from the content tab, you can add the title of the progress bar and set the progress bar type. After that, you can also set the percentage to show in the progress bar.
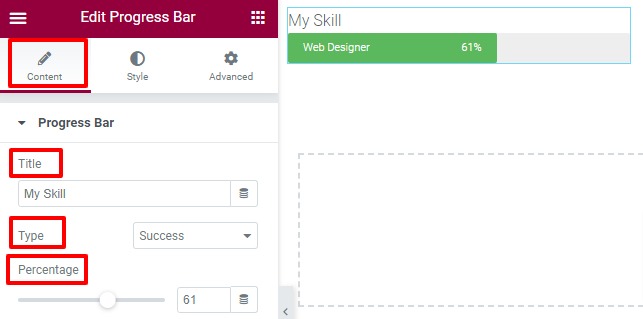
You can display or hide the percentage in the progress bar. At last, you can add the inner text.
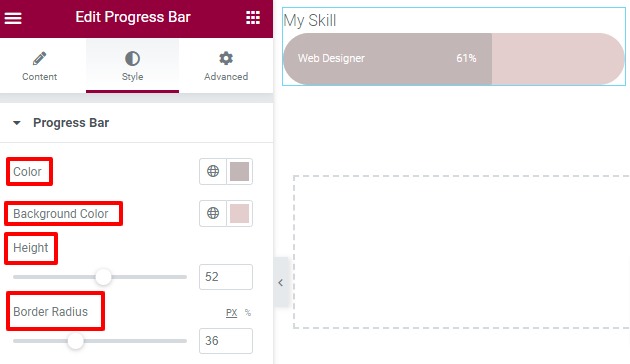
Now move on to the style tab, for here you can add style to the progress bar section. Under the progress bar menu, you can set the progress color, and background color set height, and add border-radius.
You can choose the inner text color from the inner text option and set the typography of the inner text. For typography, you can choose font family, size, weight, letter spacing, and others.
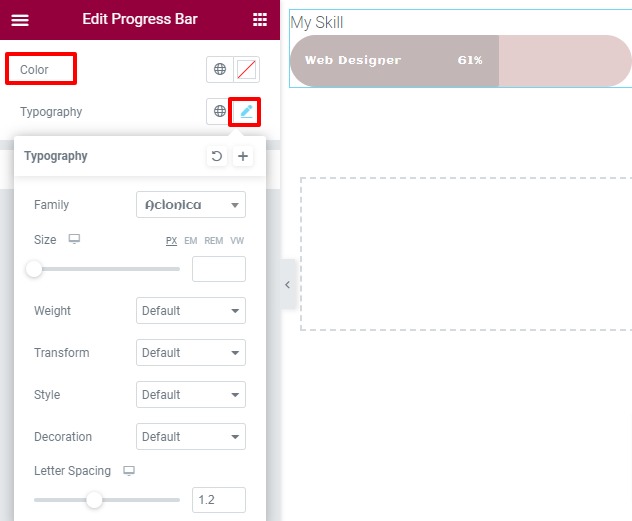
Similarly from the title style option, you can set the title color and typography.
Now move on to the advance tab
Here you can see there different style options available –
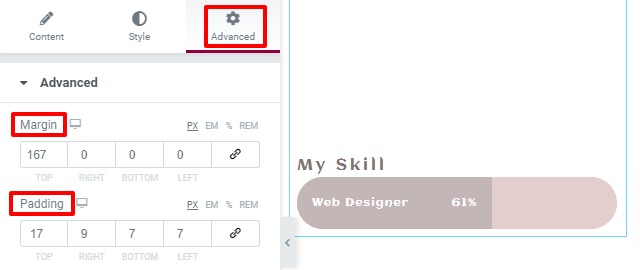
- Advance – From this advanced menu you can set the padding and margin of the section. You can also set z-index, CSS ID, and classes from there too.
- Motion Effect – You can add the entrance animation effect from here.
- Border – Add border, border radius and box-shadow for the section
- Positioning – Set the section width and position as Absolute or Fixed.
- Responsive – Make your section responsive for all the screen sizes.
- Attribute – Set attribute from the Attribute option
- Custom CSS – You can add custom CSS if needed from this option.
Advance
From the advanced menu, you can add padding and margin to realign the section to the right position. You can add the value together or you can uncheck the option and add left, right, top, and bottom values individually.
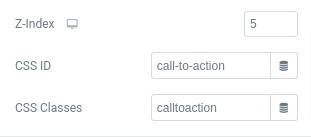
After that, you can add the z-index value and CSS and id, and classes for this specific section.
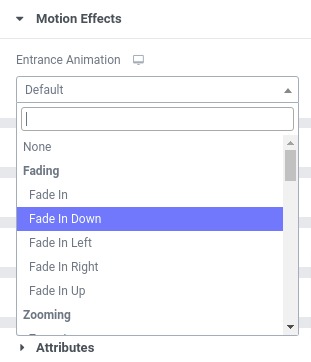
Motion Effects
From the motion effect option, you can add an entrance animation effect. There are a lot of effects available you can choose any of them and this effect will act for the specific section.
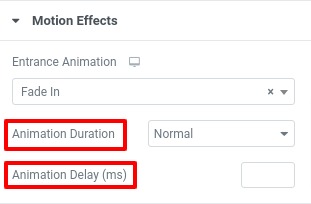
You can also set the animation duration and animation delay time too.
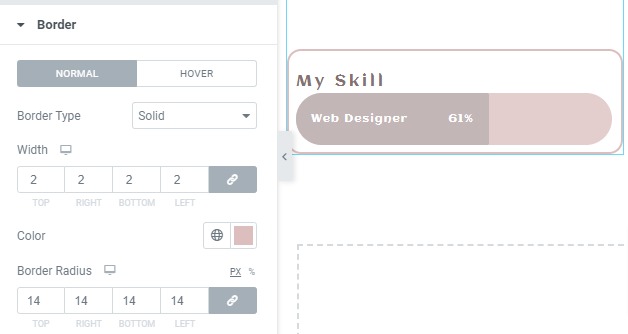
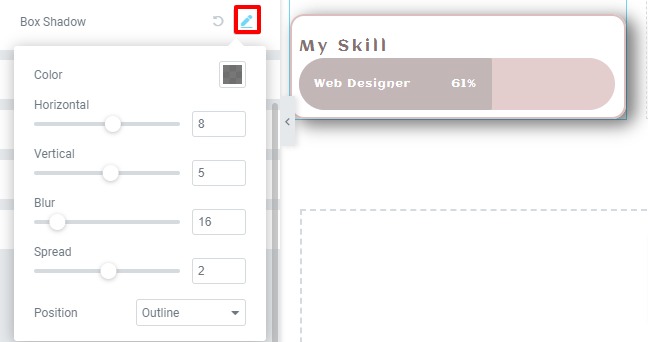
Border
You can add border type, color, and border radius from here.
You can also add box-shadow from the box-shadow edit option.
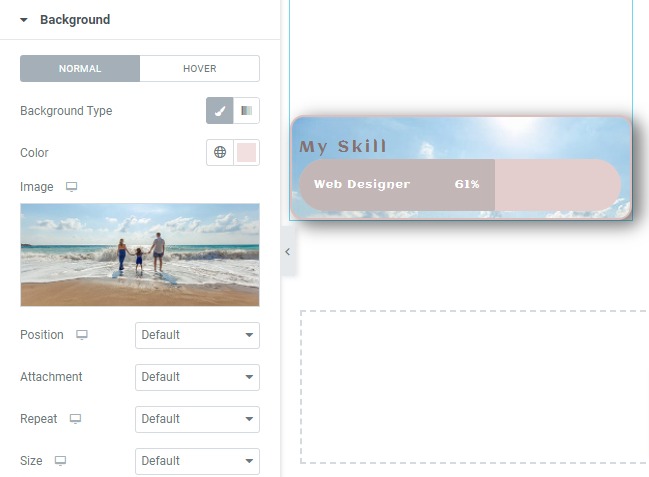
Background
From the background option, you can add a background for normal and hover conditions. You can set the background type as classic or gradient. For the classic option, you add an image as background. You can also set the image position, attachment, and size.
Positioning
You can set the section width as –
- Default
- Full width
- Inline(Auto)
- Custom
Set the vertical alignment and position as –
- Absolute –
- Fixed
- Default
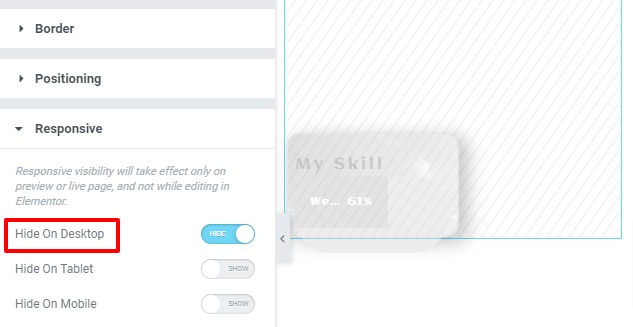
Responsive
You can set responsiveness for all the screen sizes from the responsive option. You can style differently for different devices. There is an option to hide sections for desktop, tab, and mobile. So if you hide the section it will not be visible for that specific device. You can easily copy the section, design it differently for mobile devices and hide the section for desktop devices. The mobile style will show only on the mobile devices and the desktop style will show only on the desktop devices automatically.
The free version of Elementor will not allow you to add attributes and custom CSS. You need to get the pro version to apply this option.
That’s it. Following the process, you can add a beautiful progress bar ion your website. This is how the progress bar looks-

We can also see our article to learn How to create an image grid in Elementor
How to add a back-to-top button in Elementor
We hope this article will help you. If you like this article please like our Facebook page to stay connected.


