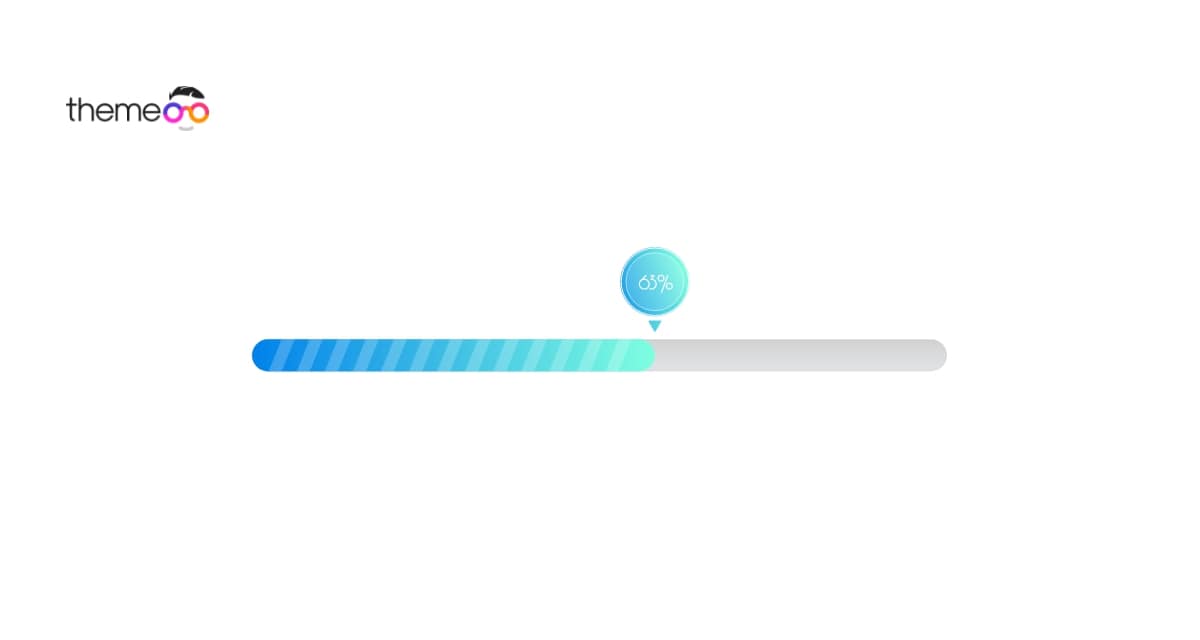
How to create gradient progress bar using Elementor
Looking for a way to create a gradient progress bar using Elementor free? Here in this article, we will show you a guide to creating a gradient progress bar.
Elementor has progress bar widgets by default which you can use to create element levels. You can customize the progress bar with different colors and styles but the default Elementor widget will not allow you to add gradient color to it. You can only add a solid color to your progress element.
If you are a CSS expert then using the Elementor pro version you can add CSS to add a gradient color to your progress bar. But if you are not good at coding then you need to install extra addons or plugins to add gradient color style to the progress bar.
Things you need to create a gradient progress bar
- Elementor – To customize your website without coding you need to install and activate the Elementor website builder plugin.
- Absolute Addons – The Skill Bar widget is available in the Absolute Addons so you need to install and activate the plugin too.
Create a progress bar with Elementor for your website
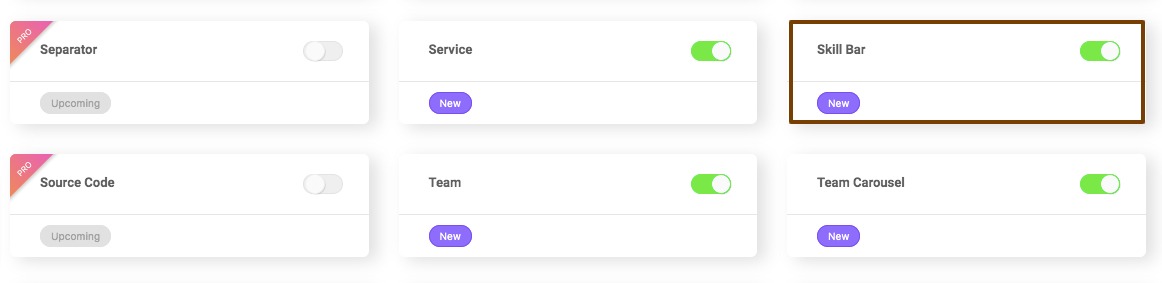
First, you need to activate the Skill Bar widget. By default the widget is active but if you don’t find the widget then you need to activate it. For this go to Absolute Addons > Widget and turn on the Skill Bar widget. After that click on the Save Changes button.
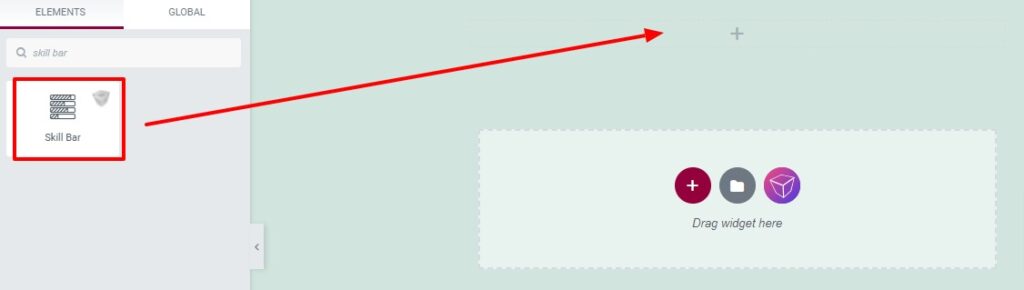
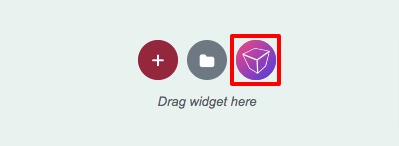
First, create a section by clicking on the “+” icon on Elementor and then from the block section of the left bar search for Skill Bar. Drag the block and drop it into your created section.
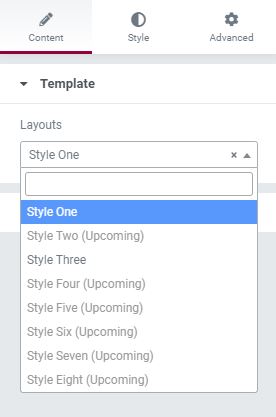
Now under the Content tab, you can select the layouts from the templates dropdown menu. There are different professional-looking styles available for the section. You can choose any of the styles you want.
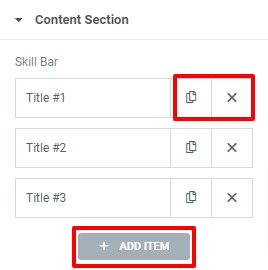
Now click on the content menu where you will see your skill bar items. By default, there are three items available. You can delete any of the items by clicking on the “X” icon, similarly, you can copy any item by clicking the copy icon. Click on the Add item button to a new item.
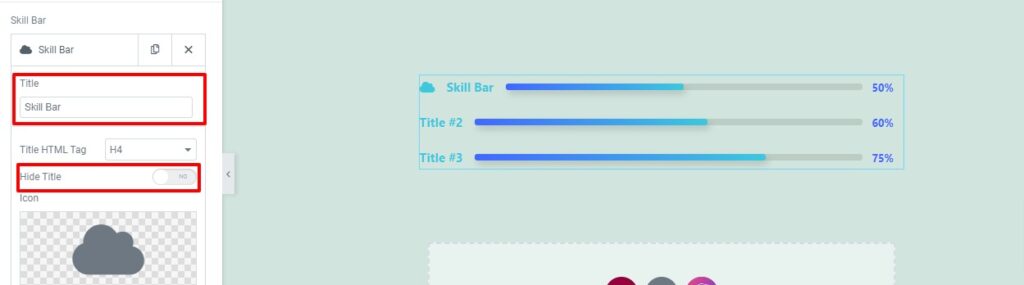
Click any of the items to edit the information. At first, you can add the title and select the HTML tag for the title. There is also an option to show or hide the title. After that, you can add an icon from the icon library.
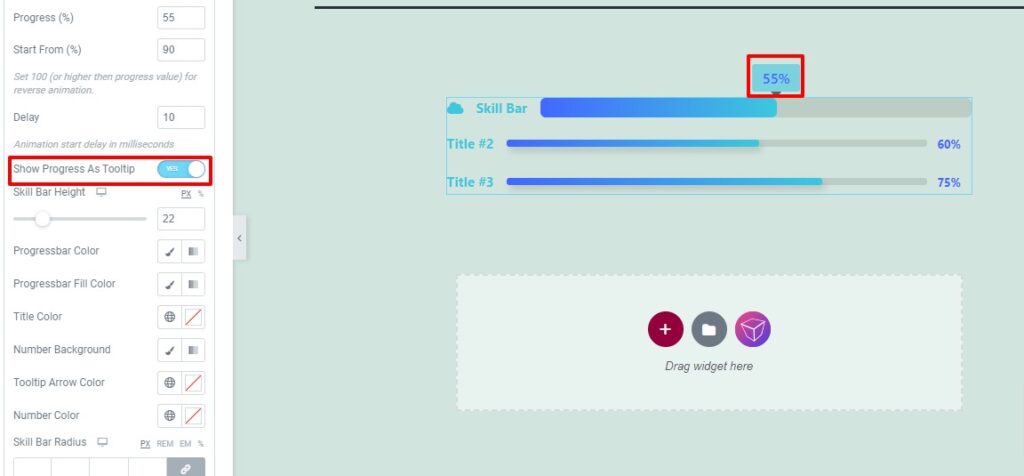
Now you can set the progress value and start value. If the start value is larger than the progress value the skill bar progress animation starts from the end. You can also set the animation delay time too.
You can also enable the progress bar tooltip option. The tooltip option is only available for the pro user. Now add the height and set progress bar color, progress fill color, title color, number color, number background color, tooltip arrow color, and radius.
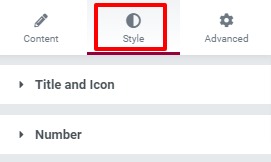
Move on to the Style menu where you will find different style options to customize your section.
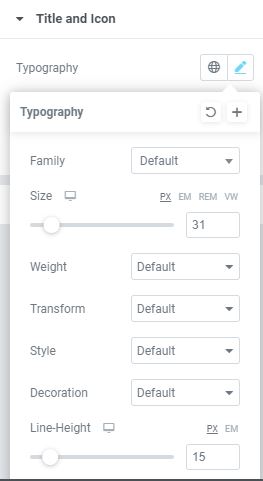
Title & Icon
Set title typography like font family, size, line height, letter spacing. You can also set the tile and icon padding too.
Add skill bar using Absolute Addons pre-built block
Absolute Addons also provide you the block import feature that you can use to import a ready-made section for your web pages. Click on the Absolute Addons folder icon from your editing screen and it will open up the ready-made block for you.
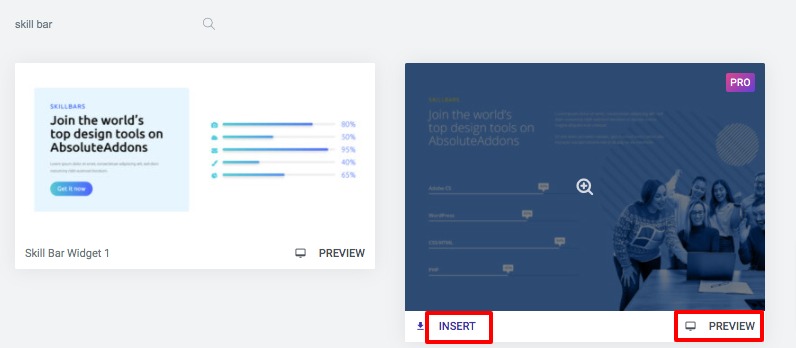
Now from the search options search for the Skill Bar and you will be able to see all the blocks. Click on the Preview button to see a live preview and use the Insert option to add the block on your pages.
That’s it! Following the process, you can easily create a gradient progress bar for your website using the Elementor free.
Wrapping Up
We hope this article will help you. You can see our other article to learn How to add a Google map with Snazzy map styles using Elementor free
How to create animated gradient background using Elementor free
How to create an image accordion with Elementor
We hope this article will help you. If you like this article please like our Facebook page to stay connected.


