
How to Create a Full Width Elementor Slider
Looking for a way to create a full-width Elementor slider? Using a full-width slider you can easily display informative content in a unique way to your website. Creating a full-width slider is not a hard task if you have the right tools. The Elementor page builder offers you the Slides widget which you can use to create a full-width slider without a single line of code.
Here in this article, we will guide you to the easiest way to create a full-width slider using the Elementor page builder.
Create a full-width Elementor slider
The Slides widget is available on Elementor Pro so before you start make sure that you have upgraded to the Elementor Pro. Now open up the page with the Elementor editor where you want to create the full-width slider. Click on the “+” icon to create a section.

Now you need to select the column for the slider. Here we are selecting the one-column section.

After creating the section go to the widget panel section and search for the slides widget. Now drag the widget and drop it into your created section.

It will add the default slider on your page but the slider won’t fit the section. To fit the slider click on the section edit icon and from the edit panel enable the Stretch Section feature. From the Content Width dropdown menu selects full width.

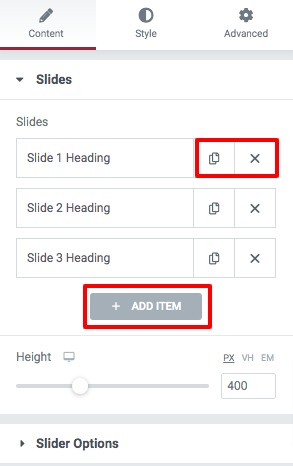
This will create a full-width slider in your section. Now click on the section to edit the slider content. First, you can add items to your slider. By default, there are three items available. You can add an item by clicking the Add Item button. You can copy an existing item by clicking on the Copy icon or delete an item using the Delete icon.
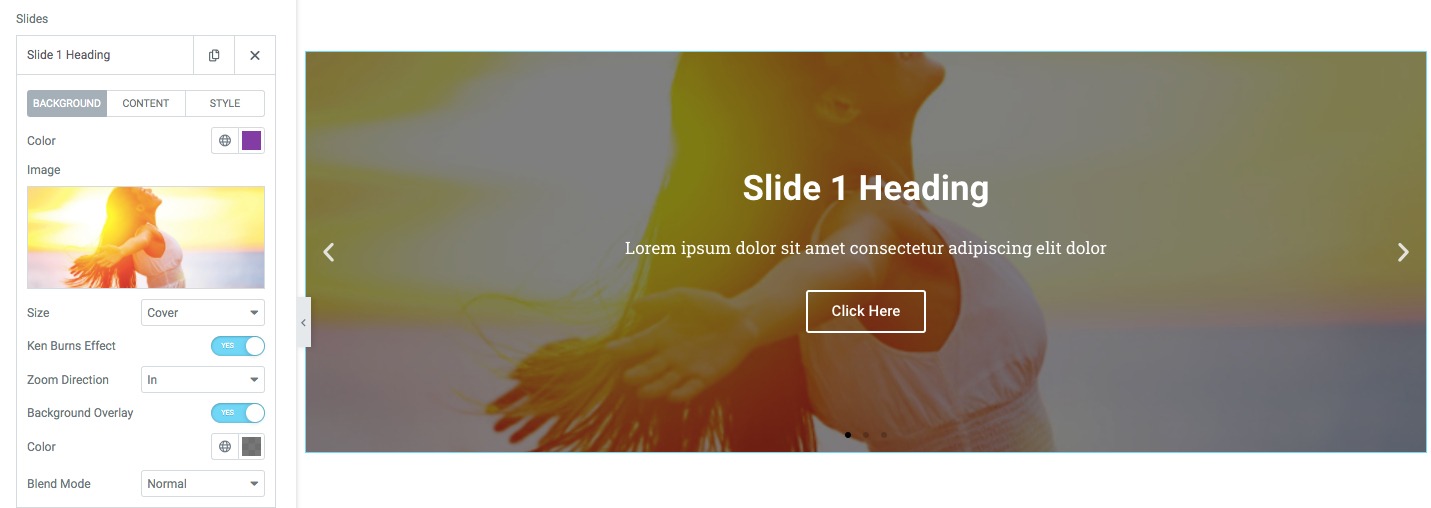
Click any of the items to change the item content. Here you will find three different tabs. From the Background tab, you can set the slider background or add an image as background. After adding the image you can set the image size as –
- Cover
- Contain
- Auto
You can also enable the Ken burns effect and set the zoom effect as in or out. After that, you can enable the background overlay and set the background overlay color.
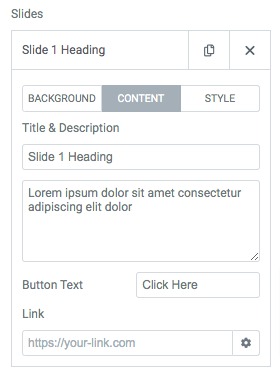
Move on to the Content tab to add the slider title, description, button text, and button link.
Go to the Style tab to style the slider items. Here you can set the horizontal and vertical position of the content. You can also set the content alignment, text shadow, and content color too.

Similarly, you can edit the content of the other items too.
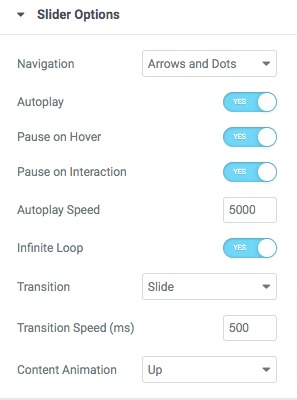
Now from the Slider Options menu, you can enable or disable the autoplay, pause on hover, pause on interaction, and infinity loop feature. You can also set the navigation and autoplay speed. There is also a feature to set transition type, speed, and content animation.
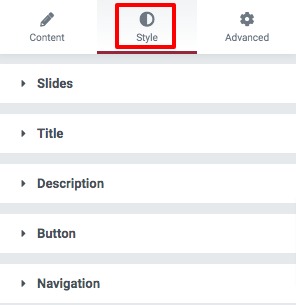
Move on to the Style tab to style up the section where you will find different options to style up the slider.
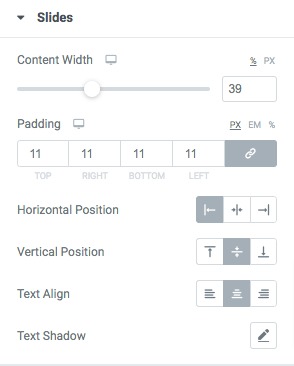
Slides
Set the content width, padding, and horizontal and vertical position of the slider. You can also set the content alignment, text-shadow.
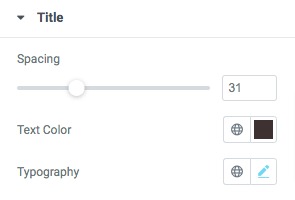
Title & Description
Set the title and description spacing, title color, and typography from the title menu.
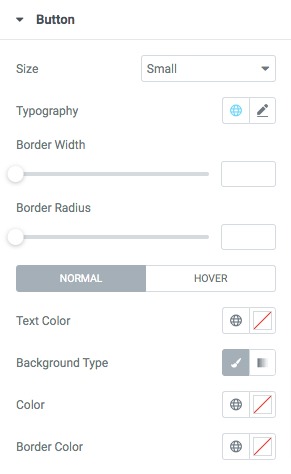
Button
Set the button size, typography, border width, and border radius for the button. After that set the text color, background type, background color, and border color for both normal and hover conditions.
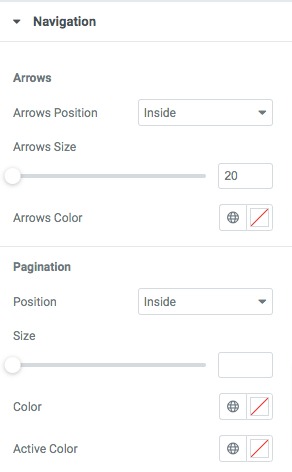
Navigation
Set the navigation and pagination position, size, and color from here.
That’s it! your slider is ready to use.
Wrapping up
Following the process. you will be able to create a full-width slider using the Elementor page builder. You can see our other articles to learn How to Use The Table of Content Widget of Elementor
How to use Elementor blocks for Gutenberg editor
Create your website homepage with Elementor from scratch
We hope this article will help you. If you like this article please like our Facebook page to stay connected.


