How to create a stacked column using Elementor
Looking for a way to create a stacked column using Elementor on your website? Here in this article, we will guide you to the easiest way to create a stacked column.
A stacked column can help you in many ways in your website design. Creating a stacked column with Elementor is a very easy task if you can use the inner section widget properly.
Create a stacked column using Elementor
First, open up a page with the Elementor editor where you want to create the stacked column. Now click on the “+” icon to create a section

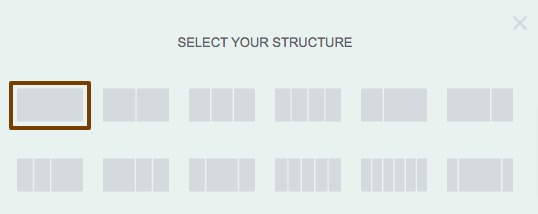
Now you need to add a column for your section. There are different columns available. For this tutorial, we are using 1 column section.

Now from the left dashboard search for the Inner Section widget. Drag the inner section widget and drop it into your created section.

After adding the inner section, you will see a structure like this –

Now to create a stacked column you need to copy the parent column and paste it into the inner section. Right-click on the parent column edit icon and then click on the Copy option.

Now click on the inner section edit icon and click on the paste option. This will paste the parent column in your inner widget section.

After copying the parent column properly you will see a stacked column structure in your section.

Now you can add your desired content in your stacked column section.
Wrapping Up
Following the process, you will be able to create a stacked column section in your WordPress website using the Elementor page builder. You can see our other articles to learn How to set the Accordion widget closed by default in Elementor
How to add two buttons in Elementor side by side in the same column
WooCommerce Product Grid: Customize your eCommerce website without coding
We hope this article will help you. If you like this article please like our Facebook page to stay connected.


