
How to create a masonry image gallery in Elementor
Do you want to create a masonry image gallery in Elementor? Here in this article, we will guide you to the easiest way to create a masonry image gallery for your Elementor website.
No matter what your website is, if you want to showcase your work creatively or want to make your website more engaging then a masonry image gallery will help you a lot. Adding an image gallery is a great way to showcase your work. Images can be a very essential part if you want to present your works or services visually to your users.
Adding a masonry image gallery is a very easy task if you have the right tools. There are solutions like Elementor and Absolute Addons which enable you to add an image gallery to your website without a single line of code.
Create a masonry image gallery in Elementor
To create a masonry image gallery you need to install and activate the Absolute Addons plugin. Absolute Addons is a plugin that will make your website creation experience to the next level. Create a website faster than ever with 250+ ready design blocks. The plugin offers you the Image Grid widget which enables you to add a beautiful image gallery to your website.
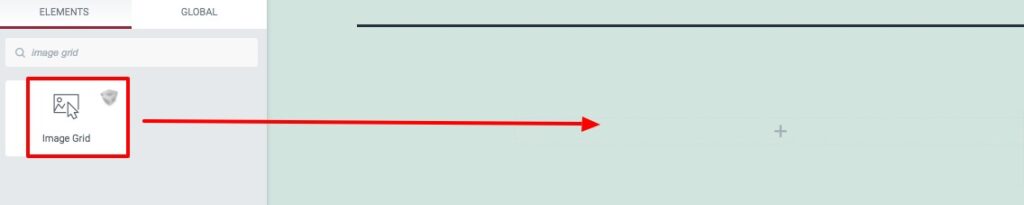
To use the Image Grid widget, first create a section by clicking on the “+” icon on Elementor, and then from the block section of the left bar search for Image Grid. Drag the Image Grid block and drop it into your created section.
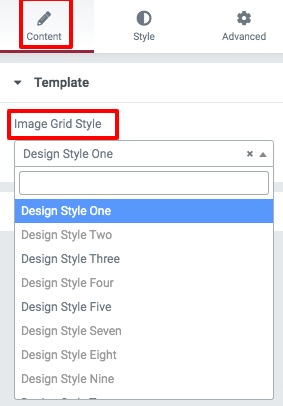
Now under the Content tab from the Template menu, you can select the image grid presets. There are multiple presets available.
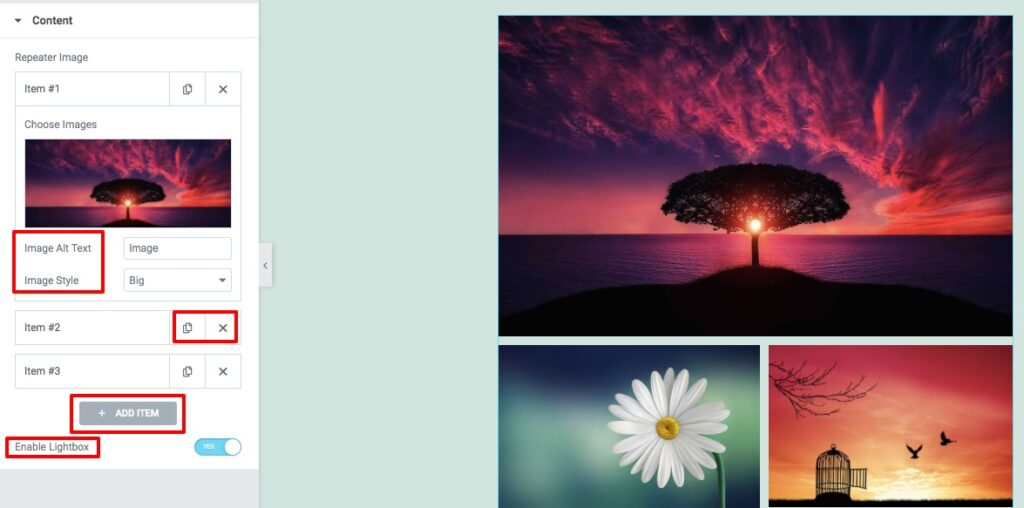
From the content option, you can add the item to your image grid section. Click on the Add Item button to add a new item. You can copy any item by clicking on the Copy icon or delete an item using the delete icon. Click any of the items to select your image. Upload your image and then add image alt text. There is an option to set the image style. You can set the style of your images as –
- None
- Wide
- Tall
- Big
You can also enable or disable the image lightbox features.
Move on to the style tab where you will find different options to style up your image grid section.
Images
From here you can add padding and set the image width. After that, you can add border type, border color, border-radius, and box-shadow for the images. You can also enable the filter value. There are different filter effects available like –
- Brightness
- Contrast
- Grayscale
- Invert
- Opacity
- Saturate
- Sepia

Gap Control
From the gap control option, you can set the row and column gap.

That’s it! Your image gallery section is fully ready to use.
Wrapping Up
Following the process, you will be able to create a masonry image gallery for your website. You can see our other articles to learn WooCommerce Product Grid: Customize your eCommerce website without coding.
How to fix 500 internal server errors while using Elementor.
How to fix the Publish/Update button not working error in Elementor.
We hope this article will help you. If you like this article please like our Facebook page to stay connected.